Epoxy is a versatile adhesive and coating material that is known for its strength, durability, and high-gloss finish. It is commonly used in various DIY projects such as countertops, flooring, and artwork. However, pouring epoxy too thick can lead to several problems and affect the overall outcome of your project. In this article, we will discuss what happens if you pour epoxy too thick and how to avoid this issue.
Epoxy is a synthetic resin that, when mixed with a hardener, creates a chemical reaction that results in a strong and durable material. There are different types of epoxy available in the market, including water-based, solvent-based, and 100% solids epoxy. These types vary in their composition, curing time, and performance.
Pouring epoxy too thick can result in several issues, such as:
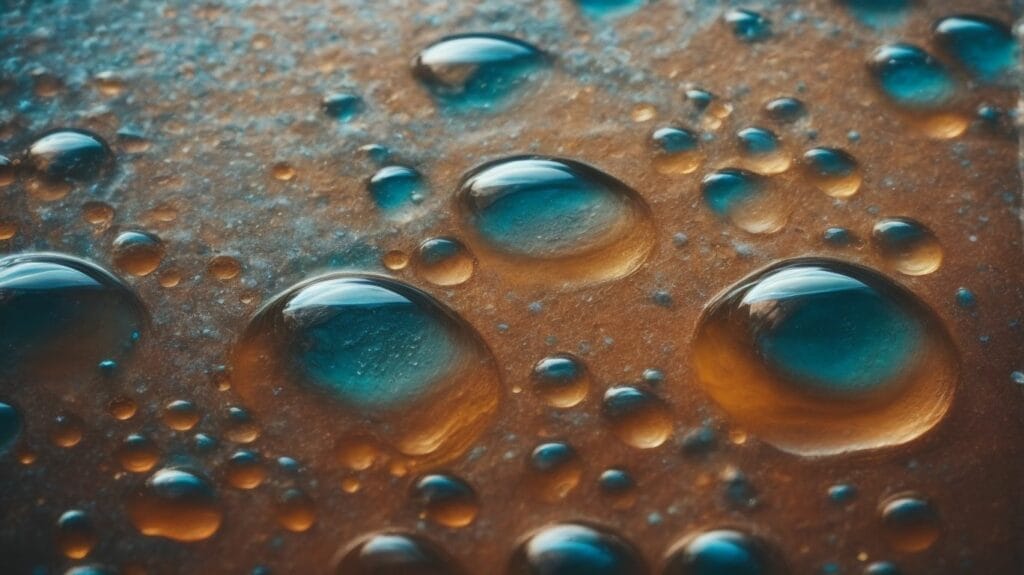
- Air Bubbles: When epoxy is poured too thick, air bubbles can get trapped in the mixture, making the surface uneven and bumpy.
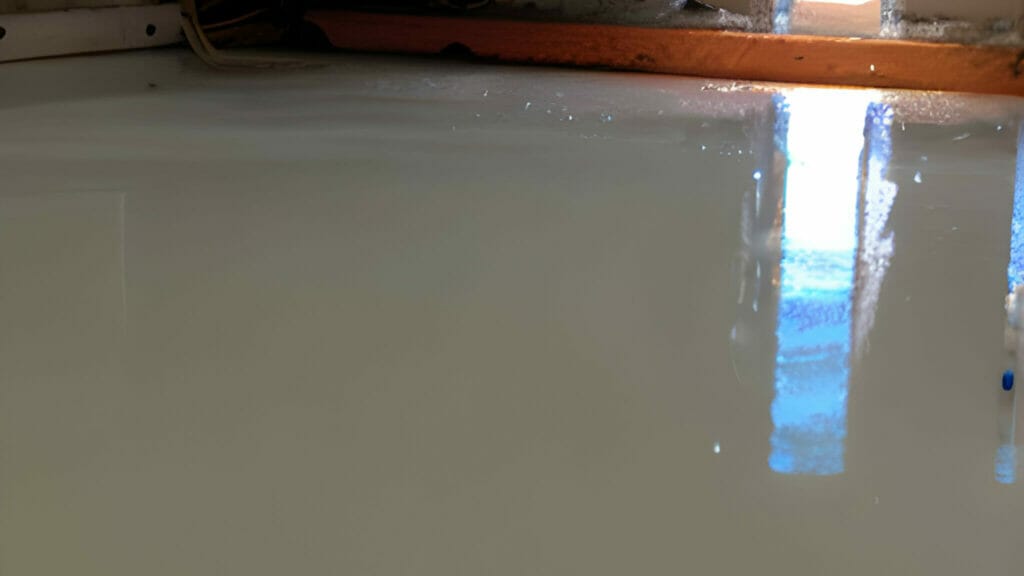
- Uneven Surface: The excess epoxy can also create an uneven surface, which is not ideal for projects like countertops or flooring.
- Long Curing Time: Thicker layers of epoxy take longer to cure, which can delay your project.
- Cracking and Warping: Excess heat generated during the curing process of thick epoxy layers can cause the surface to crack or warp.
To avoid pouring epoxy too thick, here are some tips:
- Use a notched spreader to spread the epoxy evenly in a thin layer.
- Work in small sections, applying a thin layer of epoxy at a time.
- Use a heat gun or torch to remove air bubbles from the epoxy surface.
- Always follow the manufacturer’s instructions regarding the recommended thickness for the epoxy.
If you have already poured epoxy too thick, here are some steps you can take:
- Sand down the surface to remove any imperfections and create an even surface.
- Add another layer of epoxy on top to even out the surface and remove any air bubbles.
- If the damage is too severe, it may be best to start over with a new project.
In conclusion, pouring epoxy too thick can lead to various problems and affect the outcome of your project. To avoid these issues, it is essential to follow the recommended thickness and curing time for the type of epoxy you are using. If you have already poured epoxy too thick, there are ways to fix it, but it may require some extra time and effort.
Key Takeaways:
- Pouring epoxy too thick can result in air bubbles, an uneven surface, long curing time, and cracking or warping.
- To avoid pouring epoxy too thick, use a notched spreader, work in small sections, use a heat gun or torch, and follow the manufacturer’s instructions.
- If you have poured epoxy too thick, you can sand down the surface, add another layer of epoxy, or start over with a new project.
What is Epoxy?
Epoxy is a type of resin that hardens when combined with a hardener, creating a strong and durable material that adheres well to different surfaces. Because of this, it is commonly used in crafts, woodworking, and industrial settings.
A helpful tip when using epoxy is to make sure you have adequate ventilation and wear protective gear to prevent inhaling or coming into contact with the substance.
What Are the Different Types of Epoxy?
When it comes to epoxy, not all types are created equal. In fact, various forms of epoxy are specially designed for different purposes. In this section, we will discuss the different types of epoxy, including water-based, solvent-based, and 100% solids epoxy. By understanding the unique properties and uses of each type, you can ensure that you choose the right epoxy for your project. So, let’s dive into the world of epoxy and discover the differences between these three types.
1. Water-Based Epoxy
- Clean the surface: Make sure the surface is free of dust, dirt, and any contaminants.
- Priming: Apply a suitable primer to improve adhesion.
- Mix the water-based epoxy: Follow the manufacturer’s instructions to prepare the epoxy.
- Apply the epoxy: Use a roller or brush to apply the water-based epoxy evenly onto the prepared surface evenly.
- Curing time: Allow the epoxy to cure for the recommended duration.
2. Solvent-Based Epoxy
Solvent-based epoxy, also referred to as two-part epoxy, provides a long-lasting and shiny coating for a variety of surfaces. If you’re looking to apply solvent-based epoxy, here are the necessary steps:
- First, prepare the surface by cleaning and roughening it to ensure better adhesion.
- Next, mix the two components thoroughly, following the instructions provided by the manufacturer.
- Then, use a roller or brush to apply the epoxy in thin, even coats.
- Make sure to allow the epoxy to cure for the recommended time and ensure proper ventilation.
For optimal results, it is important to follow the manufacturer’s guidelines and safety precautions.
3. 100% Solids Epoxy
- 100% solids epoxy is a type of epoxy that does not contain any solvents, resulting in a high-performance, durable, and thick coating.
- Preparation: Ensure the surface is clean and dry before applying the epoxy.
- Mixing: Follow the manufacturer’s instructions to combine the epoxy resin and hardener.
- Application: Use a roller or brush to apply the 100% solids epoxy in thin coats evenly.
- Curing: Allow the epoxy to cure for the recommended time to achieve a strong and level finish.
What Happens if You Pour Epoxy Too Thick?
Pouring epoxy can be a delicate process, and one of the key factors to consider is the thickness of the pour. Depending on the project, pouring epoxy too thick can lead to a variety of issues that can affect the final result. In this section, we will explore the potential consequences of pouring epoxy too thick, including the formation of air bubbles, an uneven surface, extended curing time, and even cracking and warping. By understanding these potential challenges, you can ensure a successful and flawless epoxy pour.
1. Air Bubbles
- Get rid of air bubbles by using a heat gun or torch to move over the epoxy surface carefully.
- If air bubbles continue to persist, gently pop them using a heat source.
- Avoid air bubble formation by pouring epoxy in thin layers and using a notched spreader.
Fact: Air bubbles in epoxy can also be unintentionally caused by mixing the epoxy too quickly, which introduces air into the mixture.
2. Uneven Surface
- Assess the thickness: Measure the epoxy layer’s thickness using a depth gauge.
- Sand the surface: Use fine-grit sandpaper to carefully level the uneven areas.
- Apply a new layer: Pour a thin layer of epoxy to create a smooth and even surface on the previously uneven surface.
3. Long Curing Time
- Ensure the workspace temperature is ideal, as lower temperatures can result in longer curing times for epoxy.
- Choose the appropriate hardener for the specific conditions to avoid extended curing periods.
- Accurately calculate and mix epoxy quantities to prevent imbalances that may lead to lengthy curing times.
4. Cracking and Warping
- Evaluate the level of cracking and warping to determine the most suitable plan of action.
- If the issue is minimal, use sandpaper to even out the affected area and create a smooth surface.
- In cases of significant cracking or warping, applying an additional thin layer of epoxy can effectively resolve the problem.
- If the damage is severe, it may be necessary to start over with a new project.
How to Avoid Pouring Epoxy Too Thick?
When working with epoxy, it is crucial to avoid pouring it too thick. This can lead to a variety of issues, such as cracking, bubbling, and uneven surfaces. In this section, we will discuss four effective methods to ensure a proper thickness when working with epoxy. We will cover the importance of using a notched spreader, working in small sections, and utilizing a heat gun or torch. Additionally, we will emphasize the importance of following the manufacturer’s instructions to achieve the best results.
1. Use a Notched Spreader
- Prepare the epoxy mixture according to the manufacturer’s instructions.
- Apply the epoxy to the surface using a notched spreader to ensure even distribution.
- Hold the notched spreader at a 45-degree angle and use it to push the epoxy across the surface, creating an even layer.
- Work in small sections to prevent the epoxy from thickening before you can spread it properly.
- Use a heat gun or torch to eliminate air bubbles and help the epoxy settle evenly.
2. Work in Small Sections
- Divide the surface into smaller manageable areas, as recommended in step 2 of the process.
- Apply epoxy to one section at a time, following the instructions in the next step.
- Ensure each section is evenly coated before moving on to the next, as outlined in step 3.
- Continue the process until the entire surface is covered, as described in step 4.
3. Use a Heat Gun or Torch
- Before beginning, make sure the epoxy surface is clean and free from any dust or debris.
- Hold the heat gun or torch at a 45-degree angle about 6-8 inches away from the surface.
- Evenly distribute the heat across the surface by moving the heat source continuously back and forth.
- Continue this process until air bubbles rise to the surface and disappear, being careful not to overheat the epoxy.
4. Follow the Manufacturer’s Instructions
- Before beginning the epoxy application, carefully review the manufacturer’s guidelines.
- Be sure to follow the specified mixing ratios for the epoxy resin and hardener.
- During the application and curing process, adhere to the recommended temperature and humidity conditions.
- Use the suggested tools and equipment mentioned in the instructions.
What to Do if You Have Poured Epoxy Too Thick?
While using epoxy can create stunning and durable finishes, there is always the risk of pouring it too thick. This can lead to an uneven or lumpy surface, which may not be the desired result. However, all is not lost if you find yourself in this situation. In this section, we will discuss the steps you can take to fix an epoxy pour that is too thick. From sanding down the surface to starting over with a new project, we will cover the various solutions to salvage your epoxy project.
1. Sand Down the Surface
- Inspect the surface for any imperfections or uneven areas.
- Use a power sander with fine-grit sandpaper to gently sand down the surface.
- Ensure the surface is smooth and level by sanding in a circular motion.
- Clean the sanded surface thoroughly to remove any dust or debris.
2. Add Another Layer of Epoxy
Sand down the surface to create a rough texture for better adhesion.
Thoroughly clean and degrease the surface to remove any contaminants.
Apply another layer of epoxy and spread it evenly with a notched spreader.
Allow the new layer to cure according to the manufacturer’s instructions.
3. Start Over with a New Project
- Assess the thickness and condition of the epoxy surface.
- If the thickness is beyond repair, sand down the surface to remove the epoxy completely.
- Prepare the surface for a new epoxy pour by cleaning and leveling it.
- Start over with a new project by following the correct pouring techniques to avoid thickness issues.