Epoxy flooring is a type of flooring that is created by mixing epoxy resin with a hardener, resulting in a durable and smooth surface. This type of flooring is commonly used in commercial and industrial settings, but it is also gaining popularity in residential spaces. Epoxy flooring offers several benefits, and with the right tools and techniques, it can be installed as a DIY project.
So why choose epoxy flooring over other types of flooring? Here are the top reasons:
- Durability: Epoxy flooring is known for its durability and can withstand heavy foot traffic, making it ideal for high-traffic areas.
- Low Maintenance: Epoxy flooring is easy to maintain and does not require frequent cleaning or polishing, saving you time and money in the long run.
- Chemical Resistance: Epoxy flooring is resistant to chemicals and can withstand spills and stains, making it suitable for industrial and commercial spaces.
- Aesthetics: Epoxy flooring comes in a variety of colors and designs, allowing you to create a unique and visually appealing floor.
There are different types of epoxy flooring available, each with its own set of benefits. They include:
- Self-Leveling Epoxy Floors: Ideal for uneven or damaged surfaces, this type of flooring creates a smooth and even surface.
- Epoxy Mortar Floors: Made with a combination of epoxy resin and sand or quartz, this flooring is highly durable and resistant to heavy impacts.
- Epoxy Flakes Floors: These floors are created by adding decorative flakes to the epoxy mixture, resulting in a textured and visually appealing surface.
- Metallic Epoxy Floors: This type of flooring is made by adding metallic pigments to the epoxy mixture, creating a unique and vibrant look.
- Quartz-Filled Epoxy Floors: Highly durable and scratch-resistant, this type of flooring is ideal for high-traffic areas.
Before applying epoxy flooring, it is crucial to prepare the surface properly. Here are the steps to follow:
- Clean and repair the concrete surface to ensure a smooth and even base.
- Test for moisture to prevent future issues.
- Choose the right epoxy coating based on your needs and the condition of the surface.
Once the surface is prepared, you can begin the application process. Here’s how:
- Prepare the epoxy mixture according to the manufacturer’s instructions.
- Apply the primer to the surface to create a strong bond between the concrete and the epoxy.
- Apply the epoxy coating using a roller or squeegee, making sure to spread it evenly.
- Optional: Add decorative elements such as flakes or metallic pigments to create a customized look.
- Apply a topcoat to protect the epoxy and add shine.
To maintain the beauty and durability of your epoxy flooring, follow these tips:
- Regularly clean the surface with a mild cleaner and water.
- Avoid using harsh chemicals on the floor.
- Deal with any spills or stains immediately to prevent damage.
- Repair any damage, such as scratches or cracks, as soon as possible. With proper maintenance, your epoxy flooring can last for many years, making it a worthwhile investment.
Key Takeaways:
- Epoxy flooring is a durable and low-maintenance flooring option that provides chemical resistance and adds aesthetic appeal to any space.
- There are different types of epoxy flooring, including self-leveling, mortar, flakes, metallic, and quartz-filled, each with its unique benefits and uses.
- To prepare for epoxy flooring, it is important to properly clean and repair the concrete surface, test for moisture, and choose the right epoxy coating.
What Is Epoxy Flooring?
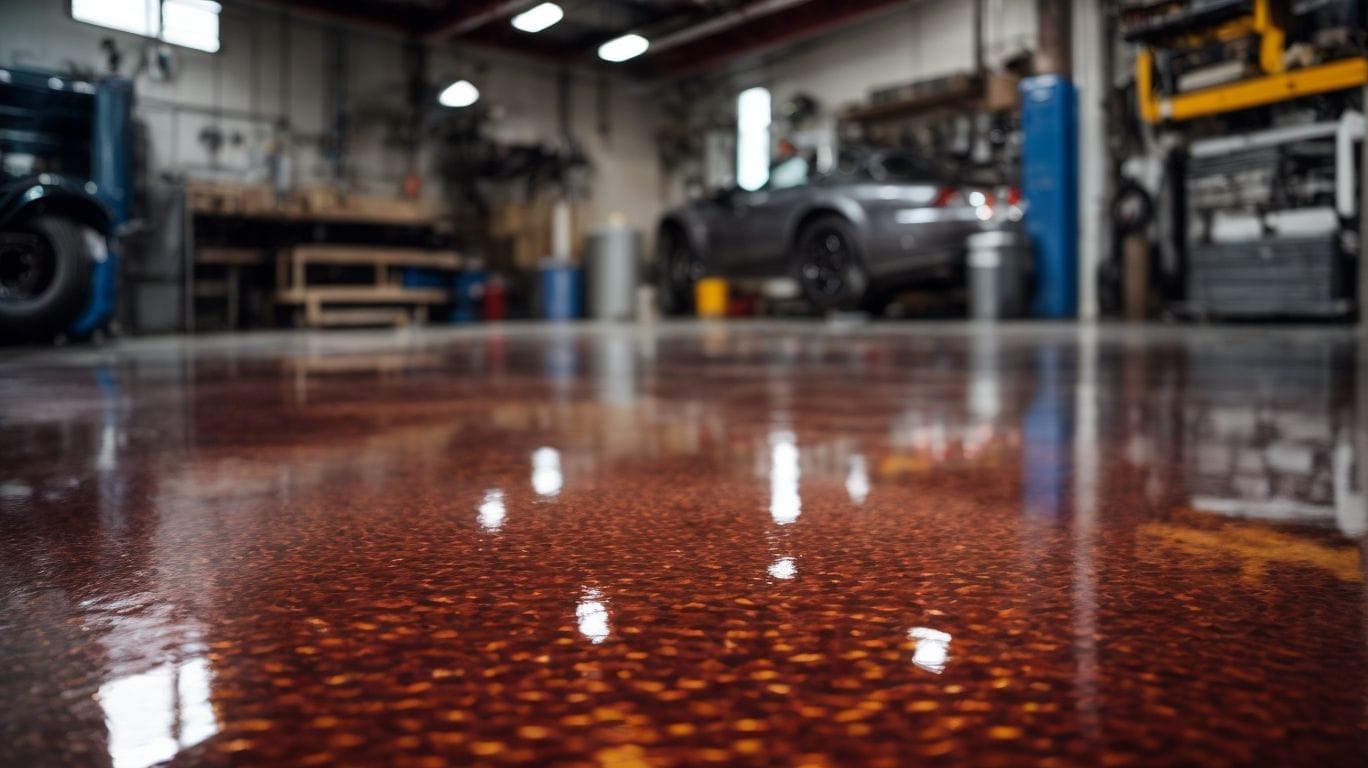
Photo Credits: Diyepoxyresin.Com by Ryan Green
Epoxy flooring is a resilient and enduring option for both residential and commercial spaces. It is created by combining epoxide resin with a polyamine hardener, resulting in a strong, inflexible plastic material once it has cured. This type of flooring is highly resistant to chemicals, stains, and abrasion, making it a perfect choice for garages, industrial environments, and areas with high foot traffic. Additionally, epoxy floors come in a range of colors and finishes, offering a versatile and customizable flooring solution.
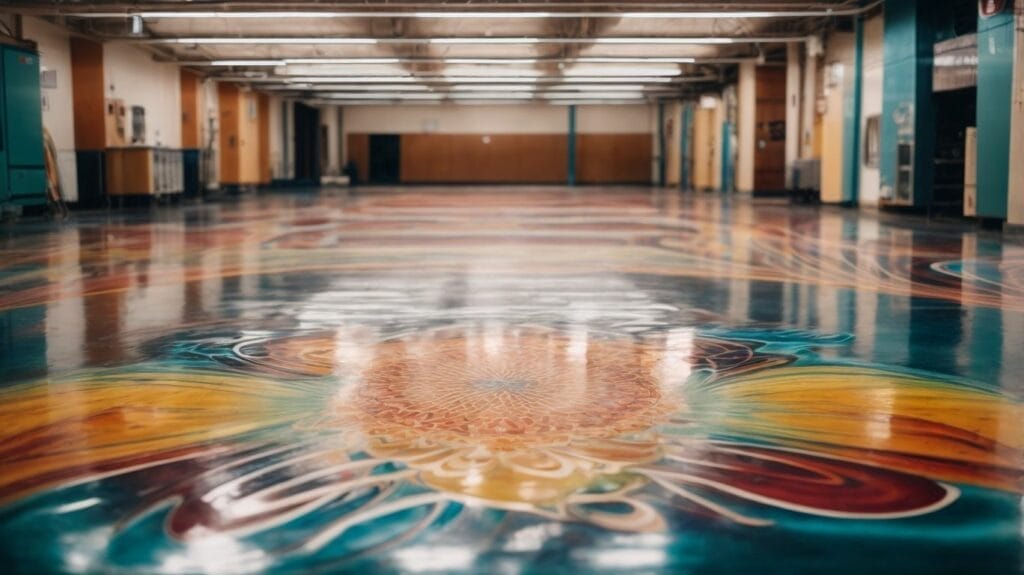
Why Choose Epoxy Flooring?

Photo Credits: Diyepoxyresin.Com by Jacob Martin
Epoxy flooring has become increasingly popular in recent years, and for good reason. Not only does it provide a durable and long-lasting solution for flooring, but it also offers a variety of other benefits. In this section, we will discuss the top reasons why you should consider choosing epoxy flooring for your next DIY project. From its unparalleled durability to its low maintenance requirements, we will explore the many advantages of epoxy flooring and why it may be the perfect choice for you.
1. Durability
- Surface preparation: Thoroughly clean and etch the concrete to ensure proper adhesion.
- Primer application: Apply a coat of epoxy primer to improve the bond between the concrete and the epoxy coating.
- Epoxy coating: Use high-quality epoxy with strong adhesion and durability.
- Topcoat application: Apply a clear topcoat to enhance durability and resistance to stains and abrasion.
- Curing time: Allow sufficient time for the epoxy to cure and achieve maximum durability.
2. Low Maintenance
- Choose high-quality epoxy materials to ensure durability and longevity.
- Regularly sweep and clean the floor to prevent dirt and debris buildup.
- Apply a topcoat or sealer to protect the epoxy and make cleaning easier.
- Please inspect for any damages and repair them promptly to prevent further issues.
Pro-tip: Use doormats at entryways to minimize the amount of dirt and moisture brought onto the low-maintenance epoxy floor, reducing maintenance needs.
3. Chemical Resistance
- Choose an epoxy coating with high chemical resistance to protect the floor from corrosive substances effectively.
- Properly prepare the surface by cleaning and etching to ensure optimal adhesion of the epoxy and increased chemical resistance.
- For maximum protection and durability, apply multiple coats of epoxy to the flooring.
4. Aesthetics
When it comes to aesthetics in epoxy floor installation, it’s important to pay attention to color options, pattern designs, and finishing textures. Consider using techniques such as metallic epoxy for a contemporary touch or flake systems for a more textured look. You can also incorporate 3D effects or optical illusions to create a sense of depth and dimension in the floor. Don’t forget to experiment with lighting further to enhance the visual appeal of the epoxy floor.
What Are The Different Types Of Epoxy Flooring?
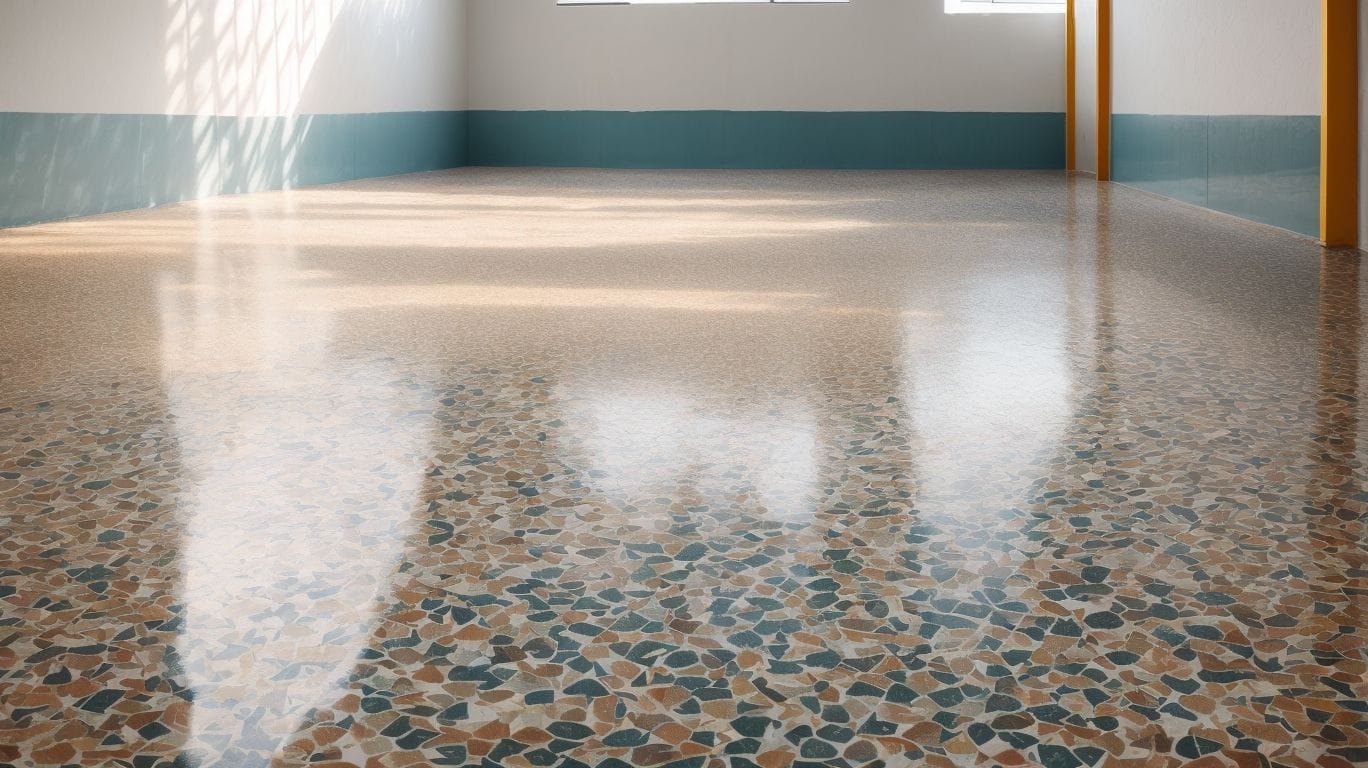
Photo Credits: Diyepoxyresin.Com by Jonathan Williams
When it comes to choosing the right epoxy flooring for your DIY project, there are several options to consider. Each type of epoxy flooring serves a specific purpose and offers unique benefits. In this section, we will discuss the different types of epoxy flooring available, including self-leveling epoxy floors, epoxy mortar floors, epoxy flakes floors, metallic epoxy floors, and quartz-filled epoxy floors. By understanding the characteristics and applications of each type, you can make an informed decision on which type of epoxy flooring is best suited for your project.
1. Self-Leveling Epoxy Floors
- Prepare the surface by thoroughly cleaning and etching it to ensure proper adhesion of the self-leveling epoxy compound.
- Prime the floor with a suitable epoxy primer to promote bonding between the surface and the epoxy.
- Mix the self-leveling epoxy compound according to the manufacturer’s instructions, ensuring an even and consistent mixture.
- Pour the mixture onto the floor and spread it evenly using a notched squeegee or trowel, making sure to cover the entire surface.
- Use a spiked roller to release any trapped air and create a smooth, level surface for the self-leveling epoxy floors.
- Allow the epoxy to cure for the specified time before walking on it or placing heavy items, ensuring a strong and durable finish.
2. Epoxy Mortar Floors
Begin by preparing the surface and removing any existing coating or contaminants.
Thoroughly mix the components of the epoxy mortar according to the manufacturer’s instructions.
Using a trowel or screed, apply the epoxy mortar to the prepared surface.
Smooth and level the epoxy mortar to the desired thickness and finish.
Allow the epoxy mortar to cure for the specified time before subjecting it to foot traffic or heavy loads.
A homeowner once decided to install epoxy mortar floors in their garage. By carefully following the instructions, they were able to achieve professional-looking and durable flooring, completely transforming the appearance and functionality of the space.
3. Epoxy Flakes Floors
- Prepare the Base Coat: Apply an epoxy primer to the floor and evenly sprinkle epoxy flakes while the primer is still wet.
- Apply the Top Coat: Once the base coat has cured, apply the epoxy topcoat to encapsulate the epoxy flakes and create a smooth, glossy finish.
- Seal the Surface: Seal the epoxy flake floor with a clear sealer to enhance durability and protect the decorative flakes.
Epoxy flake floors offer a seamless, customizable, and durable flooring solution suitable for both residential and commercial spaces.
4. Metallic Epoxy Floors
- Before beginning, make sure to clean and etch the surface properly for better adhesion.
- Next, apply a primer to ensure a strong bond between the concrete surface and the metallic epoxy.
- Mix the metallic epoxy resin with a metallic pigment to achieve the desired color and effect.
- Once mixed, apply the metallic epoxy coating in thin, even layers to create the desired design and depth.
Fun fact: Metallic epoxy floors are not only visually stunning but also highly durable, making them a popular choice for both commercial and residential spaces.
5. Quartz-Filled Epoxy Floors
Quartz-filled epoxy floors are a highly sought-after option due to their durability and attractive appearance. These types of floors are made by combining epoxy resin with quartz sand, resulting in increased strength and resistance to wear and tear. They are particularly well-suited for areas with heavy foot traffic, such as garages and commercial spaces.
A helpful tip is to make sure there is adequate ventilation and to wear protective gear during the installation process to reduce the risk of inhaling airborne particles.
How To Prepare For Epoxy Flooring?
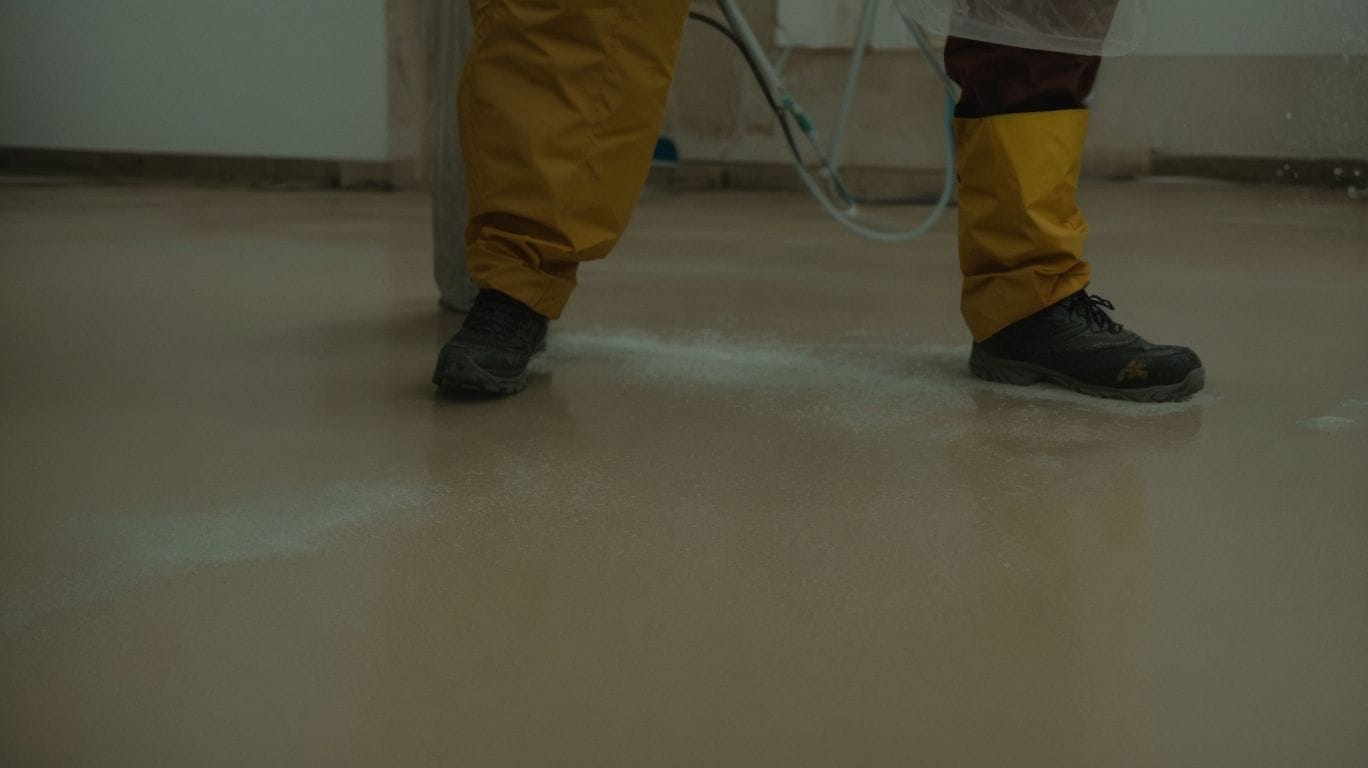
Photo Credits: Diyepoxyresin.Com by Albert Brown
Before embarking on any DIY epoxy flooring project, proper preparation is key to achieving a successful and long-lasting finish. In this section, we will discuss the necessary steps to prepare your concrete surface for epoxy coating. We will cover the importance of cleaning and repairing the surface, testing for moisture, and selecting the appropriate type of epoxy coating for your specific needs. By following these steps, you can ensure a smooth and durable epoxy floor that will enhance the look and functionality of your space.
1. Clean And Repair The Concrete Surface
In the 1980s, epoxy flooring gained popularity in industrial and commercial spaces due to its durability and chemical resistance. The trend later expanded to residential areas, becoming a preferred option for garages, basements, and even living spaces.
- Prepare the concrete surface by removing all furniture and loose items.
- Thoroughly clean the surface with a concrete cleaner and degreaser to eliminate any dirt, oil, or grease.
- Address any cracks or damage by using a concrete patching compound.
- Ensure proper adhesion of the epoxy coating by etching the surface with an acid solution.
2. Test For Moisture
- 2. Test for Moisture: Use a moisture meter to check the moisture content of the concrete subfloor.
- If the moisture level exceeds the recommended limit, address the moisture issue before proceeding with the epoxy application.
In the early 1900s, the first synthetic plastic, Bakelite, was created by Belgian chemist Leo Baekeland, who revolutionized the materials industry.
3. Choose The Right Epoxy Coating
- Determine the type: Choose between water-based, solvent-based, or 100% solid epoxy coatings based on the project’s requirements.
- Consider the application: For heavy-duty industrial floors, opt for 100% solid epoxy coatings. For residential or light commercial use, water-based or solvent-based coatings are suitable.
- Evaluate the finish: Decide on a clear epoxy coating for a glossy finish or a pigmented epoxy for a colored and decorative appearance.
Epoxy coatings were first developed in the 1920s by Dr. Pierre Castan, a Swiss chemist, who initially used epoxy resins for dental applications before their industrial use expanded during World War II.
How To Apply Epoxy Flooring?
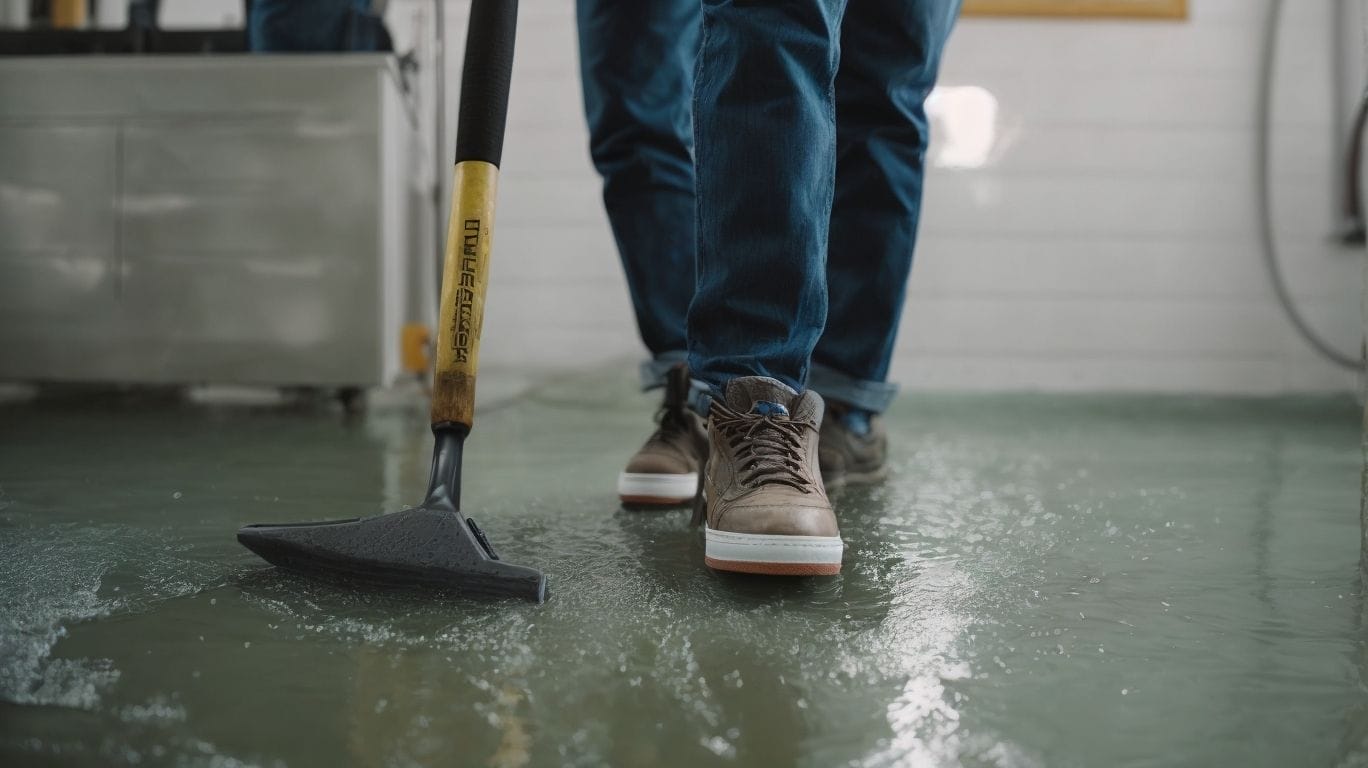
Photo Credits: Diyepoxyresin.Com by Michael Flores
When it comes to transforming your floors, epoxy is a popular and durable choice. But how exactly is it applied? In this section, we will break down the step-by-step process of applying epoxy flooring. From preparing the epoxy mixture to adding decorative elements, we’ll cover all the essential techniques and tips you need to know. So, let’s get started on creating a beautiful and long-lasting epoxy floor in your home.
1. Prepare The Epoxy Mixture
- Assemble all the required tools and equipment for preparing the epoxy mixture.
- Follow the manufacturer’s instructions to measure the epoxy resin and hardener accurately.
- In a clean container, combine the epoxy resin and hardener.
- Thoroughly mix the components using a stir stick or drill mixer until the mixture is evenly blended.
- Before applying, let the mixture sit for the specified induction time.
2. Apply The Primer
When applying the primer for your DIY epoxy floor, follow these steps:
- Clean the floor thoroughly to remove any dirt or debris.
- Repair any cracks or imperfections in the concrete.
- Etch the floor using an etching solution to ensure proper adhesion of the primer.
- Apply the primer according to the manufacturer’s instructions, ensuring even coverage.
For best results, consider seeking professional advice or watching tutorial videos to refine your technique.
3. Apply The Epoxy Coating
- Prepare the surface by cleaning and etching it to ensure proper adhesion.
- Mix the epoxy resin with the hardener and apply it with a roller or brush.
- Allow the first coat to cure before applying the second coat to achieve the desired thickness.
- For added durability, consider applying a clear top coat once the epoxy has fully cured.
Fact: Applying the epoxy coating not only enhances the aesthetic appeal of the floor but also provides a durable and easy-to-clean surface.
4. Add Decorative Elements
- Prepare the epoxy base by mixing the resin and hardener according to the instructions.
- Once the base is ready, add decorative elements such as colored flakes, metallic pigments, or glitter to the mixture.
- Gently stir the decorative elements into the epoxy, ensuring they are evenly distributed.
- Pour and spread the customized epoxy mixture onto the prepared floor, creating a seamless and decorative finish.
5. Apply A Top Coat
- Clean the floor thoroughly to remove any dust or debris.
- Prepare the epoxy topcoat according to the manufacturer’s instructions.
- Apply the top coat in even strokes, working in small sections.
- Use a paint roller or brush for a smooth and consistent application.
- Allow the top coat to dry as per the recommended time before walking on the floor.
How To Maintain Epoxy Flooring?
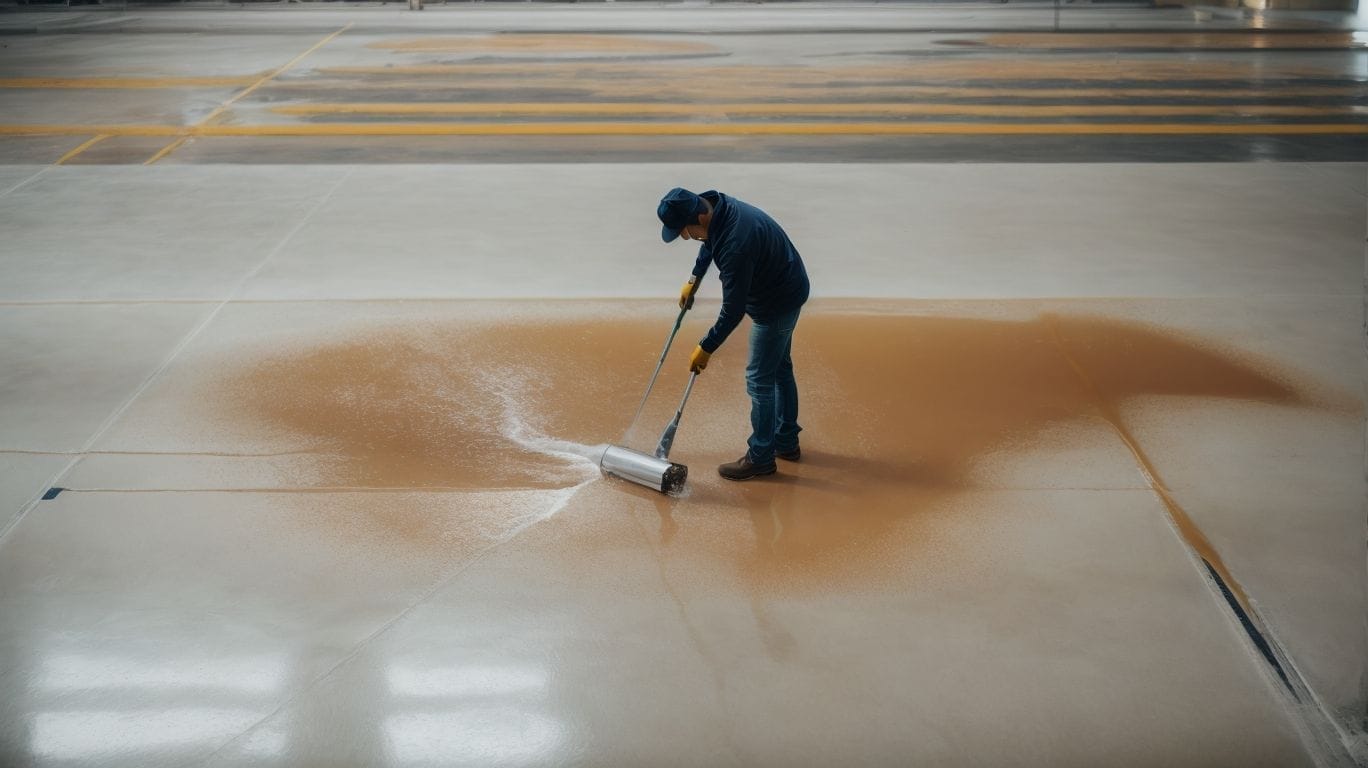
Photo Credits: Diyepoxyresin.Com by Logan Davis
Maintaining your epoxy flooring is essential to keep it looking clean and polished for years to come. In this section, we will discuss the various ways you can maintain your epoxy floor so it stays in top condition. From simple regular cleaning to avoiding harsh chemicals, we will cover all the necessary steps to ensure your epoxy floor retains its shine and durability. Let’s dive into the details of how to maintain your epoxy flooring.
1. Regular Cleaning
- Regularly sweep the floor using a soft-bristle broom or a dust mop to remove any loose dirt and debris.
- Clean the floor with a pH-neutral cleaner and a microfiber mop, paying special attention to removing any stains or spills.
- If there are tougher stains, you can try using a mild detergent mixed with water to scrub the affected areas gently.
- Make sure the floor is completely dry before applying any additional coatings or treatments.
2. Avoid Harsh Chemicals
- To maintain the epoxy floor, it is important to use eco-friendly cleaning solutions and avoid harsh chemicals.
- Regular sweeping and mopping with a pH-neutral cleaner is recommended to remove dust and dirt without causing damage to the floor.
- It is best to avoid using acidic or alkaline cleaners as they can degrade the epoxy surface and compromise its durability.
- Mild soap and water can be used for routine cleaning to preserve the pristine condition of the epoxy floor.