DIY epoxy flooring is the process of applying a resin-based coating to your concrete floor to create a durable and visually appealing finish. It has been gaining popularity in recent years due to its cost-effectiveness and ease of installation. However, as with any DIY project, there are certain dos and don’ts to keep in mind to ensure the best results.
There are many benefits to choosing to install DIY epoxy flooring in your home or business. It is a cost-effective option, easily customizable to fit your design preferences, and provides a long-lasting and durable finish. Additionally, it is resistant to stains and chemicals and can withstand heavy traffic, making it a popular choice for garage floors, basements, and commercial spaces.
To ensure a successful DIY epoxy flooring project, here are some dos to keep in mind:
- Prepare the surface properly by cleaning and repairing any cracks or imperfections.
- Follow the manufacturer’s instructions closely to ensure proper mixing and application.
- Use proper protective equipment, such as gloves and a respirator, when working with epoxy.
- Allow enough drying time between coats and before walking on the surface.
On the other hand, here are some don’ts to avoid when working with DIY epoxy flooring:
- Don’t rush the process, as this can lead to mistakes and a subpar finish.
- Please don’t mix the epoxy inaccurately, as this can affect its durability and appearance.
- Don’t apply the epoxy in unsuitable conditions, such as extreme temperatures or high humidity.
- Don’t skimp on materials, as this can affect the overall quality and longevity of the flooring.
Some common mistakes to avoid when installing DIY epoxy flooring include not preparing the surface properly, incorrectly mixing the epoxy, applying too thin or thick of a coat, and not allowing enough drying time between coats.
If DIY epoxy flooring seems too daunting or risky, there are alternatives available. Professional epoxy flooring services can provide a more polished and precise finish but at a higher cost. Other DIY flooring options, such as peel-and-stick tiles or vinyl planks, can also provide a durable and aesthetic finish without the use of epoxy. Ultimately, the best choice for you will depend on your budget, skill level, and desired outcome.
Key Takeaways:
- Properly prepare the surface for DIY epoxy flooring to ensure a smooth and long-lasting finish.
- Always follow the manufacturer’s instructions and use the proper protective equipment to avoid any potential hazards.
- Don’t rush the process, mix inaccurately, or apply in unsuitable conditions – these mistakes can result in failed or subpar epoxy flooring.
What Is DIY Epoxy Flooring?
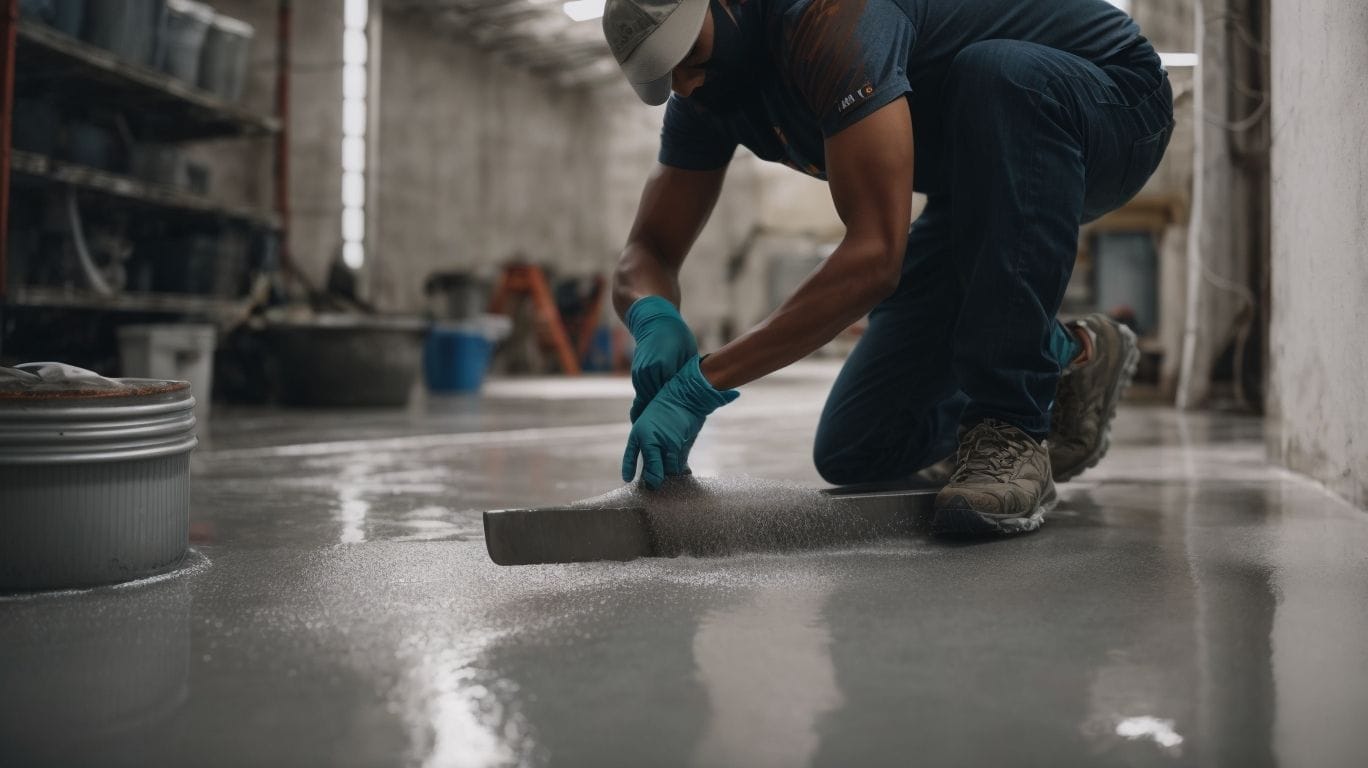
Photo Credits: Diyepoxyresin.Com by Alexander Wright
DIY epoxy flooring is a process that involves applying a resin coating to an existing floor in order to improve its durability and visual appeal. This method typically includes thorough floor preparation, application of the epoxy resin, and a topcoat for added protection. It is a budget-friendly way to renovate floors in residential homes, garages, or commercial spaces.
If you are thinking about undertaking a DIY epoxy flooring project, it is important to ensure proper ventilation, use safety equipment, and carefully follow the instructions provided by the manufacturer. For more complex installations or larger areas, it is recommended to seek professional advice.
What Are the Benefits of DIY Epoxy Flooring?
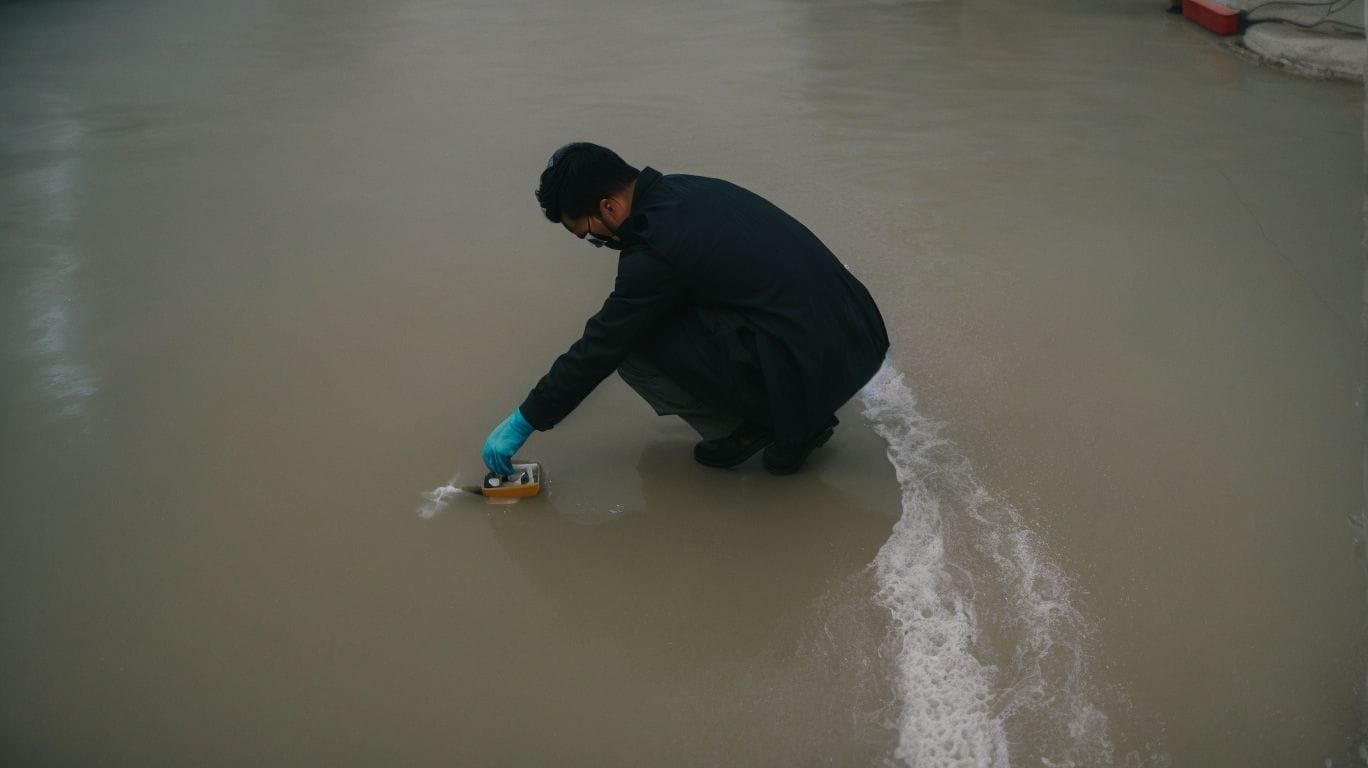
Photo Credits: Diyepoxyresin.Com by Samuel Carter
DIY epoxy flooring has a multitude of benefits, including cost-effectiveness, durability, easy maintenance, and customization options. It creates a seamless, high-gloss surface that is resistant to stains, impacts, and chemicals. This type of flooring was initially created in the 1920s by Dr. Pierre Castan, a Swiss chemist who discovered the adhesive properties of epoxy resin. Since then, it has been widely used in industrial and commercial settings.
What Are the Dos of DIY Epoxy Flooring?
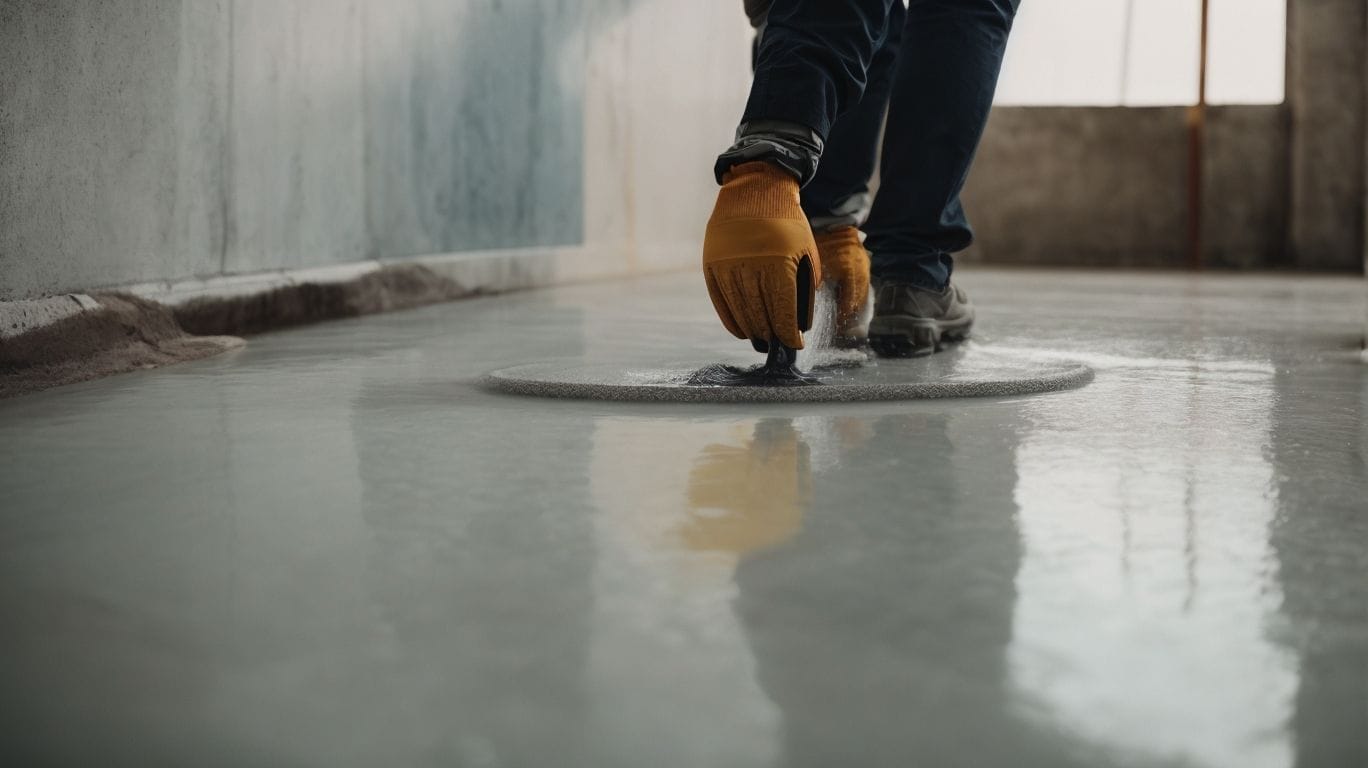
Photo Credits: Diyepoxyresin.Com by Jose Mitchell
When it comes to DIY epoxy flooring, proper preparation and following instructions are key to a successful project. In this section, we will discuss the first four dos of DIY epoxy flooring. These include properly preparing the surface for application, following the manufacturer’s instructions, using proper protective equipment, and allowing enough time for the epoxy to dry. By following these dos, you can ensure a smooth and durable finish for your flooring project.
1. Prepare the Surface Properly
- Clear the surface of any dirt, dust, or debris.
- Repair any cracks or imperfections in the surface.
- Etch or grind the surface to create a rough texture for better adhesion.
- Ensure the surface is completely dry before applying the epoxy.
Properly preparing the surface is crucial for a successful DIY epoxy flooring project. Following these steps will help ensure a smooth and long-lasting finish.
2. Follow Manufacturer’s Instructions
- Thoroughly read and understand the manufacturer’s instructions for the specific requirements of the epoxy flooring product.
- Take note of any recommended surface preparation, temperature conditions, and application techniques provided by the manufacturer.
- Follow the specified mixing ratios and application procedures as per the manufacturer’s guidelines.
- Adhere to any recommended safety precautions and ventilation requirements during the application process.
When following the manufacturer’s instructions for DIY epoxy flooring, precision and attention to detail are crucial. Always take the time to understand and comply with the provided guidelines to achieve the best results.
3. Use Proper Protective Equipment
- Always wear appropriate safety gear, including gloves, goggles, and a respirator, when working.
- Make sure there is proper ventilation in the working area to avoid inhaling fumes.
- Use protective clothing to prevent any contact with the skin.
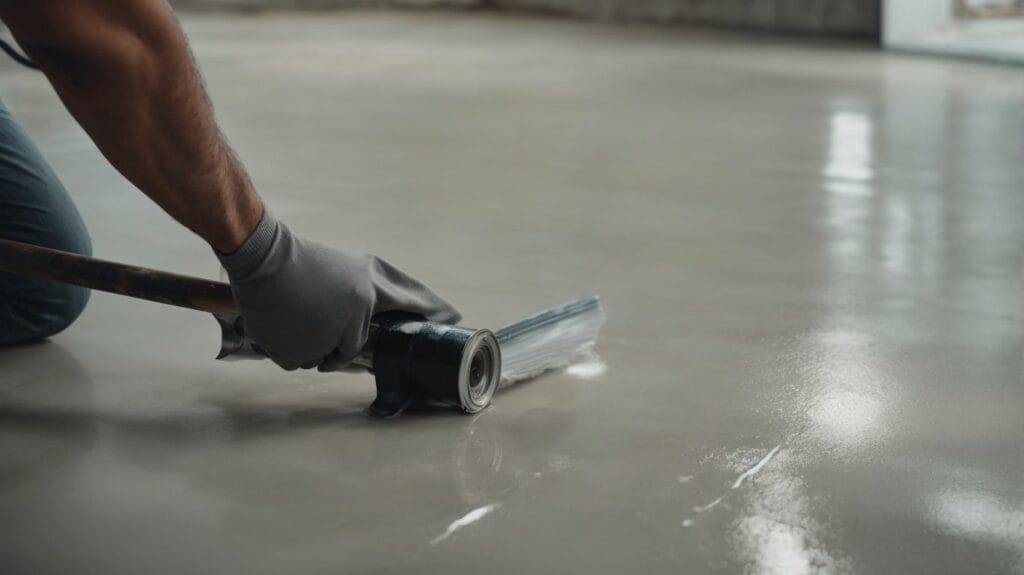
4. Allow Enough Drying Time
- Clear the area: Ensure the space is free of dust, debris, and moisture.
- Mix epoxy: Follow the manufacturer’s instructions for accurate mixing.
- Apply epoxy: Use a roller or brush to apply the epoxy evenly.
- Allow enough drying time: Let the epoxy dry for the recommended time to achieve a durable finish.
Fact: Proper drying time is crucial for epoxy flooring to attain maximum strength and longevity.
What Are the Don’ts of DIY Epoxy Flooring?
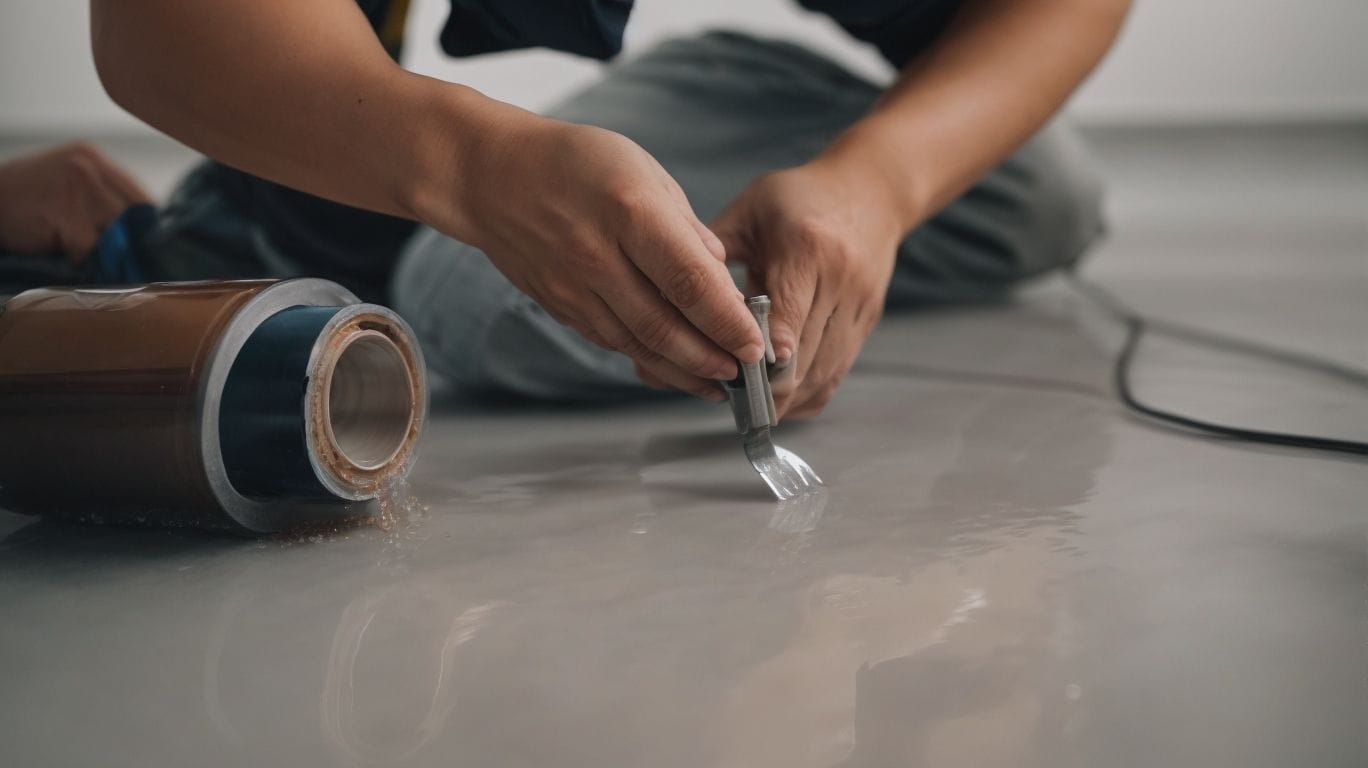
Photo Credits: Diyepoxyresin.Com by Zachary Green
While DIY epoxy flooring can be a cost-effective and rewarding project, it’s important to know the potential pitfalls before diving in. In this section, we will discuss the common “don’ts” of DIY epoxy flooring. From rushing the process to using incorrect materials, we’ll cover the key mistakes to avoid in order to achieve a successful and durable epoxy floor. So, let’s take a closer look at the don’ts of DIY epoxy flooring and how to prevent them.
1. Don’t Rush the Process
- Take your time when applying epoxy flooring to ensure a flawless finish.
- Carefully plan the project timeline, allowing ample time for each step, from surface preparation to final curing.
- Follow the manufacturer’s guidelines meticulously, adhering to specified drying times and application techniques.
- Avoid rushing the process to prevent errors, bubbles, or uneven coating.
2. Don’t Mix Inaccurately
- Measure Accurately: Use precise measurements for both resin and hardener to maintain the correct ratio and avoid mixing inaccurately.
- Follow Instructions: Adhere strictly to the manufacturer’s guidelines regarding mixing procedures and proportions to ensure a successful application.
- Avoid Haste: Take your time during the mixing process to ensure thorough and accurate blending and avoid any mistakes.
Suggestions: To achieve flawless epoxy flooring, meticulous mixing is indispensable. Diligently following the recommended measurements and procedures will guarantee a successful application.
3. Don’t Apply in Unsuitable Conditions
- Check the weather conditions to ensure that the temperature and humidity levels are suitable for application.
- Avoid applying epoxy flooring in extreme temperatures or direct sunlight.
- Choose a time when the area is free from dust, debris, and excessive drafts.
Fact: Proper application conditions are crucial for the longevity and durability of DIY epoxy flooring. It is important not to apply the flooring in unsuitable conditions.
4. Don’t Skimp on Materials
- High-Quality Epoxy: Invest in premium epoxy to ensure durability and longevity.
- Tools: Utilize proper tools and equipment, such as rollers, squeegees, and mixing buckets, for a flawless application.
- Surface Preparation Materials: Don’t skimp on surface preparation materials like cleaners, degreasers, and etching solutions to guarantee proper adhesion and a successful application.
What Are the Common Mistakes in DIY Epoxy Flooring?
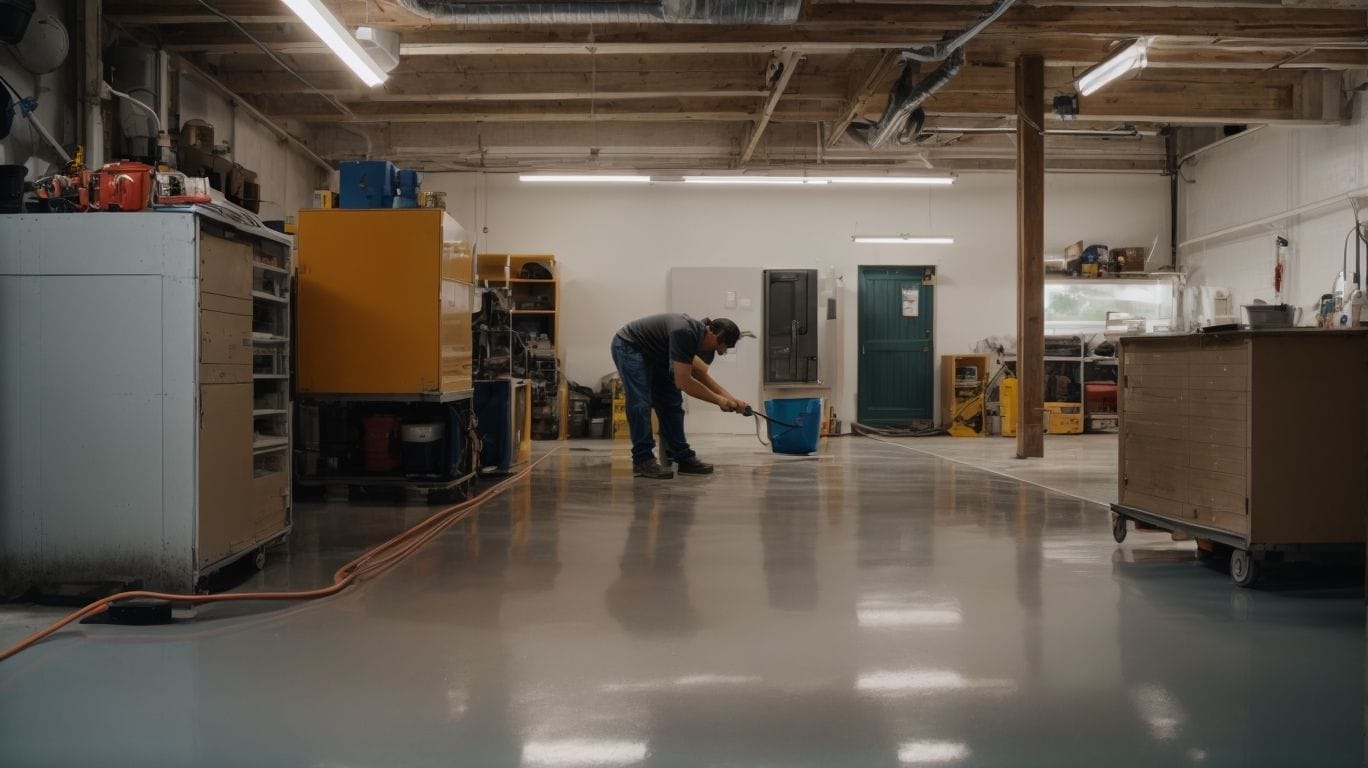
Photo Credits: Diyepoxyresin.Com by Frank Anderson
When it comes to DIY epoxy flooring, several common mistakes can lead to subpar results. In this section, we will discuss the potential pitfalls and errors that many DIYers make when attempting to apply epoxy flooring. From not properly preparing the surface to not allowing enough drying time, we’ll cover the dos and don’ts of achieving a successful and professional-looking epoxy floor. Avoiding these mistakes can save you time, money, and frustration in the long run.
1. Not Preparing the Surface Properly
- Thoroughly clean the surface to remove all dirt, dust, and debris.
- Repair any cracks, holes, or imperfections to ensure a smooth, even surface.
- Etch or sand the surface to create a suitable texture for the epoxy to adhere to.
- Use a primer to promote adhesion and enhance the durability of the epoxy coating.
When applying DIY epoxy flooring, not properly preparing the surface can result in adhesion issues and a compromised final result.
2. Not Mixing the Epoxy Correctly
- Read the instructions carefully to understand the mixing ratios.
- Use accurate measuring tools for precise results.
- Mix in smaller batches to ensure thorough blending.
- Follow the specified stirring time to achieve the proper consistency.
Not mixing the epoxy correctly can lead to an uneven finish, reduced durability, and potential adhesion issues. Taking the time to mix the epoxy accurately is crucial for a successful DIY epoxy flooring project.
3. Applying Too Thin or Thick of a Coat
- Measure the surface area accurately to determine the appropriate amount of epoxy needed.
- Follow the manufacturer’s guidelines on the recommended thickness for the coat.
- Use a notched squeegee or roller to ensure an even and consistent application.
- Avoid overworking the epoxy, which can result in a thin coat, or applying too much, leading to a thick, uneven coat.
4. Not Allowing Enough Drying Time
- Check the recommended drying time from the manufacturer for the specific epoxy product.
- Ensure that the area has sufficient ventilation to assist with the drying process.
- Avoid applying pressure or placing heavy objects on the epoxy surface before it has fully dried and cured.
James hastily installed epoxy flooring in his garage and neglected to give it enough time to dry. As a result, the epoxy did not properly cure, resulting in a sticky and uneven surface that required him to redo the entire process.
What Are the Alternatives to DIY Epoxy Flooring?
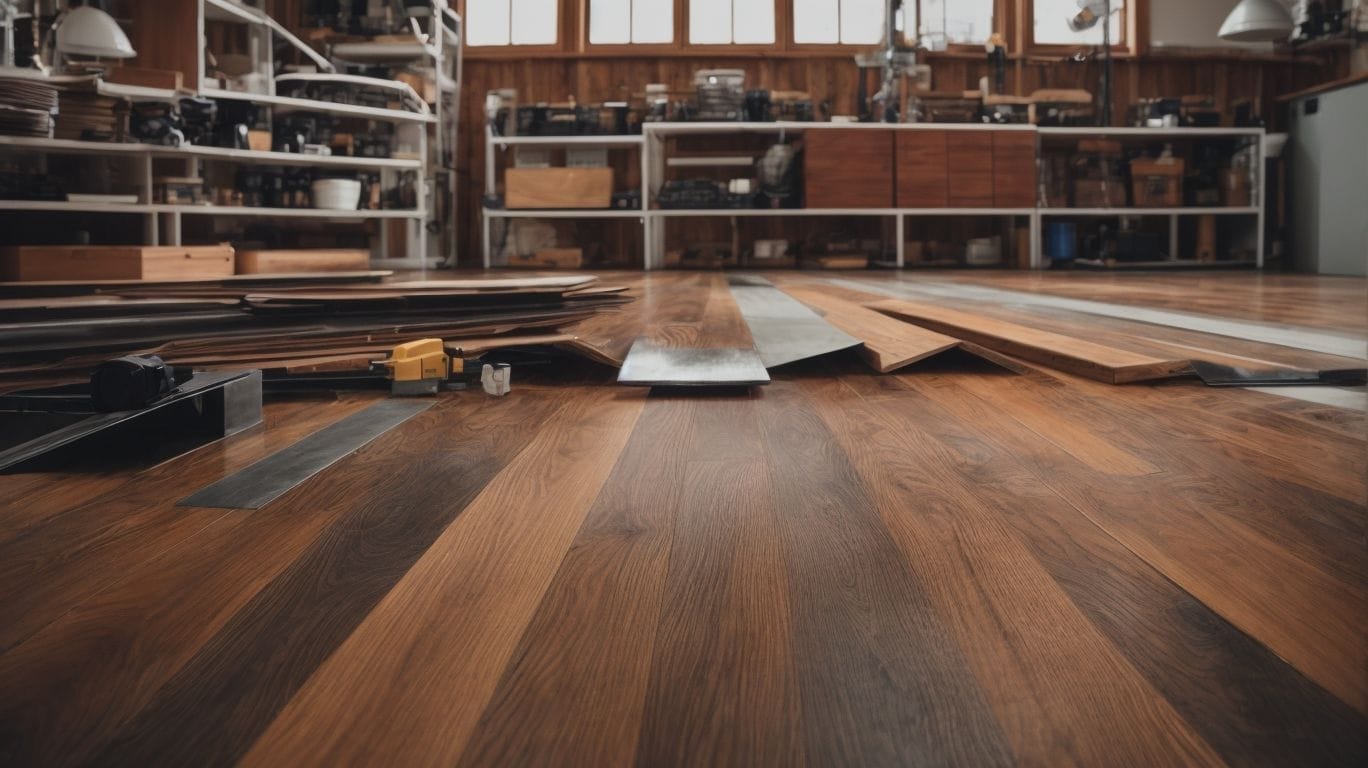
Photo Credits: Diyepoxyresin.Com by Anthony White
While DIY epoxy flooring may seem like an appealing option for those looking to upgrade their floors, it is not the only choice available. In fact, there are alternative options that may better suit your needs and preferences. In this section, we will discuss the two main alternatives to DIY epoxy flooring: hiring professional epoxy flooring services and exploring other types of DIY flooring options. By considering these alternatives, you can make a more informed decision on how to approach your flooring project.
1. Professional Epoxy Flooring Services
- Assessment: Hire a reputable contractor or company specializing in professional epoxy flooring services.
- Consultation: Schedule a consultation to discuss your specific flooring needs and receive professional recommendations.
- Customization: Explore various options for professional epoxy flooring to find a tailored solution for your space and requirements.
- Execution: Once you’ve chosen a service provider, ensure a clear timeline and agreement before commencement.
Pro-tip: Research customer reviews and check past projects to gauge the expertise and quality of professional epoxy flooring services.
2. Other Types of DIY Flooring Options
- Laminate flooring: Affordable, durable, and easy to install.
- Vinyl flooring: Waterproof, low maintenance, and budget-friendly.
- Hardwood flooring: Timeless, adds value to the home, and comes in various finishes.
- Tile flooring: Resilient, offers endless design options, and is easy to clean.
- When considering other types of DIY flooring options, take into account the layout of your space, foot traffic, and budget.