Epoxy flooring is a popular choice for both residential and commercial spaces due to its durability, low maintenance, and aesthetic appeal. This type of flooring is a mixture of resin and hardener, creating a strong and seamless surface. However, like any other type of flooring, epoxy can get damaged over time. In this article, we will discuss what causes epoxy flooring damage, how to repair it, and how to prevent it from happening.
What Is Epoxy Flooring?
Epoxy flooring is made up of multiple layers of resin and hardener, creating a strong and durable surface that is resistant to stains, chemicals, and heavy foot traffic. It is commonly used in garages, warehouses, and industrial spaces but has also gained popularity in residential spaces due to its sleek and seamless appearance.
What Are the Causes of Epoxy Flooring Damage?
While epoxy flooring is known for its strength and durability, it can still get damaged over time. Here are some common causes of epoxy flooring damage:
- Heavy Foot Traffic: Epoxy flooring is designed to withstand heavy foot traffic, but excessive wear and tear can cause it to crack or chip.
- Chemical Spills: Epoxy is resistant to most chemicals, but if left on the surface for too long, it can cause discoloration or even damage the flooring.
- Impact Damage: Heavy objects dropped on the floor can cause cracks or chips in the epoxy surface.
- Moisture and Humidity: Epoxy flooring can become damaged if exposed to excessive moisture or humidity, causing it to peel or bubble.
How do you repair small chips and cracks in epoxy flooring?
Minor damage to epoxy flooring can be repaired easily with these steps:
- Clean the Damaged Area: Use a mild detergent and warm water to clean the damaged Area. Make sure to remove any dirt or debris.
- Sand the Area: Use fine-grit sandpaper to lightly sand the damaged Area, removing any loose epoxy or debris.
- Fill in the Crack or Chip: Using a putty knife, carefully apply a small amount of epoxy filler to the damaged Area, smoothing it out to create a seamless surface.
- Smooth and Level the Surface: Use a razor blade or scraper to smooth and level the epoxy filler, ensuring that it is flush with the rest of the floor.
- Allow the Epoxy to Cure: Let the repaired area cure for at least 24 hours before allowing any foot traffic on the floor.
How do you repair larger damaged areas in epoxy flooring?
For larger areas of damage, follow these steps:
- Clean and Prepare the Area: Clean the damaged Area with a mild detergent and warm water. If the damage is severe, you may need to use a degreaser to remove any oils or grease.
- Remove the Damaged Epoxy: Use a grinder or sandblaster to remove the damaged epoxy, creating a clean and smooth surface.
- Fill in the Area with New Epoxy: Prepare a new batch of epoxy according to the manufacturer’s instructions and carefully fill in the damaged Area, smoothing it out evenly.
- Smooth and Level the Surface: Use a razor blade or scraper to smooth and level the new epoxy, ensuring a seamless surface.
- Allow the Epoxy to Cure: Let the repaired area cure for at least 24 hours before allowing any foot traffic on the floor.
How to Prevent Epoxy Flooring Damage?
While it may not be possible to prevent epoxy flooring damage completely, there are steps you can take to minimize it:
- Use Protective Mats or Rugs: Place mats or rugs in high-traffic areas or under heavy furniture to protect the flooring from damage.
- Clean Up Spills Immediately: Wipe up any spills or stains on the floor immediately to prevent them from causing damage.
- Use Furniture Pads: Place felt pads under furniture legs to prevent them from scratching or damaging the floor.
Key Takeaways:
- Regular cleaning and maintenance can prevent damage to epoxy flooring caused by heavy foot traffic, chemical spills, impact damage, and moisture.
- Small chips and cracks in epoxy flooring can be repaired by cleaning the Area, sanding, filling, and smoothing the surface, and allowing the epoxy to cure.
- For larger damaged areas, the process is similar but involves removing the old epoxy and filling in with new epoxy before smoothing and allowing it to cure.
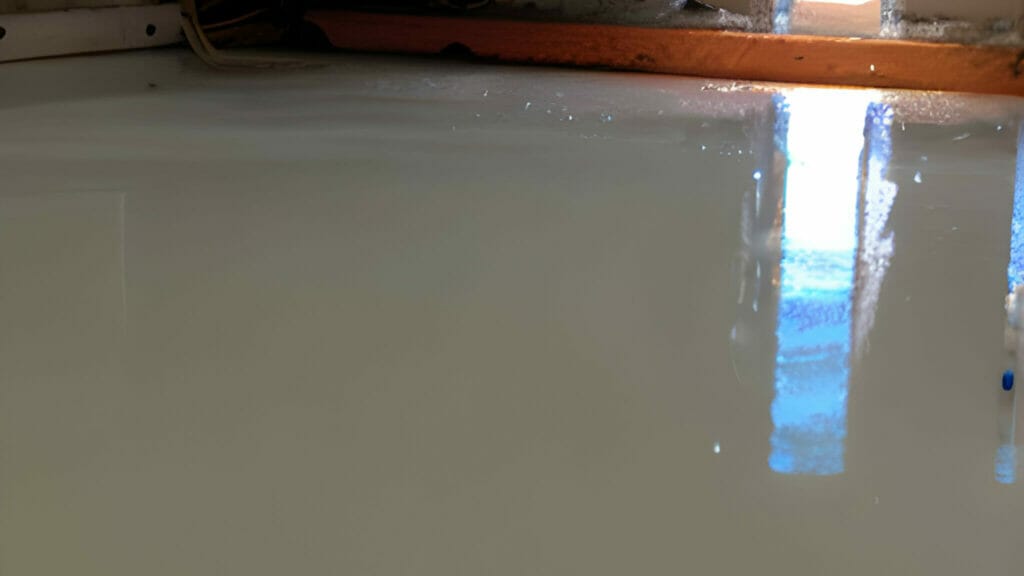
What Is Epoxy Flooring?
Photo Credits: Diyepoxyresin.Com by Christian Carter
Epoxy flooring is a highly durable and long-lasting solution for commercial and industrial settings. This type of flooring is composed of multiple layers of epoxy applied to a depth of at least two millimeters. The self-leveling resins create a seamless, high-gloss finish that is not only visually appealing but also resistant to chemical and oil spills, making it perfect for garages and workshops.
When asking the question, “What is epoxy flooring?” keep in mind its versatility and durability, making it a suitable choice for various environments, including factories, warehouses, and hospitals.
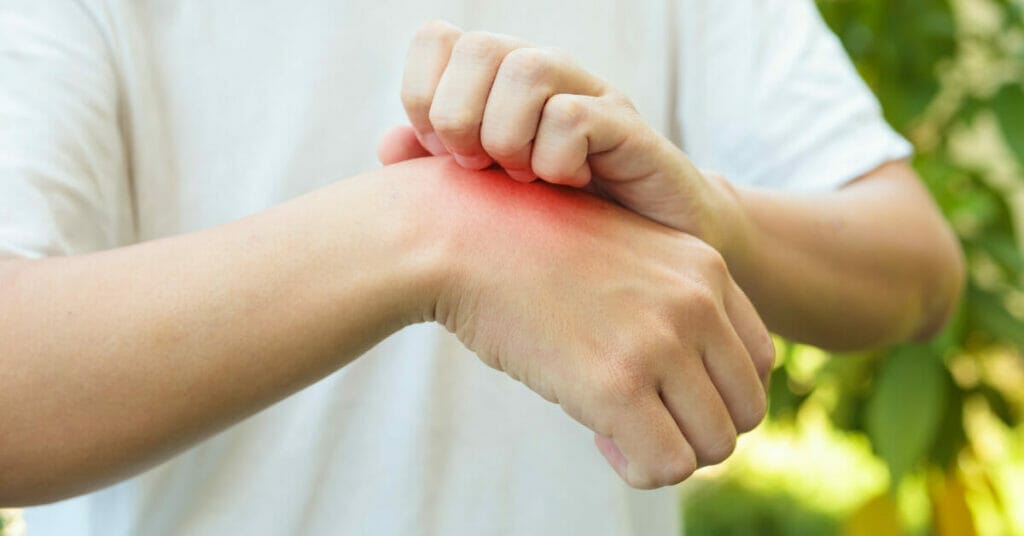
What Are the Causes of Epoxy Flooring Damage?
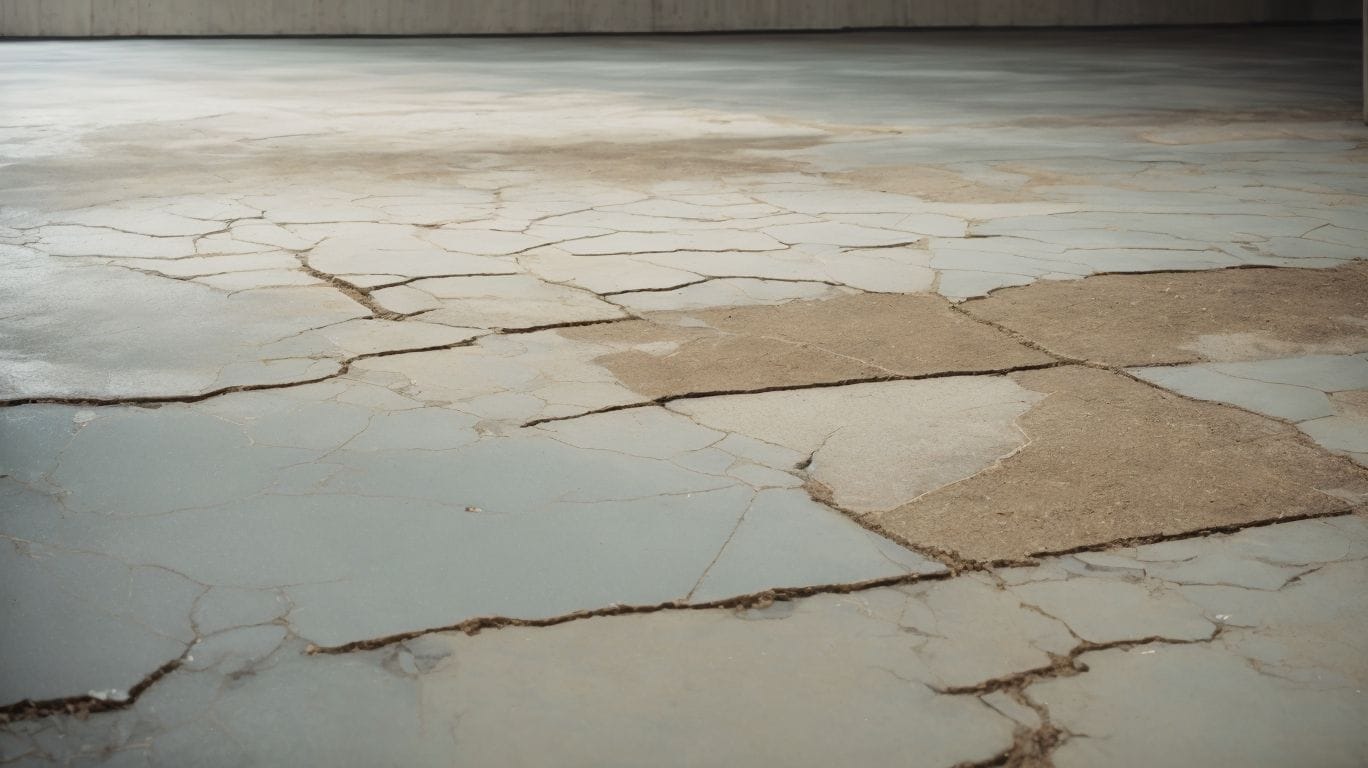
Photo Credits: Diyepoxyresin.Com by Bruce Campbell
Epoxy flooring is a popular choice for its durability and low maintenance, but like any flooring, it can still be prone to damage. In this section, we will discuss the various causes of epoxy flooring damage. Whether it’s from heavy foot traffic, chemical spills, impact damage, or moisture and humidity, understanding the root cause of the damage can help prevent it from occurring in the future. So, let’s dive into the factors that can lead to a damaged epoxy floor.
1. Heavy Foot Traffic
- To keep your epoxy flooring in top condition, make sure to clean and maintain it regularly to remove any dirt and debris caused by heavy foot traffic.
- For added protection against wear and tear, consider applying a topcoat or sealant to your epoxy flooring.
- To reduce direct contact with the epoxy flooring, utilize floor mats or rugs in high-traffic areas.
- Maintain the strength and resilience of your epoxy coating by implementing a reapplication schedule.
2. Chemical Spills
- In the event of a chemical spill, it is important to immediately contain the spill by using an absorbent material such as sand or kitty litter.
- Dispose of the contaminated absorbent material according to local regulations to ensure safety.
- Clean the affected Area with a suitable solvent or detergent to remove any residual chemical traces.
- Thoroughly rinse the Area with clean water and allow it to dry completely before applying any repair materials.
3. Impact Damage
- Assess the extent of the impact damage to determine the appropriate repair method.
- Clean the damaged Area thoroughly to remove any debris or loose epoxy.
- Use a suitable epoxy repair kit to fill in the impacted Area, ensuring it is level with the surrounding floor.
- Allow the epoxy to cure completely as per the manufacturer’s instructions.
- Once cured, inspect the repaired Area to ensure it blends seamlessly with the rest of the flooring.
To prevent impact damage, consider installing protective floor coatings or mats in high-traffic areas. Regularly inspect the flooring for signs of wear and tear, addressing any damage promptly.
4. Moisture and Humidity
- Control humidity levels: To prevent moisture buildup, use a dehumidifier to maintain relative humidity levels between 40-60%.
- Fix leaks promptly: Address any leaks or issues with water seepage to prevent excess moisture in the air.
- Ensure proper ventilation: Proper airflow is essential in reducing moisture accumulation.
- Seal concrete subfloor: To protect the epoxy flooring from damage, seal the concrete subfloor to prevent moisture from seeping through.
How do you repair small chips and cracks in epoxy flooring?
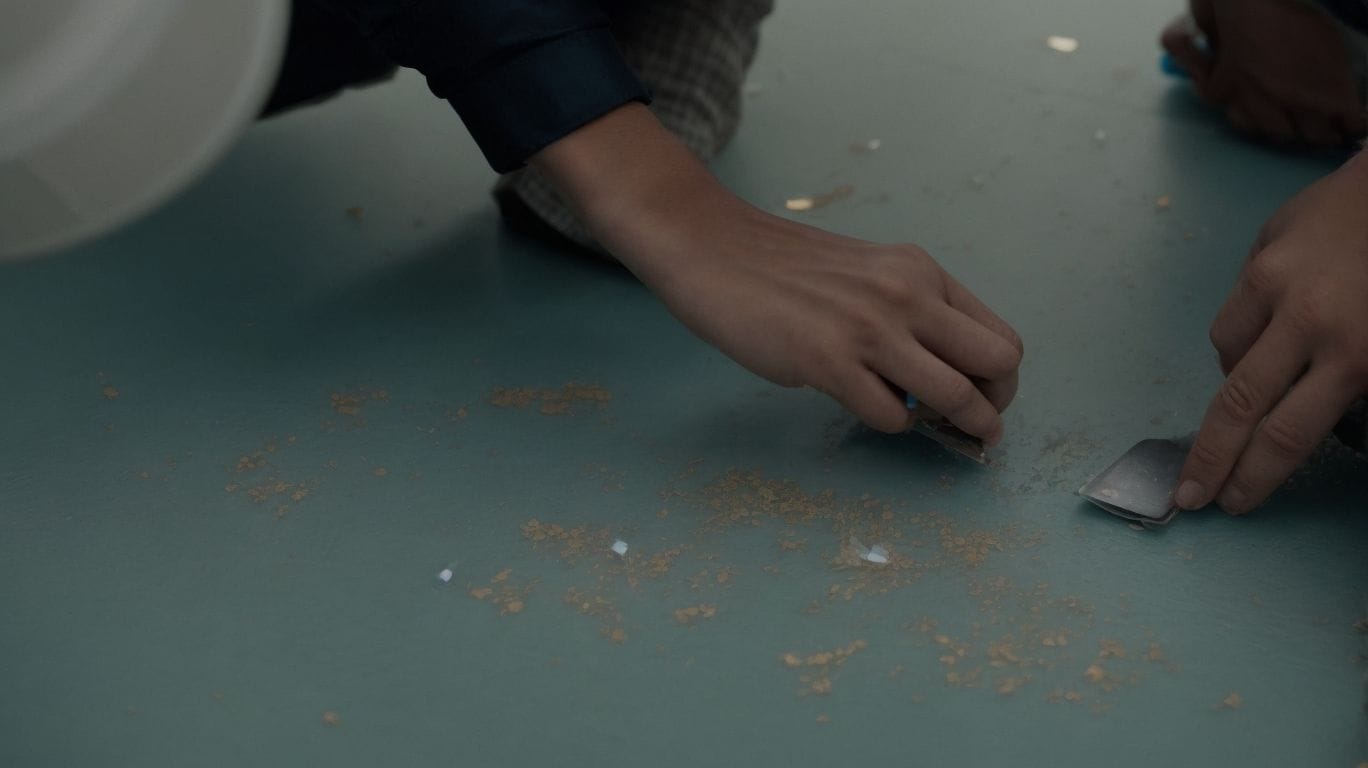
Photo Credits: Diyepoxyresin.Com by Benjamin Hill
When it comes to repairing damaged epoxy flooring, it is important to follow specific steps to ensure a successful and long-lasting fix. In this section, we will discuss how to repair small chips and cracks in epoxy flooring. We will cover the necessary materials and techniques needed to clean, sand, fill, and level the damaged area effectively. Additionally, we will also touch on the crucial step of allowing the epoxy to cure properly, ensuring a strong and seamless repair.
1. Clean the Damaged Area
- Begin by clearing the damaged Area of any debris, dust, or loose epoxy using a vacuum or broom.
- Next, wash the Area with a mild detergent and warm water, and be sure to rinse it thoroughly.
- If there are stubborn stains, gently scrub the Area with a non-abrasive scrubbing pad or brush.
- Before moving on to the repair process, make sure that the cleaned Area is completely dry.
After cleaning the damaged Area, it is important to ensure that it is completely dry before proceeding with the repair in order to achieve the best results. Consider using mild cleaning agents to preserve the integrity of the epoxy flooring.
2. Sand the Area
- Begin by cleaning the damaged Area thoroughly to remove any dirt, debris, or loose epoxy particles.
- Next, use sandpaper to gently sand the Area surrounding the crack or chip to create a smooth surface for the epoxy filler to adhere to.
3. Fill in the Crack or Chip
- Clean the damaged Area by removing any dirt, debris, or loose epoxy particles.
- Using fine-grit sandpaper, sand the Area around the crack or chip to create a smooth and clean surface for the epoxy to adhere to.
- Fill in the crack or chip with epoxy filler, ensuring it is level with the surrounding floor.
4. Smooth and Level the Surface
- Prepare the Area by cleaning and removing any debris or dust.
- Apply the new epoxy to fill in the damaged section, ensuring an even and level application.
- Smooth the surface using a trowel or putty knife to create a seamless transition between the new and existing epoxy and to level the surface.
- Use a straight edge or level tool to ensure an even and flat surface.
- Allow the epoxy to cure completely according to the manufacturer’s instructions.
5. Allow the Epoxy to Cure
- After filling in the crack or chip, allow the epoxy to cure for the recommended time, typically 24-72 hours or as suggested in step 5.
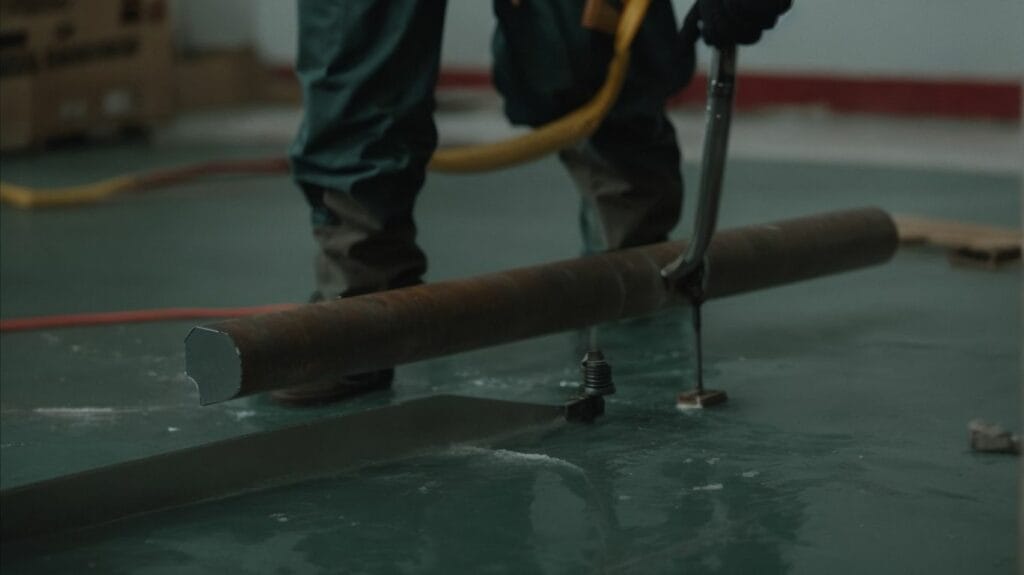
How do you repair larger damaged areas in epoxy flooring?
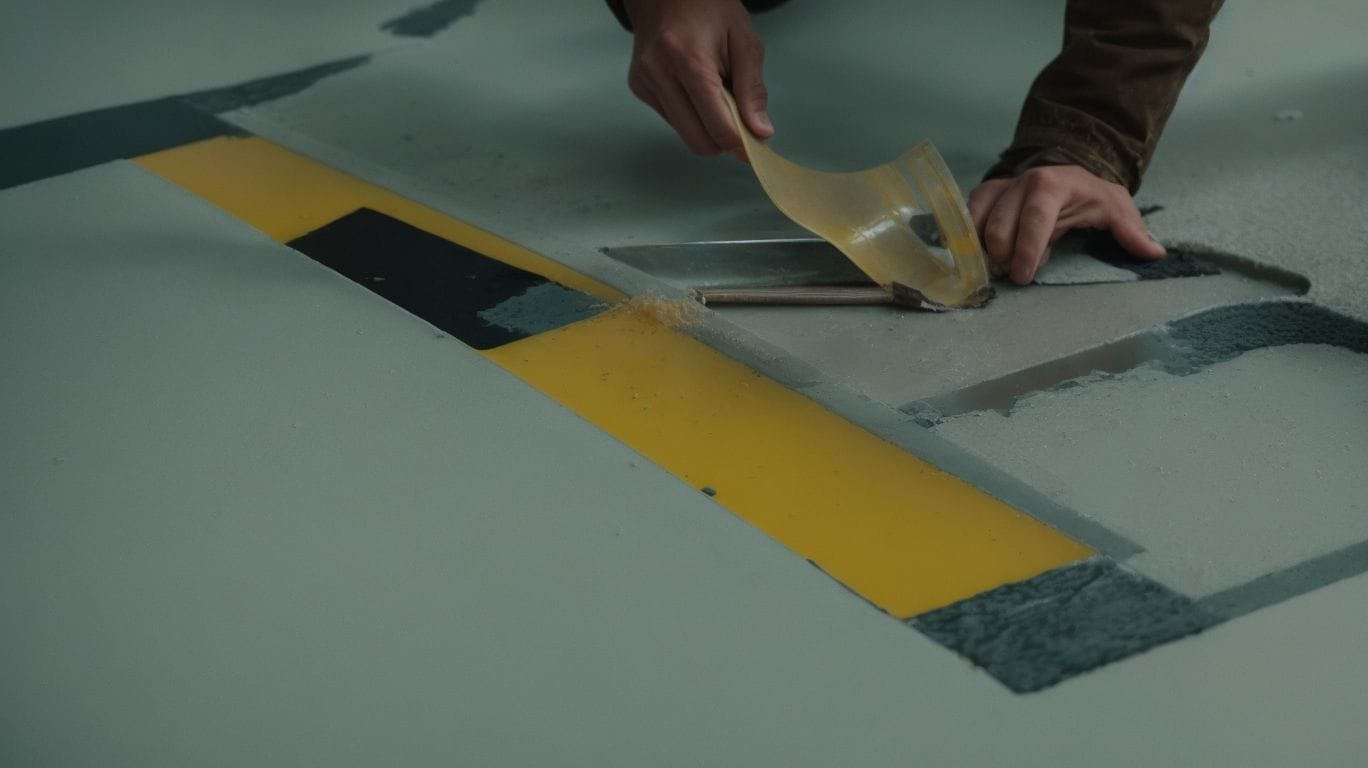
Photo Credits: Diyepoxyresin.Com by Jordan Lewis
Epoxy flooring is a durable and popular choice for many commercial and residential spaces. However, like any flooring, it can become damaged over time. In this section, we will discuss how to repair larger areas of damage in epoxy flooring. We will cover the necessary steps to clean and prepare the damaged Area, remove the old epoxy, fill in the damaged Area with new epoxy, and smooth and level the surface. By following these steps, you can restore your epoxy flooring to its original condition and ensure its longevity.
1. Clean and Prepare the Area
To properly clean and prepare the Area for repairing damaged epoxy flooring, follow these steps:
- Remove any debris, dirt, or loose epoxy from the damaged Area.
- Thoroughly clean the Area using a suitable cleaner to eliminate any grease, oil, or other contaminants.
- Rinse the Area with clean water and allow it to fully dry before proceeding with the repair.
My friend had a small chip in the epoxy coating on their garage floor. By meticulously following the cleaning and preparation steps, the repair was a success, and the floor looked as good as it had been new.
2. Remove the Damaged Epoxy
- Assess the damaged Area to determine the extent of epoxy removal needed.
- Use a putty knife or floor scraper to gently pry up the damaged epoxy, ensuring that it does not damage the underlying floor. This step is crucial in successfully removing the damaged epoxy.
- If the epoxy is stubborn, utilize a heat gun to soften it before removal.
- Clear away any remaining debris and thoroughly clean the Area to prepare for reapplication.
3. Fill in the Area with New Epoxy
- Clean and Prepare the Area: Begin by cleaning the damaged Area thoroughly and removing any loose epoxy or debris.
- Remove the Damaged Epoxy: Use a chisel or putty knife to carefully remove the damaged epoxy until you reach a solid, clean substrate.
- Fill in the Area with a Fresh Batch of Epoxy: Prepare a new batch of epoxy and carefully fill in the damaged Area, ensuring it is level with the surrounding floor.
- Smooth and Level the Surface: Use a putty knife or trowel to smooth and level the newly applied epoxy, blending it seamlessly with the existing floor.
- Allow the Epoxy to Cure: Follow the manufacturer’s instructions regarding curing time to ensure the repaired Area sets properly.
A small business owner experienced damage to their epoxy flooring due to heavy machinery. Following expert advice, they successfully restored the Area to its original quality by filling it in with fresh epoxy.
4. Smooth and Level the Surface
- Once the damaged Area has been filled in, use a putty knife to smooth and level the surface.
5. Allow the Epoxy to Cure
- Clean the affected Area to remove any debris or dust.
- Sand the damaged Area to create a smooth surface for the epoxy to adhere to.
- Fill in the crack or chip with epoxy filler, ensuring it is level with the rest of the floor.
- Smooth and level the surface to blend the repaired Area with the surrounding floor.
- Allow the Epoxy to Cure completely as per the manufacturer’s instructions before resuming regular use of the floor.
For optimal results, follow the epoxy manufacturer’s recommendations precisely and consider seeking professional assistance for more extensive damage.
How to Prevent Epoxy Flooring Damage?
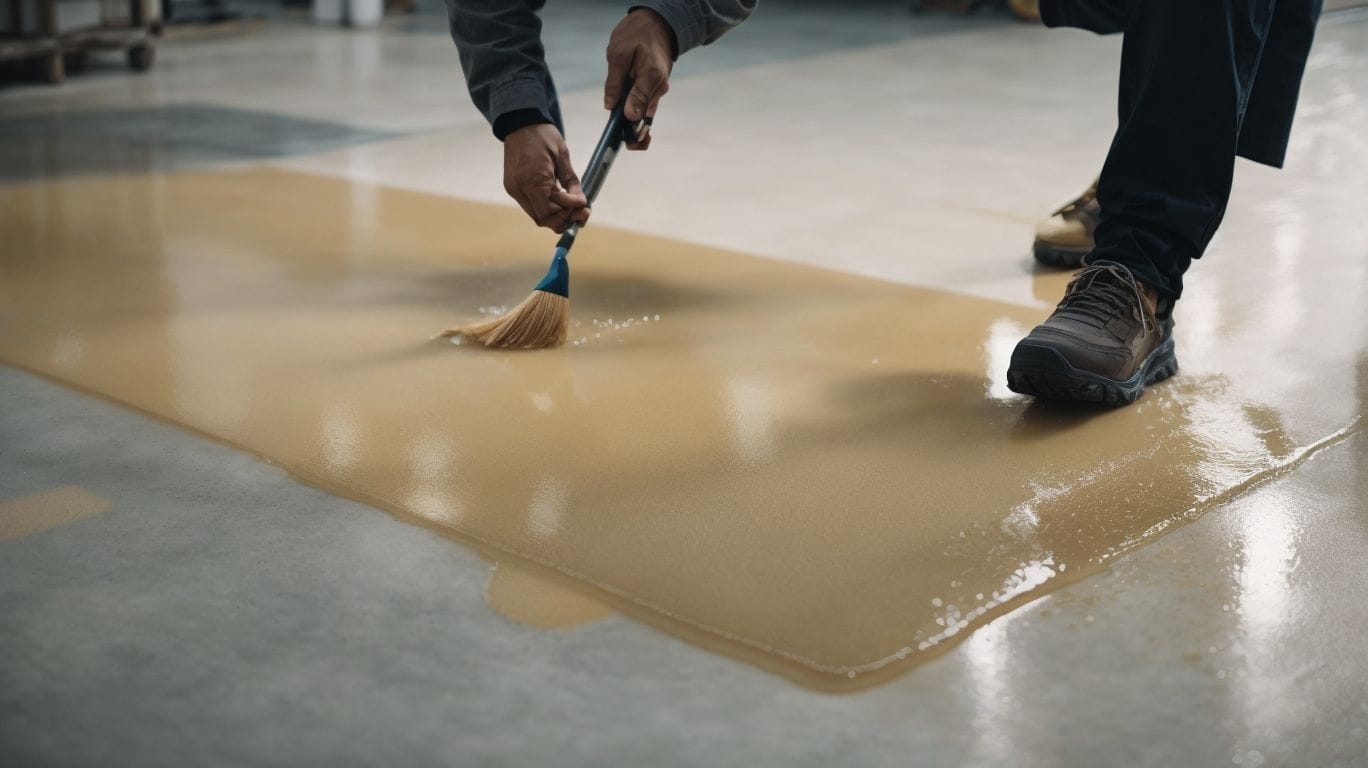
Photo Credits: Diyepoxyresin.Com by Elijah Garcia
Epoxy flooring is a popular choice for its durability and aesthetic appeal. However, like any other flooring material, it is prone to damage if not properly maintained. In this section, we will discuss some preventive measures to keep your epoxy flooring in top condition. From using protective mats and rugs to avoiding heavy impact, we will cover all the necessary steps to prevent damage and increase the lifespan of your epoxy flooring.
1. Use Protective Mats or Rugs
- Incorporate high-quality, non-staining mats or rugs specifically designed for protecting epoxy flooring.
- Ensure that the mats or rugs have a slip-resistant backing for secure placement.
- Regularly clean and maintain the mats or rugs to prevent debris accumulation.
- Inspect the mats or rugs for any signs of wear and tear and replace them when necessary.
- Strategically position the mats or rugs in areas that are prone to heavy foot traffic or potential impact.
2. Clean Up Spills Immediately
- Assess the spill: Identify the type and size of the spill.
- Contain the spill: Use absorbent materials like rags or paper towels to prevent the spill from spreading.
- Clean the Area: Use a gentle, non-abrasive cleaner to remove the spill, ensuring that you do not use harsh chemicals that may damage the epoxy.
- Dry the floor: After cleaning, make sure to dry the floor promptly to prevent any lingering moisture from affecting the epoxy.
3. Use Furniture Pads
- When using furniture pads on epoxy flooring, make sure to choose ones that are non-abrasive and won’t cause any damage.
- Attach furniture pads to the legs of chairs, tables, and other heavy furniture to prevent scratches and dents.
- To ensure the best protection for your epoxy flooring, regularly check and replace the furniture pads as needed.
4. Avoid Heavy Impact on the Floor
- To minimize impact, use soft rubber or plastic casters on furniture.
- Indoors, encourage the use of cushioned footwear to reduce floor impact.
- Refrain from dropping heavy objects directly onto the floor surface to avoid damage.
- Install shock-absorbent flooring underlay to mitigate impact damage and protect the floor.