Introduction to Re-sealing Pebble-stone Epoxy
Are you struggling with the wear and tear of your once sparkling pebble-stone epoxy surface? Re-sealing it is an essential procedure to maintain its radiance and durability. This all-encompassing guide will walk you through the simple steps of re-sealing your pebble-stone epoxy like a pro, ensuring its long-lasting aesthetic appeal.
Ready for a transformation? Let’s get started on your journey to restoration.
Why is re-sealing important for pebble-stone epoxy?
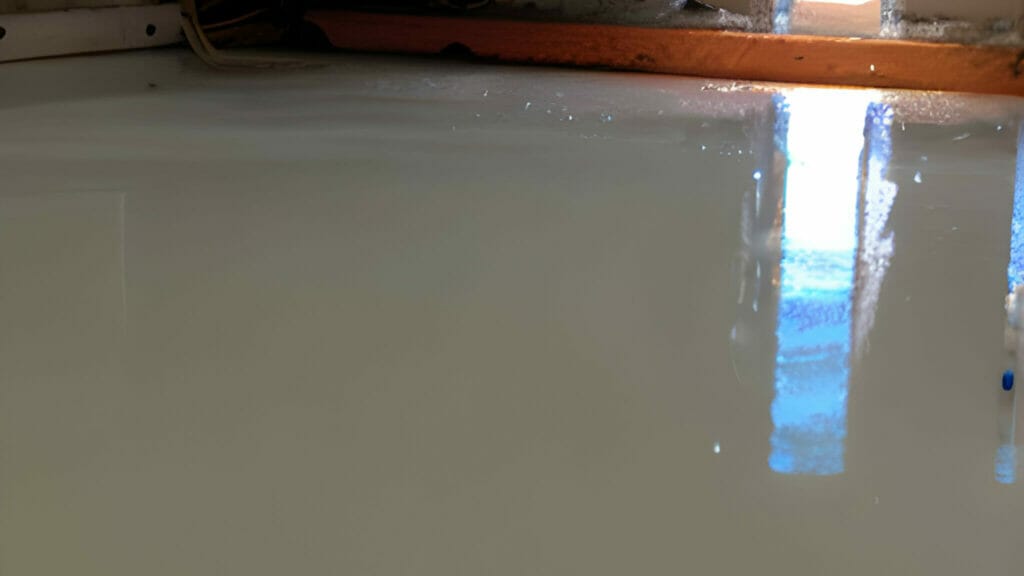
Sealing is a critical step in maintaining the longevity and appearance of your pebble-stone epoxy. Applying a clear acrylic sealer adds an extra layer of protection for this unique flooring solution, safeguarding it from potential moisture damage.
Re-sealing forms a weatherproof barrier on its surface to prevent deterioration induced by traffic patterns or harsh environmental factors.
Re-gluing any loose stones before applying the sealant is part of the re-sealing process, ensuring every component remains secure and intact over time. Moreover, it’s vital to note that using an epoxy sealer on stone can give rise to moisture trapping, leading to eventual wear and tear if not periodically tended to.
Therefore, experts recommend regular re-sealing schedules for your essential house maintenance routine. This purposeful practice helps avoid costly repairs or replacements in the long run while keeping your pebble-stone epoxy vibrant and visually appealing.
Steps to Prepare for Re-sealing
To prepare for re-sealing your pebble-stone epoxy, thoroughly clean the surface and repair any damaged areas.
Clean the surface thoroughly.
Thoroughly cleaning the surface is a vital first step to re-sealing pebble-stone epoxy. Homeowners should consider allocating a few days just for this phase, aiming to begin working on a spotless area that will ensure an even and effective sealant application.
Start by addressing any prominent stains or damage on your pebble-stone epoxy flooring with attention and patience.
Employing powerful cleaners like Miracle can significantly aid in achieving an immaculately clean surface ready for sealing. This process leaves no room for compromises, as skipping it or doing an insufficient job risks compromising the immediate appearance and the long-term durability and performance of your sealed floor.
After all, proper surface preparation truly makes a difference in maximizing the effectiveness of your DIY re-sealing pebble-stone epoxy project.
Repair any damaged areas.
Before diving into the re-sealing process, examining your pebble-stone epoxy for any damage, such as cracks or chipped areas, is crucial. Ignoring these imperfections can lead to subpar results and potential deterioration in the long run.
The repair process includes using a tough epoxy filler to mend minor stone surface damage. Mix this properly according to the manufacturer’s instructions before applying it to damaged spots with a putty knife or similar tool.
Allow ample time for drying before moving forward. This step aids in maintaining the longevity of your flooring, ensuring it continues resisting wear and tear effectively after re-sealing.
Choosing the Right Sealer for Pebble-stone Epoxy
When selecting a sealer for your pebble-stone epoxy, consider the different types available and carefully evaluate their durability and final appearance.
Types of sealers available
An array of sealers is available for pebble-stone epoxy, each with unique properties and benefits. The sealer you opt for will depend on factors such as the type of surface and the level of protection required.
| Sealer Type | Properties | Benefits |
|---|---|---|
| Epoxy Sealer | Due to their strong adhesive properties, Epoxy seals are a popular choice for pebble-stone epoxy. | They offer high protection and are often recommended for bonded stone systems. However, they should not be used on stone surfaces as they can trap moisture. |
Considerations for durability and appearance
When choosing the right sealer for pebble-stone epoxy, there are a few important considerations to remember. Firstly, durability is key. You want a sealer that will provide long-lasting protection against wear and tear and resist stains and chemicals.
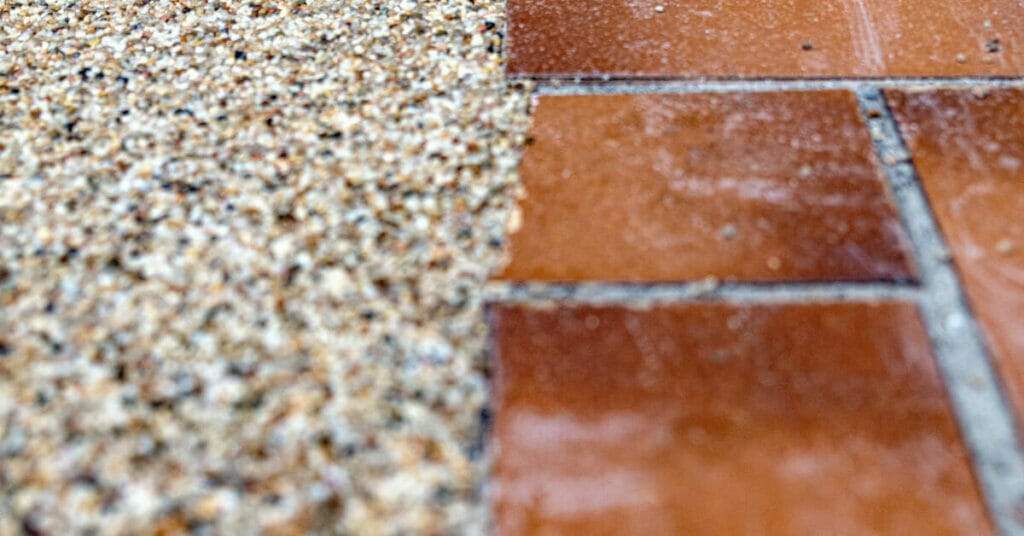
Look for sealers specifically designed for high-traffic areas to ensure maximum durability. Additionally, appearance is an important factor to consider. Some sealers may alter the color or texture of your pebble-stone epoxy flooring, so choosing one that enhances the natural beauty of the stones without compromising their integrity is essential.
Opt for a clear or translucent sealer that will allow the colors and patterns of the pebbles to shine through while providing adequate protection. Considering these considerations, you can ensure both durability and visual appeal when re-sealing your pebble-stone epoxy flooring.
Applying the Sealer
Gather the necessary tools and materials, including a trowel, before applying the sealer to your pebble-stone epoxy surface.
Gather the necessary tools and materials.
To re-seal pebble-stone epoxy, gathering the right tools and materials for the job is essential. You will need epoxy resin, a hardener, a suitable sealant, a stirring stick, a measuring cup, a paint roller or brush, protective gloves, and safety goggles.
These items are crucial for ensuring proper application and protection during the process. Using high-quality materials can help achieve long-lasting results.
Having all the necessary tools on hand before starting your re-sealing project can ensure a smooth and efficient process from start to finish.
Apply the sealer evenly and in thin coats.
To ensure a successful re-sealing process for your pebble-stone epoxy, it’s crucial to apply the sealer evenly and in thin coats. This method allows for better absorption and adherence of the sealer to the surface, preventing any excess buildup or uneven appearance.
Using a trowel, carefully spread the sealings to the entire area, ensuring each section receives multiple thin coats instead of one thick coat. It also helps avoid issues like bubbling or streaking during the drying process.
Remember, following these steps will result in a beautifully sealed, durable, and long-lasting surface.
Allow sufficient drying time between coats.
One crucial step in re-sealing pebble-stone epoxy is to allow sufficient drying time between coats. This ensures proper adhesion and curing of the sealer, resulting in a long-lasting and durable finish.
Following the manufacturer’s instructions regarding drying times for the specific sealer you’re using is essential.
Typically, epoxy sealers require four to ten hours of drying before applying another coat or flood coat. This timeframe allows the sealant to cure and form a protective layer over the surface partially.
However, it’s important not to rush this process, as applying another coat too soon can lead to improper bonding and compromise the overall effectiveness of the sealer.
Curing and Drying Process
During the curing and drying process, follow the sealer manufacturer’s instructions for optimal results. This step is crucial in ensuring a long-lasting and beautiful pebble-stone epoxy surface.
Are you interested to know more? Keep reading!
Understanding the curing and drying times
Properly understanding the curing and drying times for pebble-stone epoxy is essential to successfully re-sealing. While the epoxy may feel dry to the touch after 24 hours, allowing additional time for complete curing is important.
The curing process can take up to 72 hours to a week, depending on various factors such as temperature and thickness of the project. During this time, avoiding foot traffic or heavy objects on the surface is crucial to prevent damage or disruption in the curing process.
Additionally, knowing that different types of epoxy have varying cure times helps you plan accordingly and ensure a durable and long-lasting result. So be patient and give your re-sealed pebble-stone epoxy sufficient time to fully cure before putting it back into regular use.
Proper ventilation and temperature control
Proper ventilation and temperature control are crucial aspects of re-sealing pebble-stone epoxy. During the curing and drying, it is important to ensure adequate airflow to prevent trapped fumes or moisture.
This helps in achieving a smooth and even finish while minimizing the risk of bubbling or streaking in the sealer. Temperature control also plays a significant role in determining the curing time of the epoxy coating.
Warmer temperatures generally result in faster curing, while colder temperatures can prolong the drying process. Maintaining optimal ventilation and temperature conditions ensures a successful re-sealing project with long-lasting results for your pebble-stone epoxy surface.
Maintaining the Re-sealed Surface
Regular cleaning and maintenance are crucial for keeping your re-sealed pebble-stone epoxy looking its best. By avoiding harsh chemicals and abrasive cleaners, you can preserve the integrity of the sealer while ensuring a long-lasting shine.
Read the full blog post to discover more tips and tricks for maintaining your beautiful pebble-stone epoxy surface!
Regular cleaning and maintenance
Regular cleaning and maintenance are key to keeping your pebble-stone epoxy flooring looking its best. By incorporating a simple cleaning routine into your schedule, you can ensure the surface remains free from dirt, dust, and grime buildup.
Regular sweeping or vacuuming will help to remove loose debris, while mopping with a pH-neutral cleaner will keep the surface clean without damaging the epoxy or stones. Avoid using harsh chemicals or abrasive cleaners, as these can cause damage to the sealant and compromise the appearance of your flooring.
With proper care and attention, your re-sealed pebble-stone epoxy will maintain its beauty and durability for years.
Avoiding harsh chemicals and abrasive cleaners
To maintain the long-lasting beauty and integrity of your re-sealed pebble-stone epoxy, avoiding harsh chemicals and abrasive cleaners is crucial. These substances can be detrimental to the surface, causing a damaged appearance.
Instead, opt for gentle, non-abrasive cleaning solutions specifically formulated on stone surfaces. Using the right products protects your re-sealed pebble-stone epoxy from etching or scratching, ensuring it stays pristine for years.
Remember: a little care goes a long way when preserving the natural beauty of your pebble-stone epoxy surface.
Troubleshooting Common Issues
If you encounter bubbles or streaks in the sealer, don’t panic! There are simple solutions to these common issues and achieve a flawless finish. Learn how to troubleshoot these problems and more by reading the full article.
Your pebble-stone epoxy will thank you!
Bubbles or streaks in the sealer
Bubbles or streaks in the sealer can be common when re-sealing pebble-stone epoxy. These imperfections can ruin the smooth and uniform appearance of your flooring. The cause of bubbles is often fast solvent evaporation and over-application of the sealant.
Over-application causes air bubbles to form, which will then pop as the sealant dries, leaving behind a bubbled surface.
To fix this problem, it’s important to follow proper application techniques and prevention methods. Applying the sealer evenly and in thin coats will help prevent bubbles from forming.
Additionally, allowing sufficient drying time between coats is crucial for achieving a smooth finish. If you notice bubbles or streaks in your sealed surface, don’t worry – they can usually be fixed with expert advice and proper techniques.
One method used to repair roller marks, streaks, and plastic-like textures is using xylene to re-emulsify the existing sealer coating. This helps create an even surface without any visible imperfections.
Alternatively, urethane sealant can fill cracks and prevent future bubble formation.
Uneven or patchy appearance
One common issue that can arise when re-sealing pebble-stone epoxy floors is an uneven or patchy appearance. This can happen if the sealer is not applied properly or there are surface preparation inconsistencies.
It’s important to ensure that the surface is clean and free of any debris before applying sealer. Spread thin coats of sealer evenly across the entire floor will help to achieve a smooth and uniform finish.
If you encounter this problem, it may be necessary to buff or sand down the affected areas and reapply another coat of sealer for a flawless final result.
Professional Help vs. DIY
When re-sealing your pebble-stone epoxy, you may wonder whether to hire a professional or tackle the job yourself. Let’s weigh each option’s benefits and drawbacks so you can make an informed decision.
Keep reading to find out more!
When to consider hiring a professional
Hiring a professional for re-sealing pebble-stone epoxy is highly recommended in certain situations. Professionals have the expertise and experience to ensure the process is done correctly, avoiding mistakes that could lead to costly repairs later.
Additionally, they are well-versed in the specific requirements of pebble-stone epoxy and can guide in choosing the right sealant for optimal durability and appearance. Furthermore, professionals use specialized tools and techniques to achieve a smooth and even sealer application. It’s best to leave pebble-stone epoxy re-sealing in the capable hands of professionals.
Benefits and drawbacks of DIY re-sealing
When re-sealing pebble-stone epoxy, you can do it yourself or hire a professional. Both options come with their own sets of benefits and drawbacks, which we will explore in the following table:
| Benefits of DIY Re-sealing | Drawbacks of DIY Re-sealing |
|---|---|
| You have direct control over the entire process, ensuring the project meets your standards. | DIY re-sealing can be a time-consuming task, particularly if you’re experience |
| You can save significantly, especially if you already have the necessary tools and materials. | Incorrect sealer application can lead to issues such as bubbles, streaks, or an uneven appearance. |
| Completing the job yourself can offer a sense of accomplishment and knowledge for future projects. | DIY re-sealing can damage the pebble-stone epoxy without proper care, affecting its durability and waterproof properties. |
| Products such as Chattahoochee pebble floor decks are readily available for DIY re-sealing. | While sealing natural stone helps to prevent stains and bacteria growth, DIY errors can trap moisture and cause issues. |
Therefore, whether to tackle re-sealing as a DIY project or hire a professional largely depends on your confidence in handling the task, budget, and willingness to invest the time and effort required.
Conclusion: The Importance of Regular Re-sealing for Long-lasting Pebble-stone Epoxy
Regular re-sealing is crucial for maintaining the longevity of your pebble-stone epoxy. You can protect your surface from damage by following the proper steps and wearing a bright sealer. You can protect your surface from damage. Occasional investing in re-sealing will ensure that your pebble-stone epoxy remains beautiful and durable for years to come. Don’t skip this important maintenance step to enjoy the full benefits of your stunning pebble-stone epoxy flooring or outdoor paths.
FAQs
1. How often should I re-seal my pebble-stone epoxy?
It is recommended to re-seal your pebble-stone epoxy every 2-3 years, depending on the level of foot traffic and exposure to elements.
2. What tools and materials do I need to re-seal pebble-stone epoxy?
To re-seal pebble-stone epoxy, you will need a pressure washer or hose, a scrub brush or broom, a high-quality concrete cleaner or degreaser, a solvent-based acrylic sealer specifically designed for outdoor use, and a paint roller or sprayer.
3. Can I re-seal pebble-stone epoxy myself?
Yes, you can re-seal pebble-stone epoxy yourself if you follow the proper preparation steps outlined by the manufacturer of the sealer product you choose. It is important to carefully read and follow all instructions to ensure effective sealing results.
4. How do I prepare my pebble-stone surface before re-sealing?
Before re-sealing your pebble-stone surface, it is crucial to thoroughly clean it using a pressure washer or hose along with a concrete cleaner or degreaser. Remove any dirt, debris, stains, or mold/mildew that may have accumulated on the surface. Allow the area to dry completely before applying the new sealer for optimal adhesion and durability.