Epoxy flooring is a popular choice for garage floors as it provides a durable and attractive surface that can withstand heavy use and chemical spills. However, to achieve the best results, it is essential to properly prep your garage floor before applying the epoxy. This process involves cleaning the floor, repairing any cracks or holes, and etching the surface to ensure proper adhesion of the epoxy.
The main purpose of prepping your garage floor is to remove any dirt, oil, or other contaminants that can prevent the epoxy from adhering to the surface. It also helps to smooth out any imperfections and create a clean and level surface for the epoxy to be applied on. This increases the longevity and effectiveness of the epoxy coating, making it a worthwhile investment for your garage.
To prep your garage floor for epoxy, you will need a few tools and materials to ensure thorough cleaning and repair of the surface. These include a pressure washer, floor grinder, concrete patching compound, muriatic acid, and a broom or vacuum.
Now, let’s take a closer look at the step-by-step guide for prepping your garage floor for epoxy.
- Step 1: Clear Out the Garage
Before starting the prepping process, make sure to remove all items from your garage, including vehicles, tools, and storage items. This will allow for easier and more thorough cleaning of the floor. - Step 2: Clean the Floor with a Pressure Washer
Using a pressure washer, thoroughly clean the floor, removing any dirt, oil, or other substances. Pay extra attention to areas with heavy oil stains and use a degreaser if needed. - Step 3: Patch Any Cracks or Holes
Inspect the floor for any cracks or holes and use a concrete patching compound to fill them in. Follow the manufacturer’s instructions for proper application and drying time. - Step 4: Etch the Floor with Muriatic Acid
Muriatic acid is used to etch the surface of the garage floor, creating a rough texture for the epoxy to adhere to. Dilute the acid with water according to the manufacturer’s instructions and apply it evenly on the floor using a plastic sprayer. - Step 5: Neutralize the Acid with Baking Soda
Once the acid has been applied, use a mixture of baking soda and water to neutralize it and stop the etching process. This step is crucial as any remaining acid can prevent proper adhesion of the epoxy. - Step 6: Rinse the Floor Thoroughly
Using a garden hose, thoroughly rinse the floor to remove any remaining acid and baking soda mixture. Be sure to remove all debris and allow the floor to dry completely. - Step 7: Let the Floor Dry Completely
After rinsing, allow the floor to dry completely before applying the epoxy. This may take several hours, depending on the temperature and humidity in your area.
Final Thoughts
By following these steps, you can properly prep your garage floor for epoxy, ensuring a long-lasting and professional-looking result. Remember to read and follow the instructions of the epoxy manufacturer for best results. With a properly prepped floor, you can enjoy a beautiful and durable garage floor for years to come.
Key Takeaways:
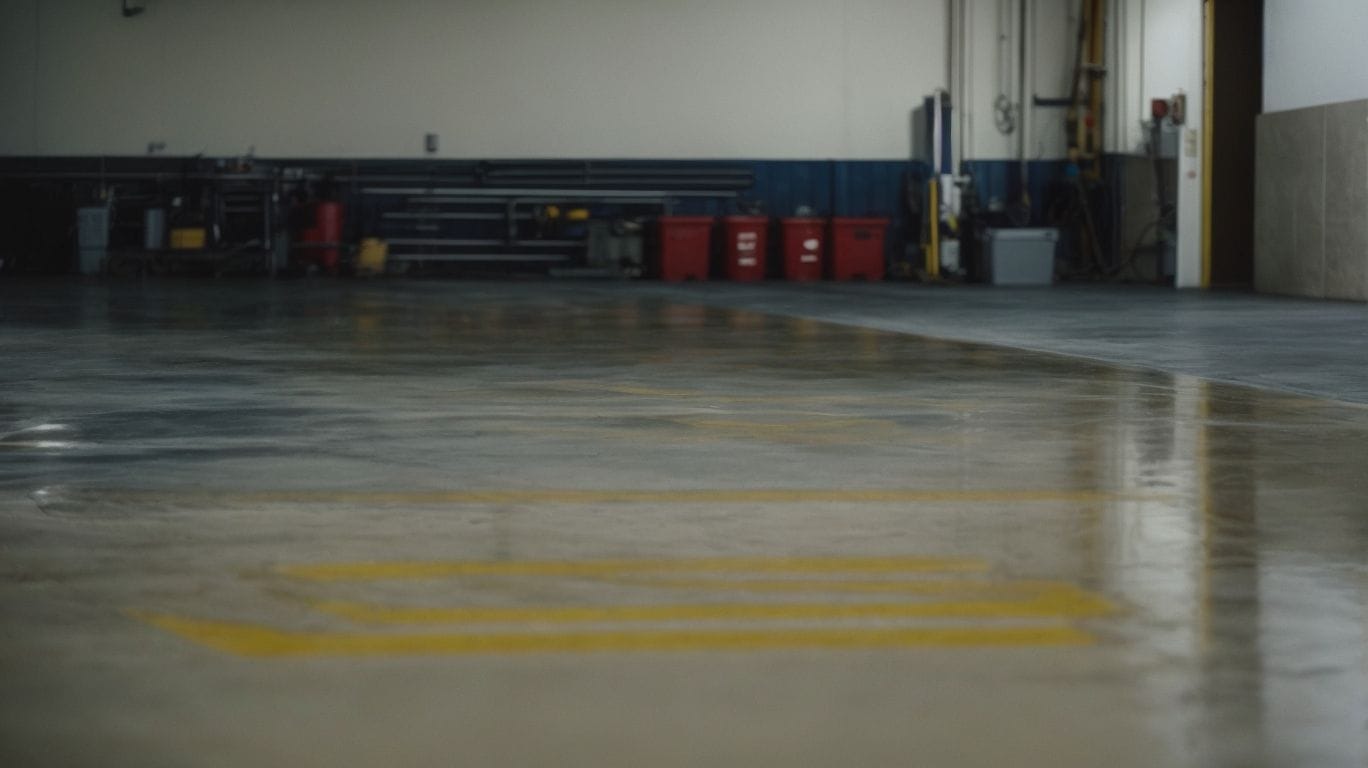
What Is Epoxy Flooring?
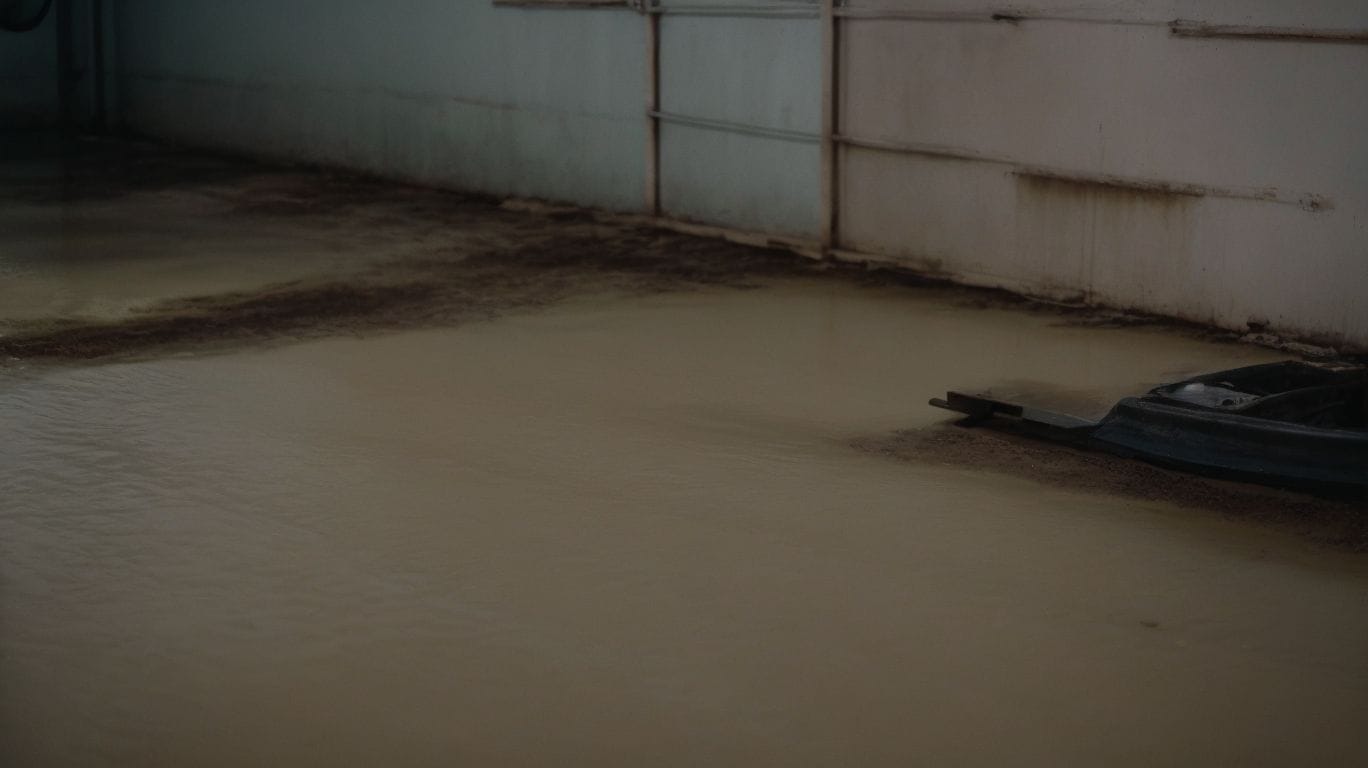
Photo Credits: Diyepoxyresin.Com by Kyle Nelson
Epoxy flooring is a highly durable and long-lasting option for garage floors. It involves the application of multiple layers of epoxy to a depth of at least two millimeters, resulting in a strong and resilient surface. This type of flooring is also resistant to stains, impacts, and chemicals, making it a perfect choice for use in garages.
If you are thinking about installing epoxy flooring, be sure to thoroughly clean, dry, and prepare the surface beforehand. It is recommended to seek professional assistance for a flawless application.
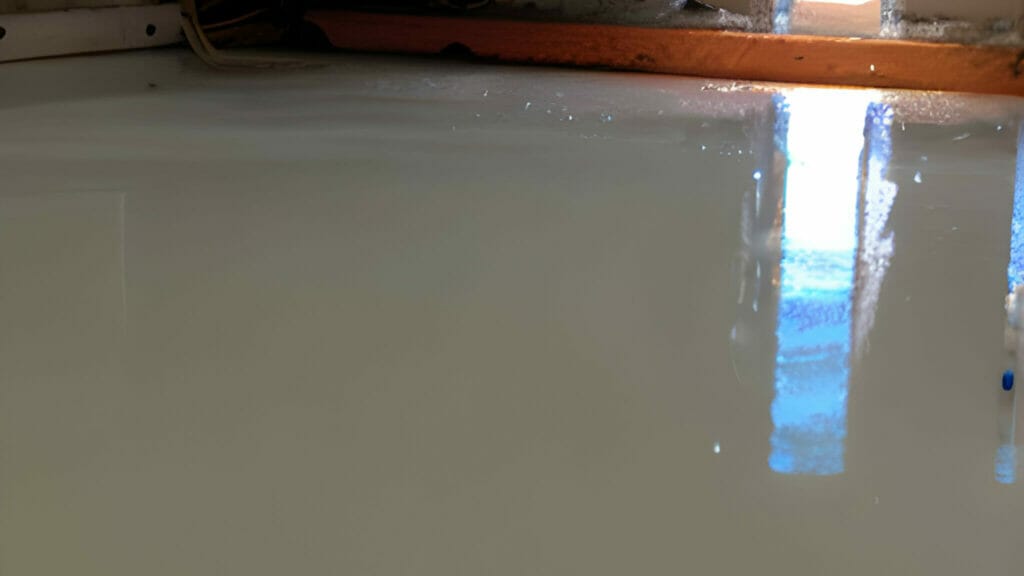
Why Should You Prep Your Garage Floor Before Applying Epoxy?
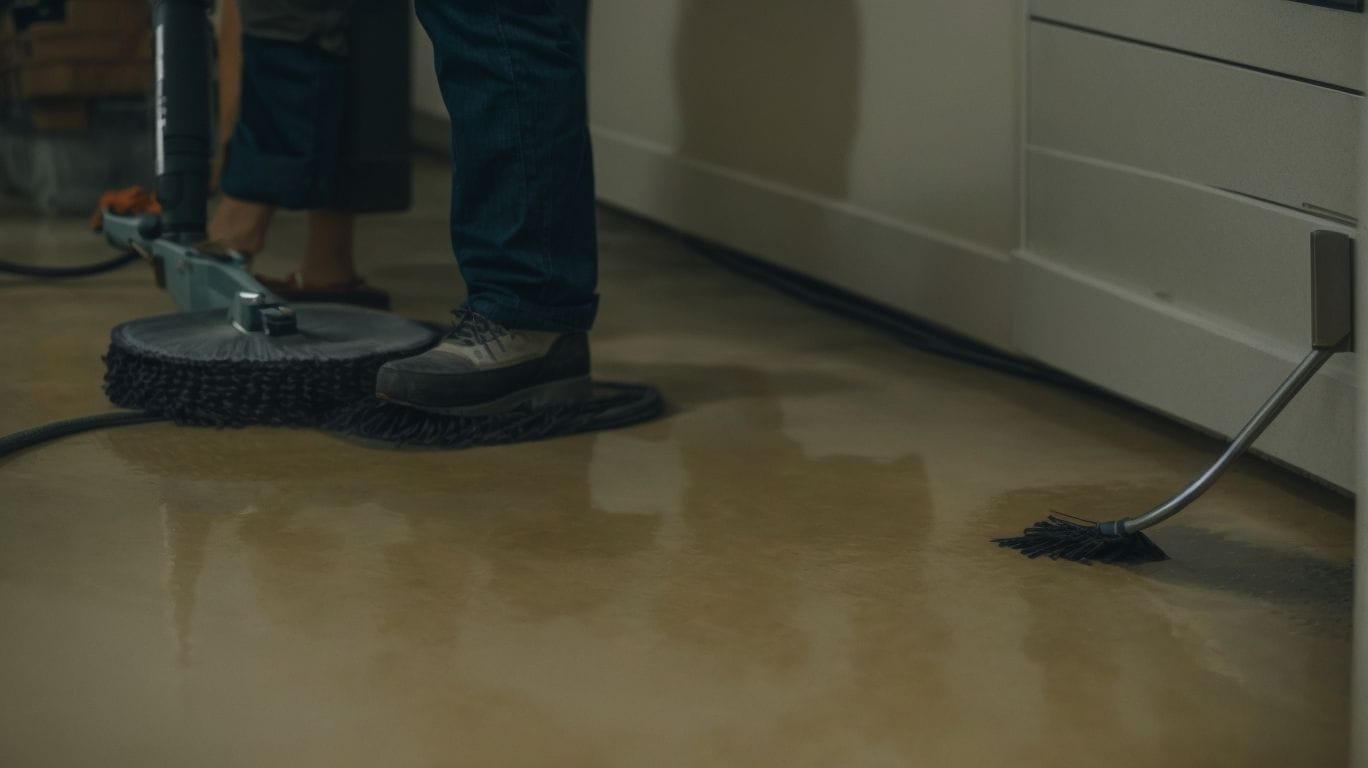
Photo Credits: Diyepoxyresin.Com by Gerald Campbell
Properly prepping your garage floor before applying epoxy is essential for achieving a strong bond and a durable finish. By thoroughly cleaning and etching the surface, you can remove any dirt, oil, or other contaminants that may hinder the epoxy’s adhesion. Skipping this crucial step can result in peeling and a shorter lifespan for your epoxy coating. For best results, consider using a concrete grinder to ensure a smooth and clean substrate for the epoxy application.
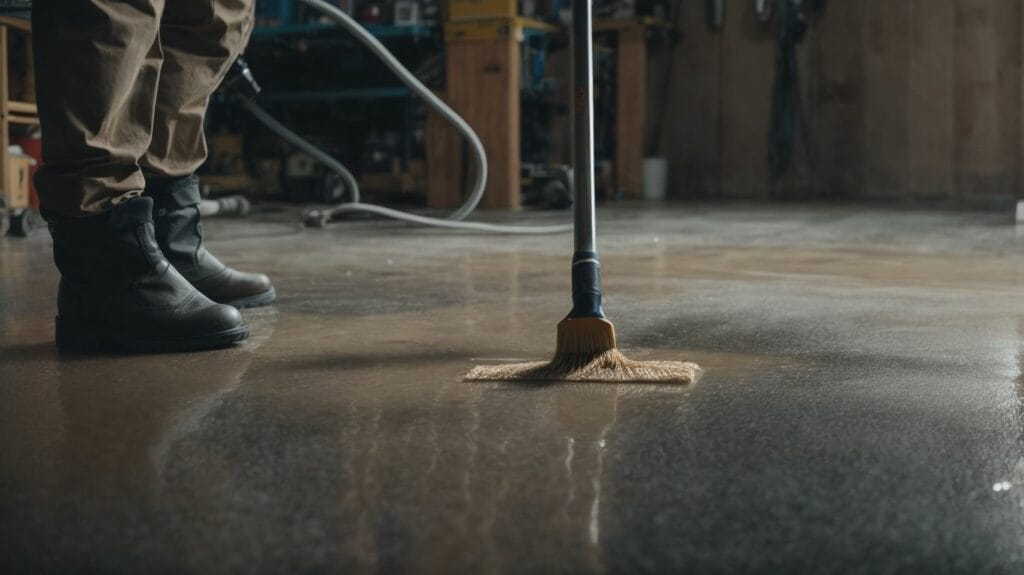
What Tools and Materials Do You Need for Prepping Your Garage Floor?
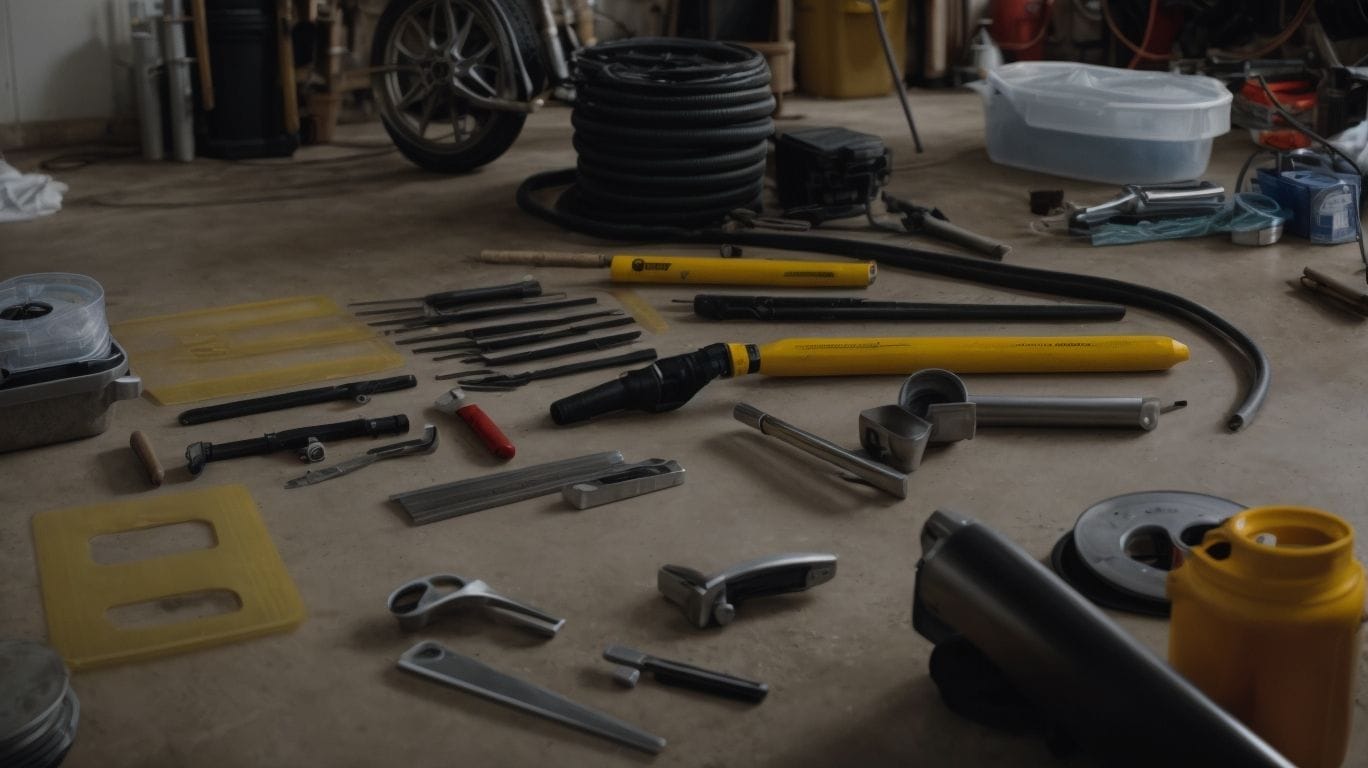
Photo Credits: Diyepoxyresin.Com by Terry HernandezBefore applying epoxy to your garage floor, proper preparation is crucial for a successful and long-lasting finish. This section will cover the necessary tools and materials you will need to properly prep your garage floor. From a pressure washer to a floor grinder, we will discuss the various equipment needed to clean and smooth your garage floor surface. Additionally, we will touch on the importance of using concrete patching compound, muriatic acid, and a broom or vacuum to ensure a smooth and even surface for the epoxy coating.
Anecdote: I was amazed by the results when I used a pressure washer to clean my garage floor. The powerful spray effortlessly removed years of grime, leaving a pristine surface ready for epoxy application. Muriatic acid, also known as hydrochloric acid, is a crucial component in preparing concrete surfaces for epoxy application. This process involves using 4. muriatic acid to etch or clean the surface, which allows the epoxy to adhere more effectively. However, it is important to take necessary precautions such as proper ventilation and wearing protective gear, and to carefully follow the manufacturer’s instructions for safe handling of the acid. Throughout history, both the broom and vacuum have been essential cleaning tools. The broom has been in use since ancient civilizations, while the vacuum cleaner revolutionized cleaning in the early 20th century, making household chores more efficient. Photo Credits: Diyepoxyresin.Com by Bradley ScottBefore applying epoxy to your garage floor, it’s crucial to properly prep the surface. In this step-by-step guide, we will walk you through the necessary measures to ensure a successful epoxy coating. From clearing out the garage to neutralizing acid, each step plays a crucial role in creating a clean and long-lasting surface for your epoxy. So let’s dive into the process and get your garage floor ready for its new look.
When getting ready to apply epoxy to your garage floor, the first step is to clear out the garage to ensure there is enough space to work. Follow these steps for an organized approach: Consider donating or selling items you no longer need to declutter the space further. Pro-tip: Before applying the patching compound, make sure to thoroughly clean the cracks or holes to promote better adhesion and create a seamless repair. To etch the floor with muriatic acid, follow these steps: Pro-tip: Remember to always add acid to water, never the other way around, to prevent dangerous splattering. After neutralizing the acid with baking soda, be sure to thoroughly rinse the floor to properly prepare it for the epoxy application. A friend made the mistake of rushing to apply epoxy immediately after mopping the garage floor, resulting in an unsuccessful finish. It is important to follow the proper drying process for a successful outcome. Photo Credits: Diyepoxyresin.Com by Randy Torres Before concluding, make sure to thoroughly clean the garage floor, removing any debris or dust. It is essential to allow the floor to completely dry before applying the epoxy. After applying the epoxy, refrain from walking on it for at least 24 hours to achieve optimal results. Lastly, consider adding a sealant over the epoxy for added durability and longevity. These final thoughts will greatly contribute to a successful application of garage floor epoxy.1. Pressure Washer
2. Floor Grinder
3. Concrete Patching Compound
4. Muriatic Acid
5. Broom or Vacuum
Step-by-Step Guide for Prepping Your Garage Floor for Epoxy

Step 1: Clear Out the Garage
Step 2: Clean the Floor with a Pressure Washer
Step 3: Patch Any Cracks or Holes
Step 4: Etch the Floor with Muriatic Acid
Step 5: Neutralize the Acid with Baking Soda
Step 6: Rinse the Floor Thoroughly
Step 7: Let the Floor Dry Completely
Final Thoughts