Resin is a synthetic material that is used for various purposes, including art, crafts, jewelry making, and industrial applications. It is a versatile, durable, and glossy material that is made by combining two liquid components: resin and hardener.
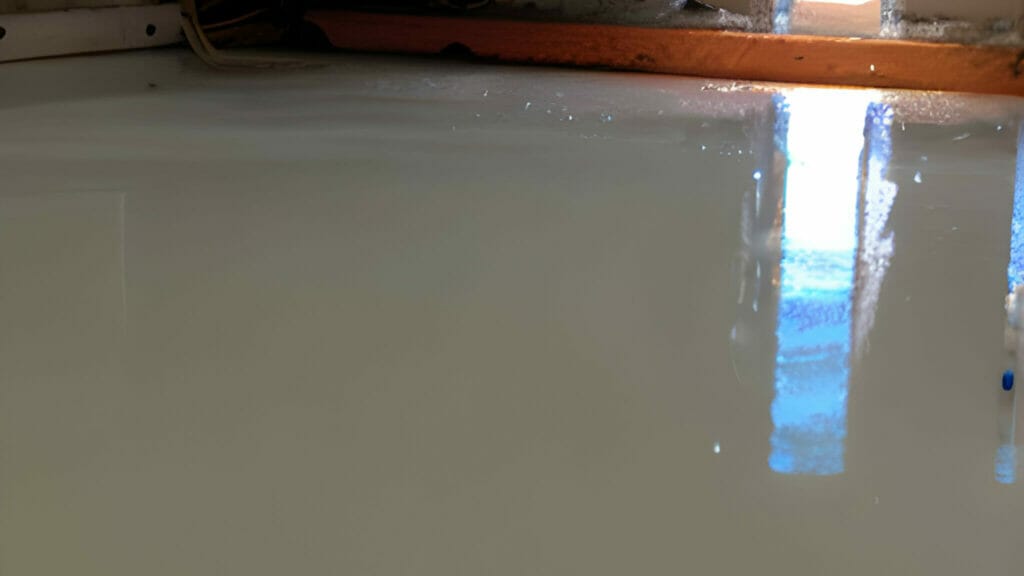
One of the most common uses of resin is to create a glossy and durable finish on surfaces such as wood, paintings, and sculptures. Applying a second coat of resin can enhance the durability and glossiness of the surface, making it an essential step in the resin application process.
There are various types of resin available, including epoxy resin, polyester resin, and polyurethane resin. Each type has its unique properties and is used for different purposes. For example, epoxy resin is commonly used for arts and crafts, while polyester resin is used for industrial purposes, such as in boat building.
The primary purpose of applying a second coat of resin is to create a thicker and more durable finish. It also helps to fill in any imperfections or gaps in the first coat, giving the surface a smoother and more even appearance. Additionally, a second coat of resin can add depth and shine to the surface, making it visually appealing.
To apply a second coat of resin, you will need the following materials:
- resin
- hardener
- measuring cups
- stir sticks
- a paintbrush
- sandpaper
The resin and hardener should be in the same ratio as the first coat, which is usually 1:1. It is important to use a high-quality resin and hardener to ensure a durable and glossy finish.
To apply the second coat of resin, follow these steps:
- Prepare the surface by sanding it lightly with a fine-grit sandpaper. This will help the second coat of resin adhere better to the surface.
- Mix the resin and hardener in a clean and dry measuring cup according to the instructions provided.
- Using a paintbrush, apply the second coat of resin evenly on the surface. Make sure to cover any missed spots from the first coat.
- Use a heat gun or torch to remove any air bubbles that may have formed on the surface. This will give the surface a smooth and professional finish.
- Allow the resin to dry completely. This can take anywhere from 12 to 24 hours, depending on the type of resin used.
- Once dried, sand the surface lightly with fine-grit sandpaper to smoothen out any imperfections.
- Finally, polish the surface using a polishing compound or a buffing wheel to achieve a glossy finish.
To ensure a successful application of the second coat of resin, here are some helpful tips:
- Work in a well-ventilated area to avoid inhaling any fumes from the resin.
- Follow the instructions provided by the manufacturer carefully to achieve the best results.
- To remove air bubbles, use a heat gun or torch in a sweeping motion, and do not hold it in one spot for too long.
- Allow the resin to dry completely before handling or applying any additional coats.
- Use a high-quality resin and hardener to achieve a professional and durable finish.
Key Takeaways:
- Applying a second coat of resin is important for achieving a smooth and flawless finish.
- Proper preparation and use of high-quality materials are essential for successful application.
- Follow instructions carefully, work in a well-ventilated area, and use a torch to remove air bubbles for best results.
What Is Resin?
Resin is a viscous substance derived from plants or made synthetically. It is commonly used for casting, sealing, or crafting purposes. Resin can come in transparent or colored forms and is often combined with a hardener to create a strong and long-lasting material.
Having a thorough understanding of what resin is and its diverse uses is crucial for achieving success in any resin-based project.
How Is Resin Used?
- Preparing the surface: Before applying the resin, lightly sand the first coat, wipe off any dust, and make sure the surface is clean and dry.
- Mixing the resin: Follow the manufacturer’s instructions to mix the resin and hardener thoroughly thoroughly.
- Applying the second coat: Use a foam brush or roller to apply the second coat of resin evenly.
Pro-tip: For a professional finish, try using a heat gun to remove any air bubbles after applying the second coat of resin.
What Are The Different Types Of Resin?
Resin comes in a variety of types, such as epoxy, polyester, polyurethane, and silicone, each with its unique properties and uses.
Epoxy resin is well-known for its strong adhesive qualities and is frequently utilized in coatings and adhesives.
Polyester resin is appreciated for its affordability and ability to resist corrosion, making it ideal for marine applications.
Polyurethane resin is recognized for its flexibility and durability and is often used in furniture and electronic components.
Silicone resin, on the other hand, is heat resistant and commonly used in protective coatings and electrical insulation.
What Is The Purpose Of Applying A Second Coat Of Resin?
Applying a second coat of resin serves an important purpose in resin-based projects. It ensures a smooth and level finish by covering any missed spots or imperfections from the first coat. This additional layer not only enhances the overall durability and strength of the resin surface but also provides better protection against wear and tear. In fact, it is crucial to achieve a professional and flawless result in any resin-based project.
What Materials Are Needed To Apply A Second Coat Of Resin?
Before applying a second coat of resin, it is important to gather all the necessary materials to ensure a successful and smooth application. These materials include resin and hardener, measuring cups and stir sticks for proper mixing, a paintbrush for application, and sandpaper for any touch-ups. In this section, we will discuss the importance of each material and how they contribute to the process of applying a second coat of resin.
1. Resin
Resin is a versatile material used in various applications, such as art, crafting, and surface coating. Here are the steps for applying a second coat of resin:
- Prepare the surface by ensuring it is clean and dry.
- Mix the resin and hardener according to the instructions provided.
- Apply the second coat evenly and smoothly.
- Remove any air bubbles by using a torch or heat gun.
- Sand and polish the surface for a smooth and glossy finish.
For successful resin application, it is important to work in a well-ventilated area, carefully follow instructions, use a torch to remove air bubbles, allow sufficient drying time, and use high-quality resin and hardener.
2. Hardener
Hardener is an essential element in the application of resin, as it plays a crucial role in promoting curing and solidifying. When combined with resin, it initiates a chemical reaction that leads to the hardening process. The ratio of hardener to resin is crucial, typically requiring a 1:1 or 2:1 mix. For example, epoxy resin commonly needs a hardener component to cure properly. To achieve the best results, it is important to carefully follow the manufacturer’s instructions for incorporating and applying the hardener.
Additionally, consider using high-quality hardeners for optimal outcomes.
3. Measuring Cups
- Use clean and dry measuring cups to measure the resin and hardener accurately.
- Ensure that the measuring cups are free from any moisture or contaminants to prevent impurities in the mixture.
- Use separate measuring cups for resin and hardener to maintain the correct mixing ratio.
- After use, clean the measuring cups immediately to avoid resin hardening and affecting future measurements.
Pro-tip: Invest in durable, graduated measuring cups specifically designed for precise and consistent resin measurements.
4. Stir Sticks
- Select the appropriate stir sticks for the resin application.
- Ensure the stir sticks are clean and free from any contaminants to avoid affecting the resin mixture.
- Use the stir sticks to mix the resin and hardener thoroughly, following the recommended stirring duration.
- Dispose of the used stir sticks properly according to local regulations.
5. Paintbrush
- To prepare the paintbrush, make sure it is clean and dry.
- Next, dip the paintbrush into the solution of mixed resin and hardener.
- Using smooth and consistent strokes, apply an even coat of the mixture.
- Be aware of any drips or pooling of the resin, and take care of them immediately.
- Follow the manufacturer’s instructions for curing the resin.
6. Sandpaper
- After applying the second coat of resin, use 6. sandpaper to smooth any imperfections or rough areas on the surface.
How do you apply a second coat of resin?
Applying a second coat of resin is essential for achieving a smooth and durable finish on your project. In this section, we will guide you through the process of applying a second coat of resin in five simple steps. From preparing the surface to sanding and polishing, we’ll cover all the necessary techniques and tips to ensure a successful and professional-looking result. So, let’s get started on how to apply a second coat of resin!
1. Prepare The Surface
- Clean the surface: Ensure the surface is free from dust, dirt, and other contaminants.
- Repair any imperfections: Fill any cracks or holes and ensure the surface is smooth.
- Use a primer if necessary: Some surfaces may require a primer to promote adhesion.
Did you know? Properly preparing the surface is crucial for the adhesion and durability of the second coat of resin.
2. Mix The Resin And Hardener
- Begin by placing the resin and hardener in a mixing container.
- Next, use a stirring stick to thoroughly blend the resin and hardener for approximately 2-3 minutes.
- Be sure to scrape the sides and bottom of the container to ensure proper mixing of the resin and hardener.
Fun Fact: The process of combining resin and hardener is vital as it directly impacts the strength and effectiveness of the final resin application.
3. Apply The Second Coat
- Clean the surface thoroughly to remove any dust or debris.
- Mix the resin and hardener according to the instructions provided by the manufacturer.
- Apply the second coat evenly, following the recommended instructions from the manufacturer.
- To remove any air bubbles, pass a torch or heat gun over the surface briefly.
- Allow the surface to dry for the recommended time before sanding and polishing.
4. Remove Any Air Bubbles
- Ensure the resin and hardener mixture is thoroughly blended to minimize air entrapment.
- Use a heat gun or torch to eliminate any visible air bubbles on the resin surface carefully.
- Allow the second coat of resin to cure in a dust-free environment, reducing the likelihood of air bubbles forming.
5. Sand And Polish The Surface
- Inspect the Surface: Check for any imperfections or irregularities that need to be addressed before sanding.
- Sanding: Use sandpaper to smooth out the surface and remove any rough spots or bumps.
- Cleaning: After sanding, thoroughly clean the surface to remove any dust or debris.
- Polishing: Apply a polishing compound to smoothen further and enhance the surface’s appearance.
- Final Inspection: Carefully examine the surface to ensure it has been properly sanded and polished before moving on to the next steps in the resin application process.
What Are The Tips For Applying A Second Coat Of Resin?
Applying a second coat of resin to your project can enhance its durability and give it a glossy finish. However, it is important to follow certain tips to ensure a successful application. In this section, we will discuss important tips for applying a second coat of resin. These include working in a well-ventilated area, carefully following the instructions, using a torch to remove air bubbles, allowing for sufficient drying time, and using high-quality resin and hardener. Let’s dive into the details and learn how to achieve a flawless finish with your second coat of resin.
1. Work In A Well-Ventilated Area
- Open windows and doors to promote air circulation.
- Use fans or ventilation systems to ensure proper airflow.
- Avoid working in confined spaces without adequate ventilation.
Did you know? It is important to work in a well-ventilated area as proper ventilation not only disperses fumes but also helps in achieving a smoother resin finish.
2. Follow The Instructions Carefully
- Read the instructions thoroughly to understand the mixing ratios and application process.
- Ensure that the work area is clean and safety precautions are in place.
- Measure the resin and hardener accurately to maintain the right chemical balance.
- Apply the second coat with smooth, even strokes to avoid uneven surfaces.
- Allow the resin to cure for the specified duration before handling the finished product.
Pro-tip: Always wear protective gear and work in a well-lit area to carefully follow the instructions and achieve the desired results.
3. Use A Torch To Remove Air Bubbles
- Prepare the resin and hardener mixture according to the instructions.
- After pouring the resin, gently and swiftly pass the flame of a torch over the surface to remove any air bubbles.
- Hold the torch at a safe distance to prevent overheating or burning of the resin.
- Repeat this process until all visible air bubbles have vanished.
4. Allow Sufficient Drying Time
- After applying the second coat of resin, make sure to allow sufficient drying time as directed by the manufacturer’s instructions.
5. Use A High-Quality Resin And Hardener
- When searching for resin and hardeners, be sure to check for high-quality products from reputable suppliers.
- Ensure that the resin and hardener are compatible for optimal performance.
- Consider the viscosity and pot life of the resin and hardener for a smooth application process.
- Follow the manufacturer’s guidelines for the appropriate mixing ratio and application process.
- To maintain their quality, store the resin and hardener in a cool, dry place.
When selecting resin and hardener, prioritize quality to achieve the best results in your resin projects.