Epoxy flooring is a durable and versatile flooring option that has become increasingly popular in homes, businesses, and industrial settings. It is a resin-based flooring material that is applied in liquid form and then hardens into a smooth and glossy surface. This type of flooring is known for its durability, resistance to chemicals and stains, as well as its seamless and easy-to-clean finish.
Epoxy flooring works by mixing together two components, resin and hardener, which chemically react to form a strong and rigid plastic material. This mixture is then applied to a prepared concrete surface and allowed to cure, resulting in a hard and durable floor.
There are various types of epoxy flooring available, each with its own unique properties and uses. These include:
- self-leveling epoxy floors
- epoxy mortar floors
- epoxy flake floors
- metallic epoxy floors
The drying time for epoxy flooring can vary depending on several factors, such as temperature, humidity, and the type of epoxy used. Generally, it can take anywhere from 12 hours to 72 hours for epoxy flooring to dry completely. However, this can be affected by certain factors, and there are ways to speed up the drying time.
To speed up the drying time of epoxy flooring, you can use a heater or dehumidifier to control the temperature and humidity levels. Increasing airflow and using an accelerator can also help to expedite the process. It is important to follow the manufacturer’s instructions and not rush the drying process to ensure the best results.
If epoxy flooring is not allowed to dry completely, it can result in various issues such as:
- poor adhesion
- bubbles and blisters
- cracks and peeling
This can compromise the durability and appearance of the flooring and may require costly repairs or replacements.
In conclusion, epoxy flooring offers many benefits and is a popular choice for both residential and commercial spaces. However, it is important to allow proper drying time and follow the recommended guidelines to ensure a successful and long-lasting installation.
Key Takeaways:
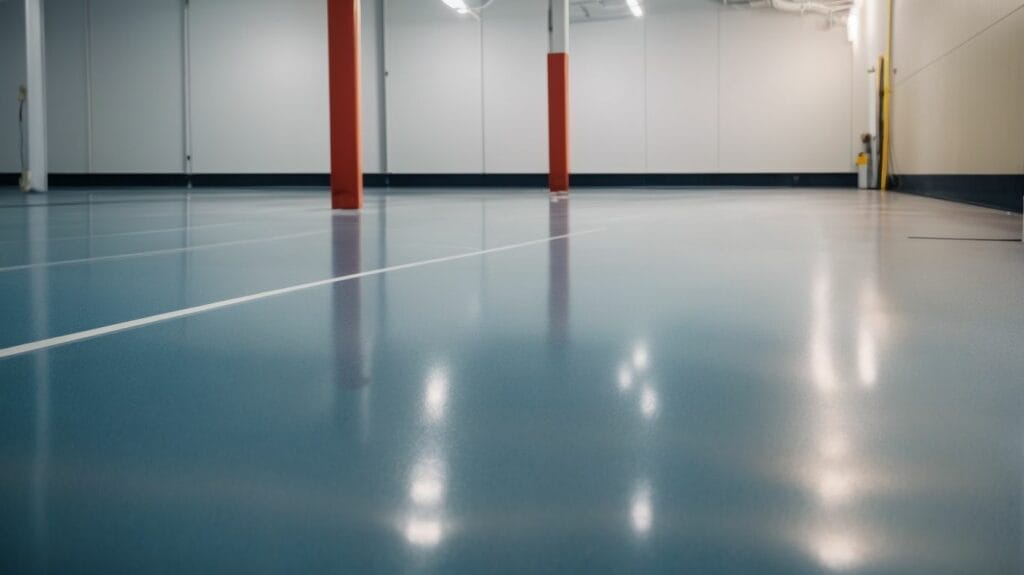
What Is Epoxy Flooring?
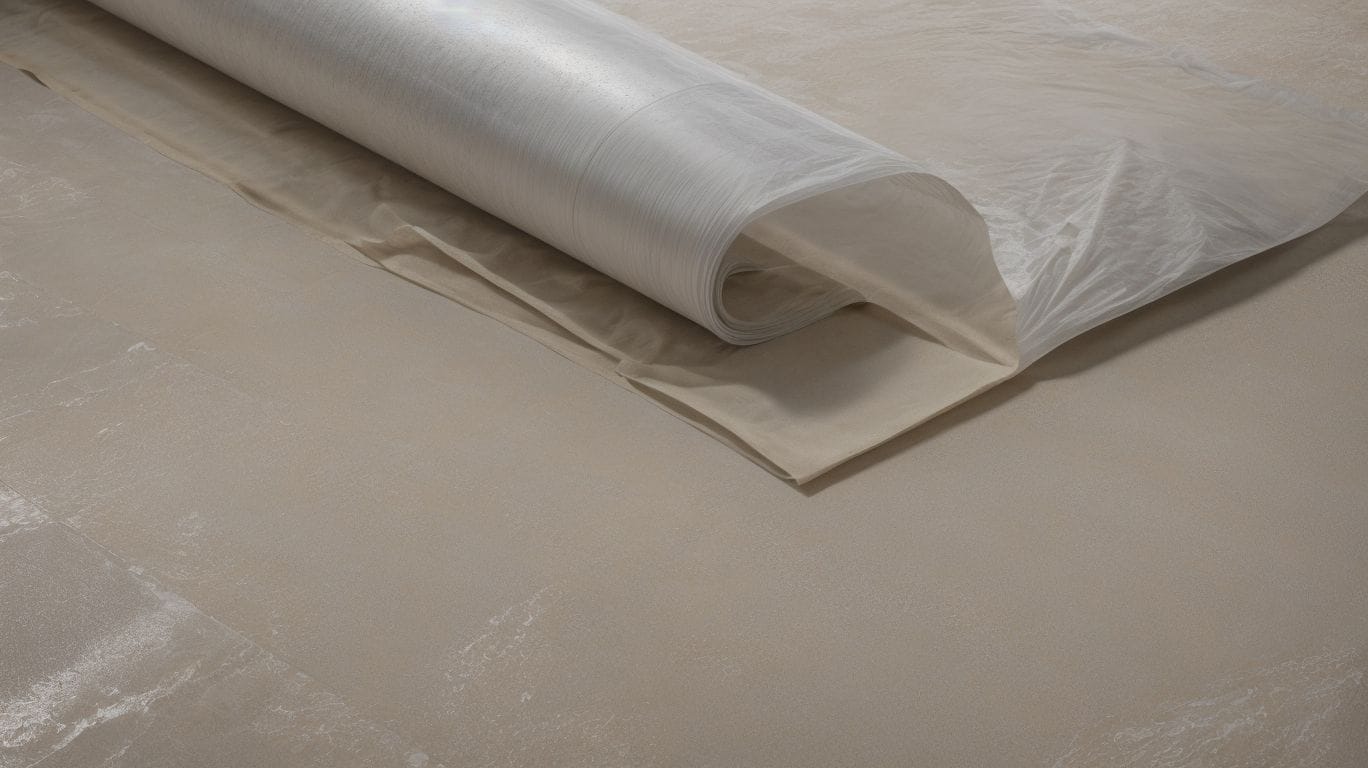
Photo Credits: Diyepoxyresin.Com by Jose Baker
Epoxy flooring is a highly durable and long-lasting option that is commonly used for commercial, industrial, and residential flooring. This type of flooring involves the application of a tough, plastic-like substance known as epoxy resin onto concrete floors, creating a seamless, high-performance, and visually appealing surface. If you are considering epoxy flooring, it is important to evaluate your specific needs, the intended location, and the desired appearance. Seeking guidance from professionals can also help you receive personalized recommendations.
How Does Epoxy Flooring Work?
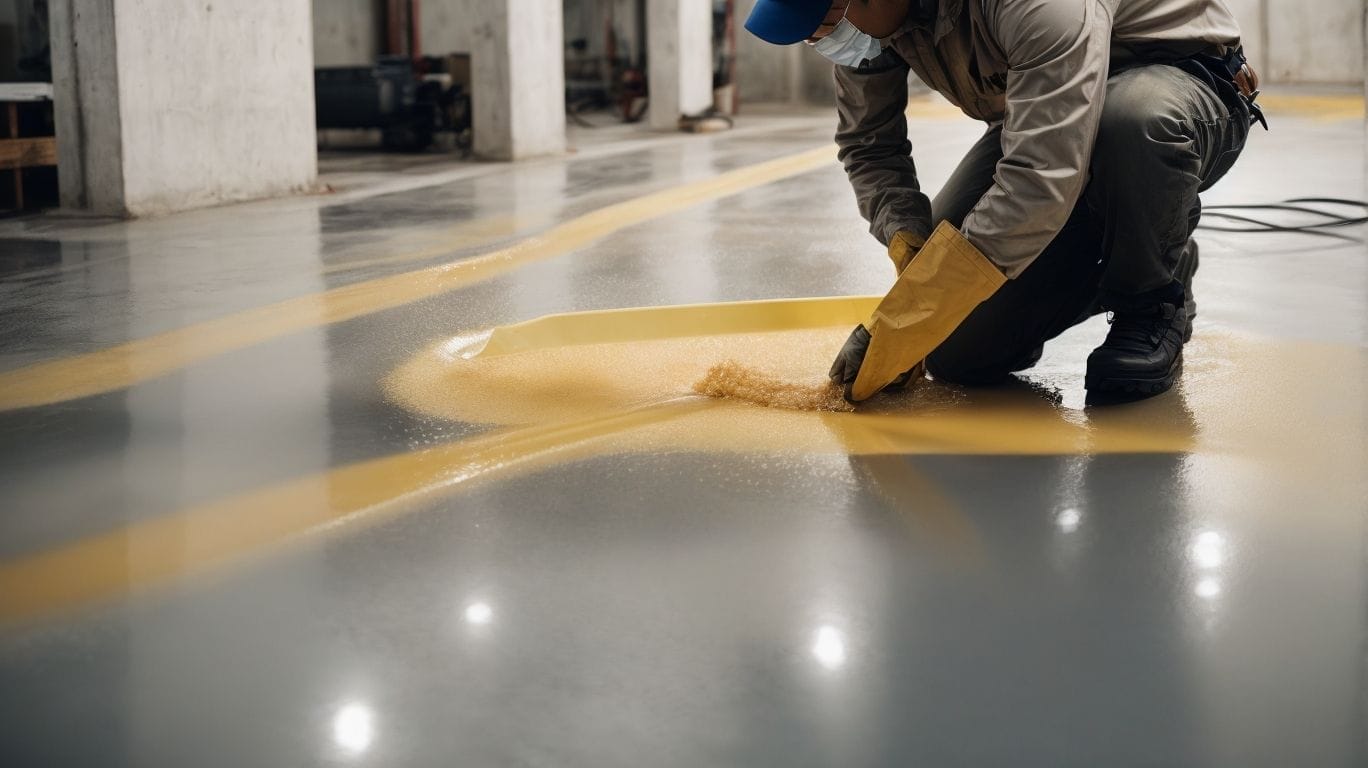
Photo Credits: Diyepoxyresin.Com by Keith Lee
- Surface Preparation: Before applying epoxy flooring, the surface must be cleaned, degreased, and etched to ensure proper adhesion.
- Primer Application: A primer is then applied to the prepared surface to enhance bonding.
- Epoxy Application: Next, the two-part epoxy resin is mixed and applied to the floor using a roller or squeegee.
- Curing Process: The epoxy cures through a chemical reaction, creating a hard and durable surface.
- Topcoat Application: Finally, a topcoat is applied to provide additional protection and enhance the aesthetics of the flooring.
What Are The Different Types Of Epoxy Flooring?
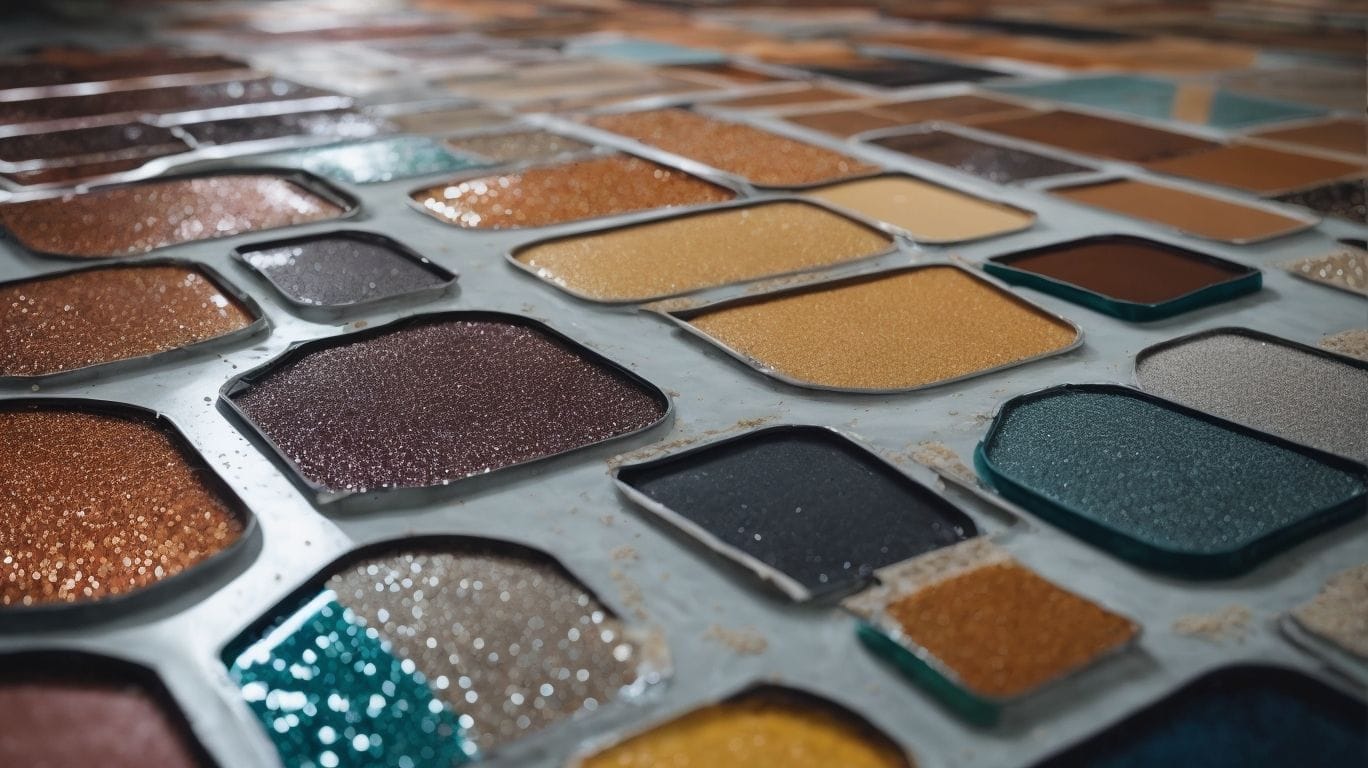
Photo Credits: Diyepoxyresin.Com by Bryan Flores
When it comes to choosing the right epoxy flooring for your space, there are several options available. Each type of epoxy flooring offers unique benefits and is suitable for different environments. In this section, we will discuss the four main types of epoxy flooring: self-leveling, epoxy mortar, epoxy flake, and metallic. By understanding the characteristics and best uses of each type, you can make an informed decision for your specific flooring needs.1. Self-Leveling Epoxy Floors
- Prepare the Surface: Clean and repair the substrate, ensuring it’s free from dirt, oil, and other impurities.
- Prime the Surface: Use a suitable epoxy primer to promote adhesion and prevent outgassing.
- Mix and Pour: Prepare the self-leveling epoxy mixture and pour it onto the floor, allowing it to settle and level itself.
- Spread Evenly: Use a notched squeegee to spread the self-leveling epoxy evenly across the surface.
- Allow Drying: Let the self-leveling epoxy floor dry completely as per the manufacturer’s instructions.
For best results, ensure the workspace is dust-free and maintain the recommended temperature and humidity levels during application.
2. Epoxy Mortar Floors
- Prepare the surface by cleaning and removing any debris or contaminants.
- Mix the epoxy resin and hardener according to the manufacturer’s instructions.
- Apply the epoxy mortar mixture to the prepared surface using a trowel or screed.
- Allow the epoxy mortar floor to cure for the specified time before subjecting it to foot traffic or additional treatments.
Epoxy mortar floors, also known as epoxy mortar floors, provide exceptional durability and chemical resistance, making them ideal for industrial and commercial settings.
3. Epoxy Flake Floors
- Epoxy Flake Floors: These floors are made by sprinkling a mixture of colored chips onto the base coat and then sealing the floor with a clear topcoat.
4. Metallic Epoxy Floors
- Metallic epoxy floors are produced by mixing metallic pigment with clear epoxy resin.
- The mixture is then poured or applied onto the floor, resulting in a one-of-a-kind, glossy, three-dimensional look.
- Once applied, the metallic pigments blend together, creating a unique visual effect that cannot be duplicated.
Pro-tip: When choosing metallic epoxy floors, keep in mind the base color and metallic pigment combination to achieve the desired aesthetic effect.
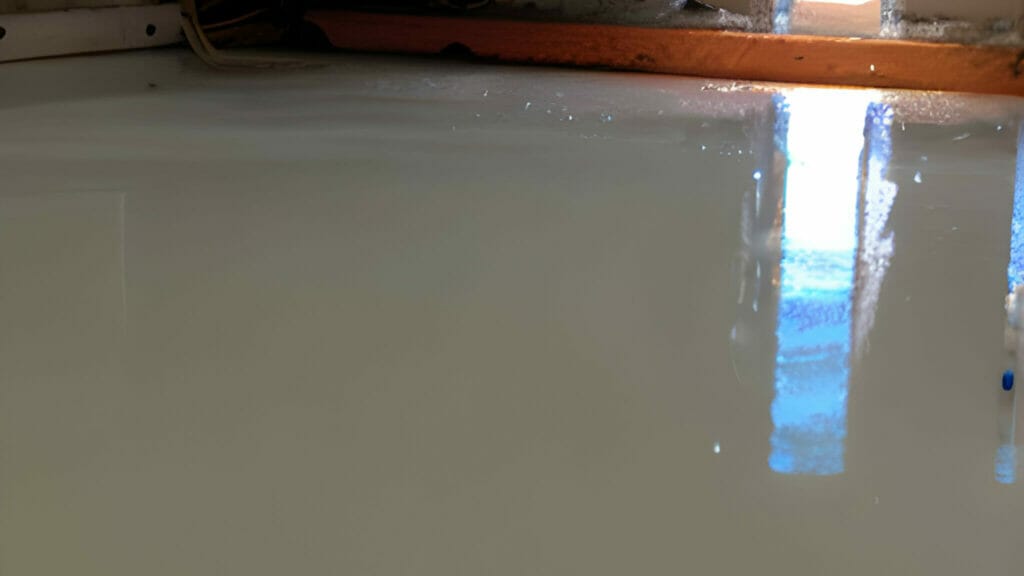
How Long Does Epoxy Flooring Take To Dry?
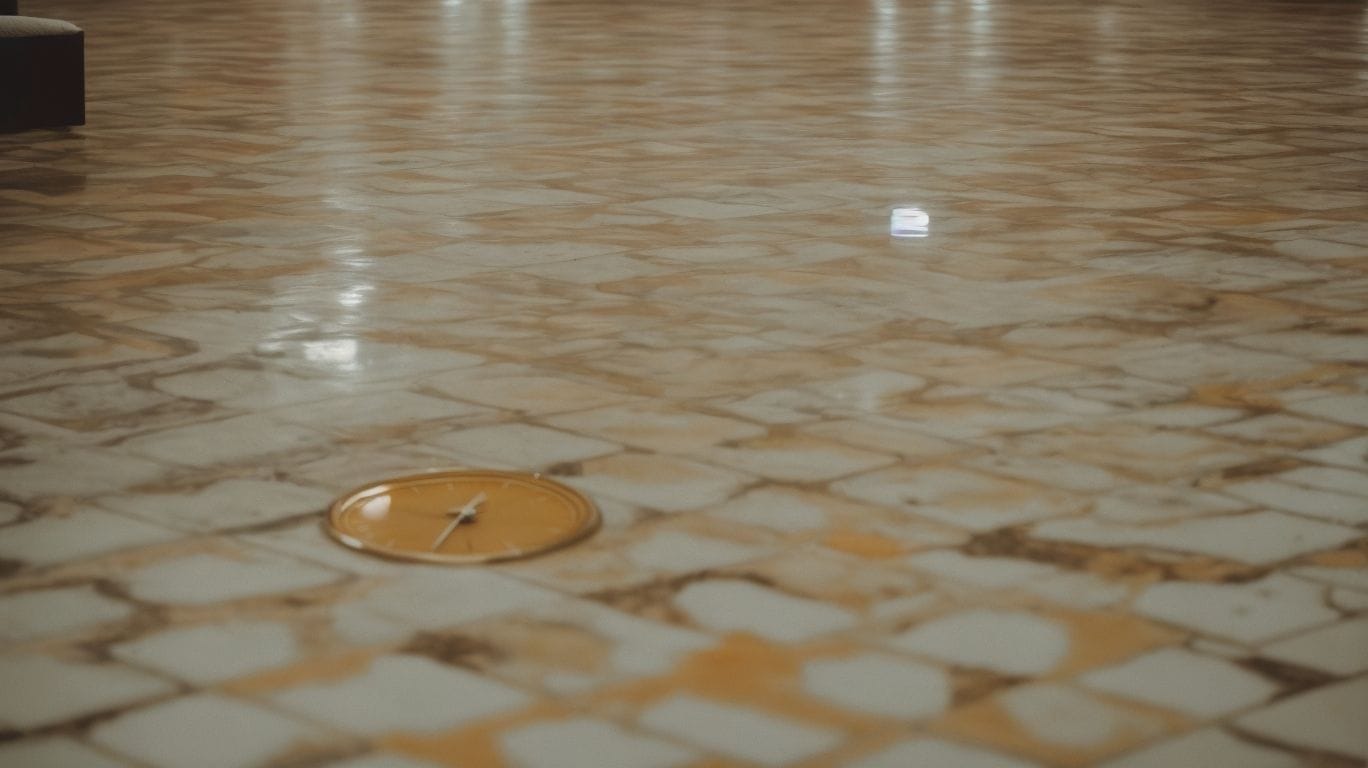
Photo Credits: Diyepoxyresin.Com by Jason Baker
As a popular choice for residential and commercial flooring, epoxy flooring offers durability and a sleek, polished finish. However, one question that often comes up is: how long does epoxy flooring take to dry? In this section, we will discuss the various factors that can affect the drying time of epoxy flooring, such as temperature and humidity. Then, we will provide an estimate of the average drying time for epoxy flooring, so you know what to expect when planning your flooring project.1. Factors That Affect Drying Time
- Temperature and Humidity: Higher temperatures and lower humidity levels can accelerate the drying time of epoxy, while cooler temperatures and higher humidity can slow it down.
- Epoxy Thickness: Thicker applications will generally take longer to dry compared to thin coats.
- Ventilation: Proper airflow is important for speeding up the drying process, while poor ventilation can prolong it.
A construction company rushed to finish a warehouse floor without considering the humidity levels. As a result, the epoxy took much longer to dry, causing a delay in the project’s timeline.
2. Average Drying Time for Epoxy Flooring
- Prepare the area: Clear the space from any obstructions or debris.
- Mix epoxy: Follow the manufacturer’s instructions to prepare the epoxy mixture.
- Apply epoxy: Use a roller or brush to apply the epoxy evenly.
- Allow drying: Typically, it takes around 24 to 72 hours for epoxy flooring to dry completely.
Did you know? The average drying time for epoxy flooring can vary depending on factors such as humidity and temperature.
How To Speed Up The Drying Time Of Epoxy Flooring?
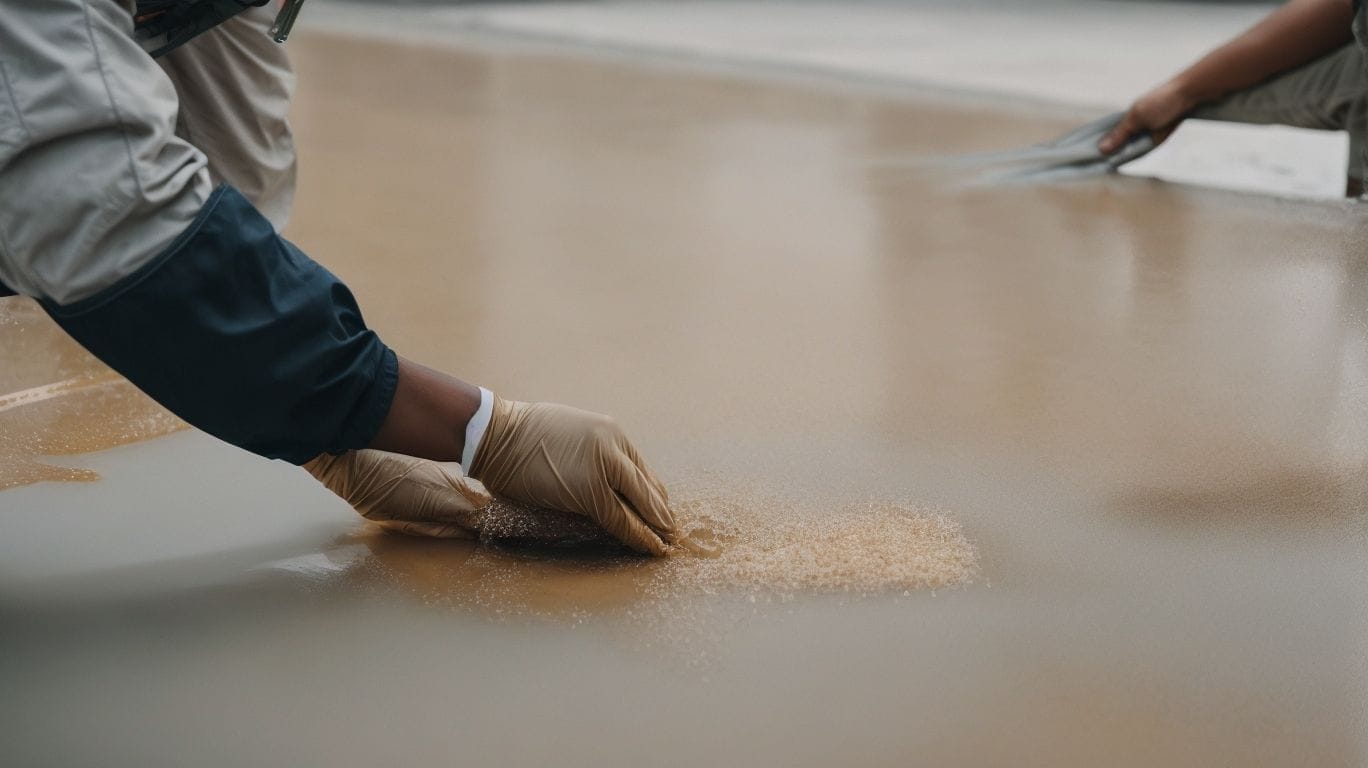
Photo Credits: Diyepoxyresin.Com by Bryan White
After applying epoxy flooring, one of the most important steps is allowing it to dry properly. However, waiting for the epoxy to dry can be a tedious process. Luckily, there are ways to speed up the drying time of epoxy flooring. In this section, we will discuss three effective methods: using a heater or dehumidifier, increasing airflow, and adding an accelerator to the epoxy mixture. By the end, you’ll be equipped with the knowledge to expedite the drying process and enjoy your new epoxy flooring sooner.1. Use a Heater or Dehumidifier
- To speed up the drying process of the epoxy flooring, consider using a heater to raise the temperature of the space where it is applied.
- Alternatively, you can utilize a dehumidifier to decrease the moisture content in the air, which will help promote quicker evaporation of the solvent in the epoxy.
2. Increase Airflow
- Open Windows and Doors: Enhance natural ventilation by opening windows and doors in the designated area where the epoxy flooring is being applied.
- Use Fans: Strategically place fans to increase airflow and aid in the quicker drying of the epoxy flooring.
- Utilize Exhaust Fans: If possible, turn on exhaust fans to remove moist air and introduce drier air into the space.
3. Add Accelerator
- Prepare the epoxy mixture according to the manufacturer’s instructions.
- Measure the recommended amount of accelerator for the specific epoxy product.
- Incorporate the accelerator into the epoxy mixture and mix thoroughly to evenly distribute.
- Apply the accelerated epoxy mixture to the prepared surface, following the provided application guidelines.
What Happens If Epoxy Flooring Is Not Allowed To Dry Completely?
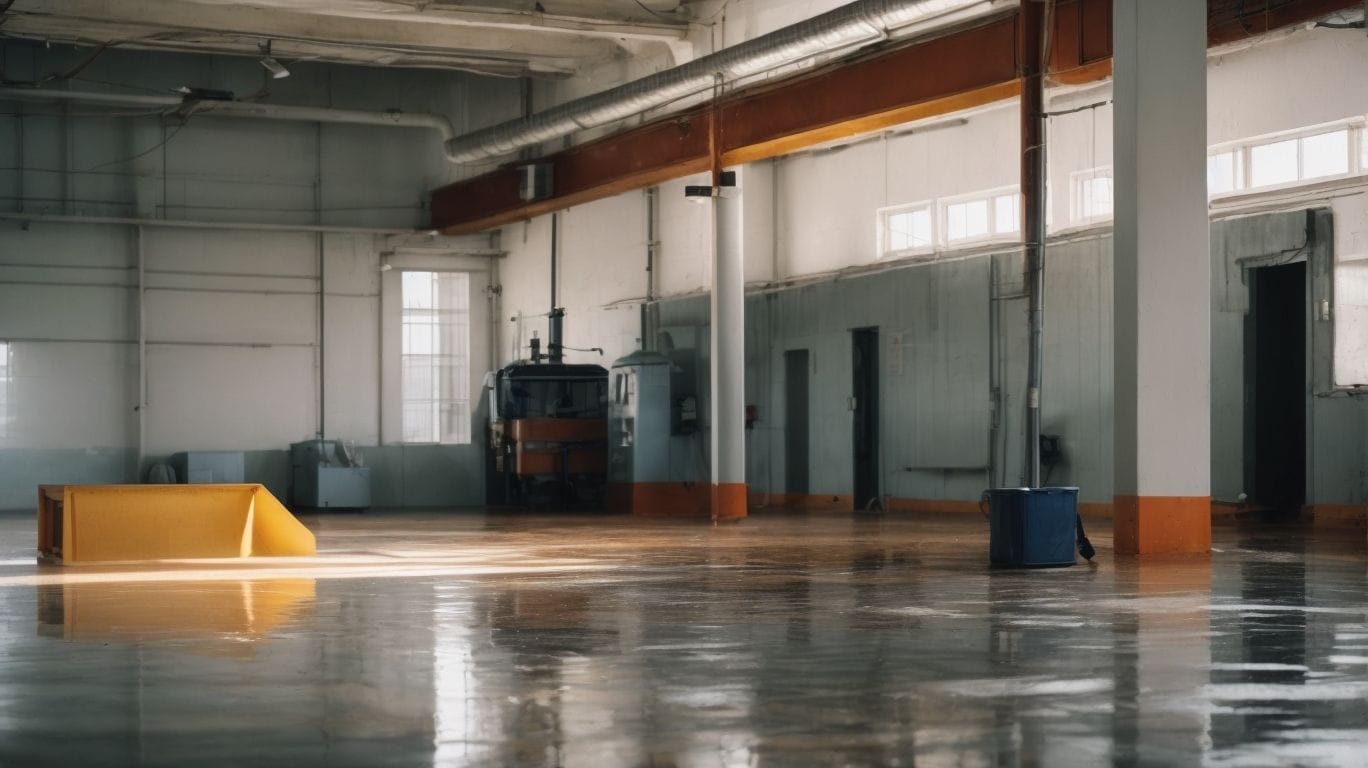
Photo Credits: Diyepoxyresin.Com by Henry Lewis
The dry time of epoxy flooring is a crucial factor that can greatly affect the overall quality and durability of the installation. If epoxy flooring is not allowed to dry completely, it can lead to various issues such as poor adhesion, bubbles and blisters, and even cracks and peeling. In this section, we will discuss the potential consequences of not allowing epoxy flooring to dry properly and how it can impact the longevity of your flooring.1. Poor Adhesion
Unfavorable bonding in epoxy flooring can result in delamination, where the epoxy becomes detached from the underlying surface. This issue can arise due to inadequate surface preparation or mixing, insufficient drying time, or environmental conditions such as excessive humidity. To avoid poor adhesion, it is crucial to thoroughly clean the substrate, mix the epoxy properly, and allow enough drying time as advised by the manufacturer.
2. Bubbles and Blisters
To prevent bubbles and blisters in your epoxy flooring, it is important to follow these steps carefully for a flawless finish.
- Avoid moisture: Make sure the area is completely dry before applying epoxy.
- Proper mixing: Thoroughly mix all components of the epoxy to prevent any air entrapment.
- Correct application: Use the recommended tools and techniques to evenly apply the epoxy.
- Deaeration: During application, use a roller to remove any trapped air bubbles.
- Protect from debris: Ensure that no dust or debris settles on the epoxy while it is drying.
3. Cracks and Peeling
- Inspect the epoxy flooring surface for any signs of cracks or peeling.
- Identify the root cause of the cracks and peeling, such as substrate moisture, improper surface preparation, or application issues.
- Prepare the affected area by cleaning, sanding, and removing any loose material.
- Apply a suitable epoxy patching compound to fill the cracks and areas of peeling.
- Smooth and level the patched areas to ensure a seamless surface.
- Allow the repaired sections to dry completely before applying a new epoxy coating.