Concrete resurfacing is the process of repairing and restoring worn or damaged concrete surfaces by applying a new layer of concrete or specialized resurfacing material. Whether it’s a faded driveway, cracked patio, or chipped pool deck, concrete resurfacing can give a fresh and new look to old and worn-out concrete surfaces. It is a cost-effective and efficient way to add value and enhance the appearance of your property.
The need for concrete resurfacing can arise due to various reasons, such as wear and tear, weather elements, or simply for aesthetic purposes. It is a popular choice among homeowners and business owners looking to renovate their properties without the hassle and expense of replacing the entire concrete surface.
Apart from giving a new look to old concrete, resurfacing offers several benefits, including:
- Cost-effectiveness: Resurfacing is a more affordable option compared to replacing the entire concrete surface.
- Increases durability: The new layer of concrete adds strength and durability to the old concrete, making it last longer.
- Enhances aesthetic appeal: With a variety of resurfacing materials and design options, concrete surfaces can be customized to suit your style and preferences.
- Fixes minor damage: Minor cracks and chips can be repaired during the resurfacing process, giving a smooth and flawless finish.
The process of concrete resurfacing involves the following steps:
- Surface preparation: This includes cleaning, repairing any damage, and ensuring the surface is smooth and free of debris.
- Repairing any damage: Before resurfacing, any cracks or chips on the concrete surface are repaired to ensure a smooth and even finish.
- Applying the resurfacing material: The chosen resurfacing material is applied to the prepared surface using specialized tools and techniques.
- Finishing and sealing: Once the resurfacing material has dried, the surface is finished and sealed to protect it from water, UV rays, and other elements.
Various types of concrete surfaces can be resurfaced, including driveways, patios, pool decks, and garage floors. Resurfacing can be done on both interior and exterior surfaces, adding value and durability to your property.
Some of the commonly used resurfacing materials are:
- Concrete overlay: A thin layer of concrete is applied to the existing surface, offering a smooth and durable finish.
- Microtopping: A cement-based material that is applied in thin layers, giving a smooth and polished look to the surface.
- Stamped concrete overlay: A textured layer of concrete that mimics the appearance of natural materials such as stone or brick.
- Epoxy coating: A durable and low-maintenance option that provides a glossy finish and protects the surface from stains and damage.
Choosing the right contractor for concrete resurfacing is crucial for a successful and long-lasting result. Consider the following factors when selecting a contractor:
- Experience and expertise: Look for a contractor with a proven track record and experience in concrete resurfacing.
- Portfolio and references: Ask for a portfolio of their previous work and references from satisfied customers.
- Pricing and warranties: Get multiple quotes, compare pricing, and inquire about warranties for their work.
- Customer reviews and reputation: Do your research and read reviews from previous customers to ensure the contractor has a good reputation for quality work.
Key Takeaways:
- Concrete resurfacing is a cost-effective way to repair and enhance the appearance of concrete surfaces like driveways, patios, and pool decks.
- The process involves surface preparation, repair, application of resurfacing material, and finishing with sealing.
- When choosing a contractor for concrete resurfacing, consider their experience, portfolio, pricing, and customer reviews to ensure quality work.
What is Concrete Resurfacing?
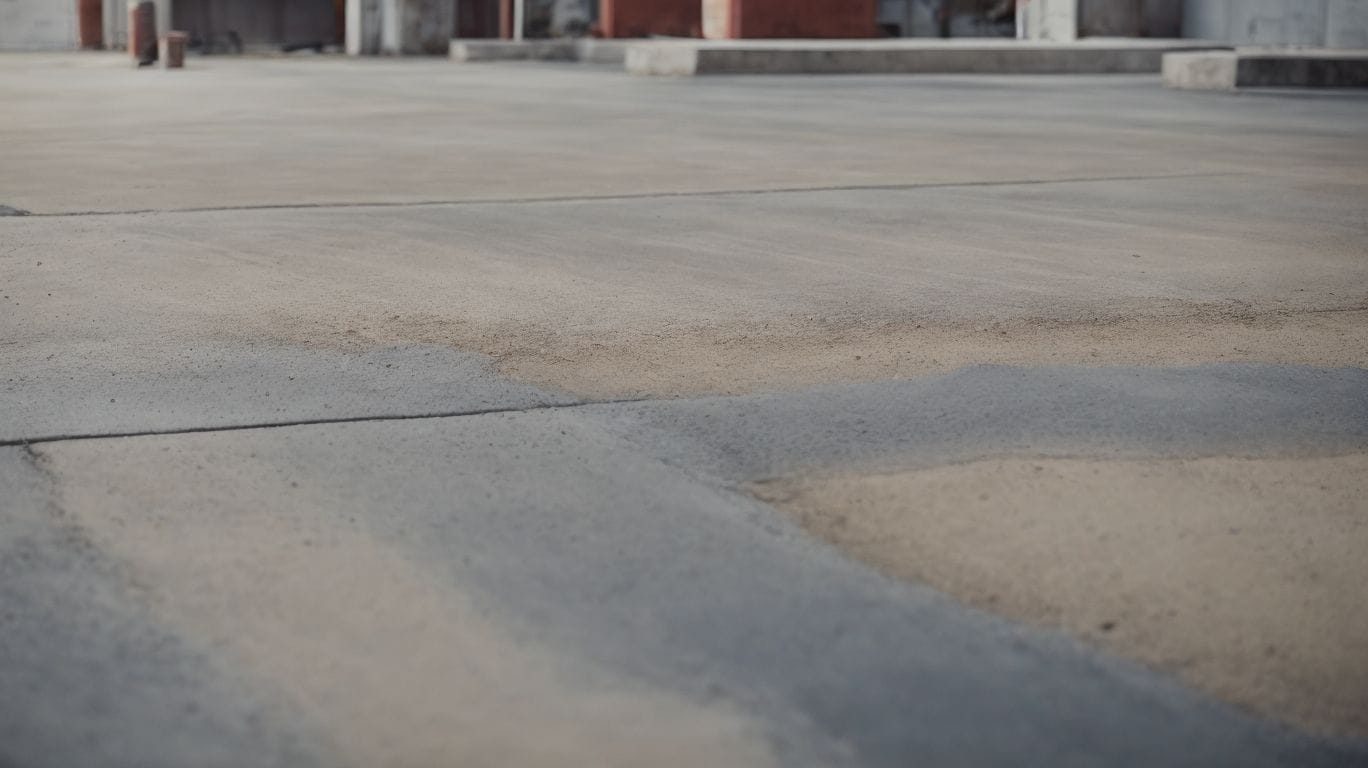
Photo Credits: Diyepoxyresin.Com by Dylan Harris
What is Concrete Resurfacing?
Concrete resurfacing is a method of restoring functionality and appearance to an existing surface by applying a new layer of concrete. It is often used to repair cracked or worn driveways, patios, or floors. The resurfacing material can be tailored to create various textures and finishes, making it a cost-effective option for revitalizing concrete surfaces.
When is Concrete Resurfacing Needed?
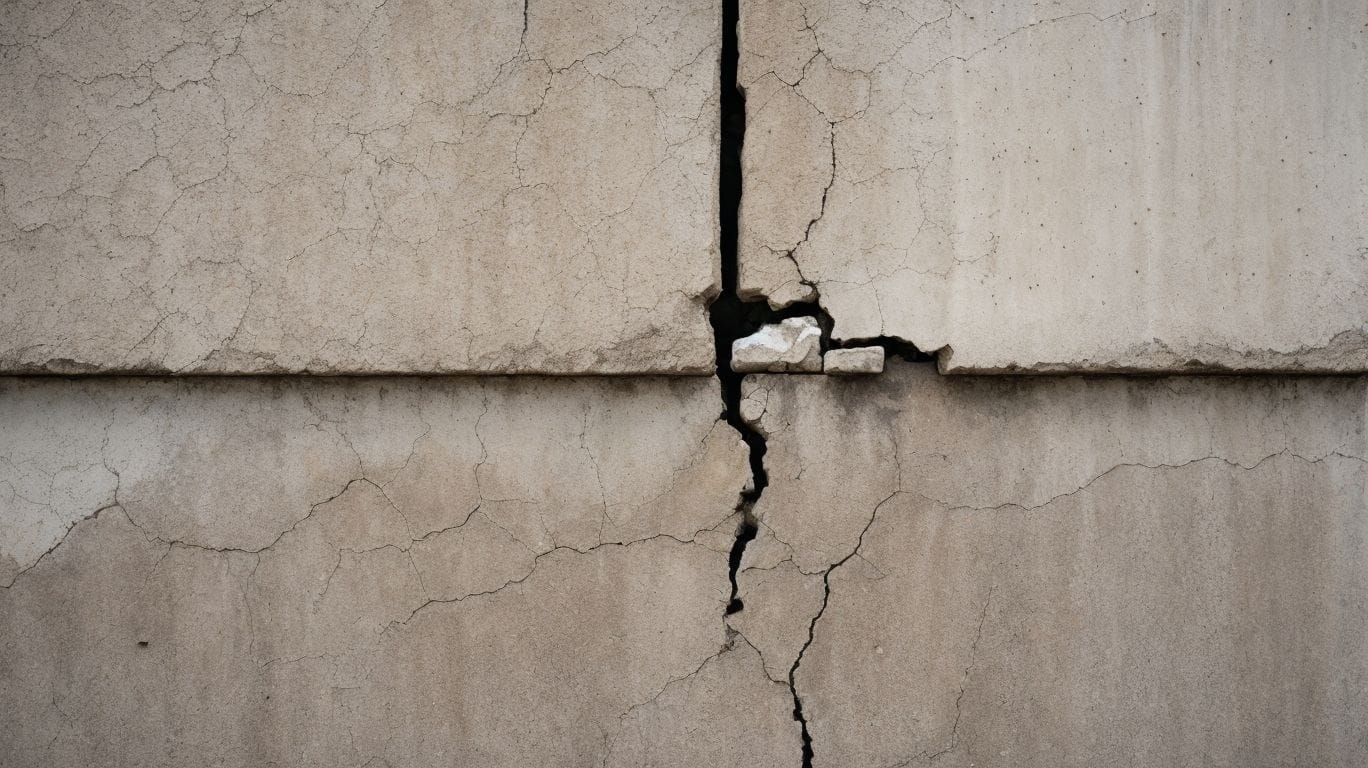
Photo Credits: Diyepoxyresin.Com by Vincent Thomas
Concrete resurfacing is necessary when the current concrete is showing signs of wear and tear, such as cracks, spalling, or flaking, which can affect both its functionality and aesthetics. To restore safety and visual appeal, it’s crucial to resurface concrete driveways, patios, or walkways.
So, when exactly is concrete resurfacing needed? It is needed when the surface is worn, cracked, or discolored and also to improve the overall durability and appearance of the concrete.
What are the Benefits of Concrete Resurfacing?
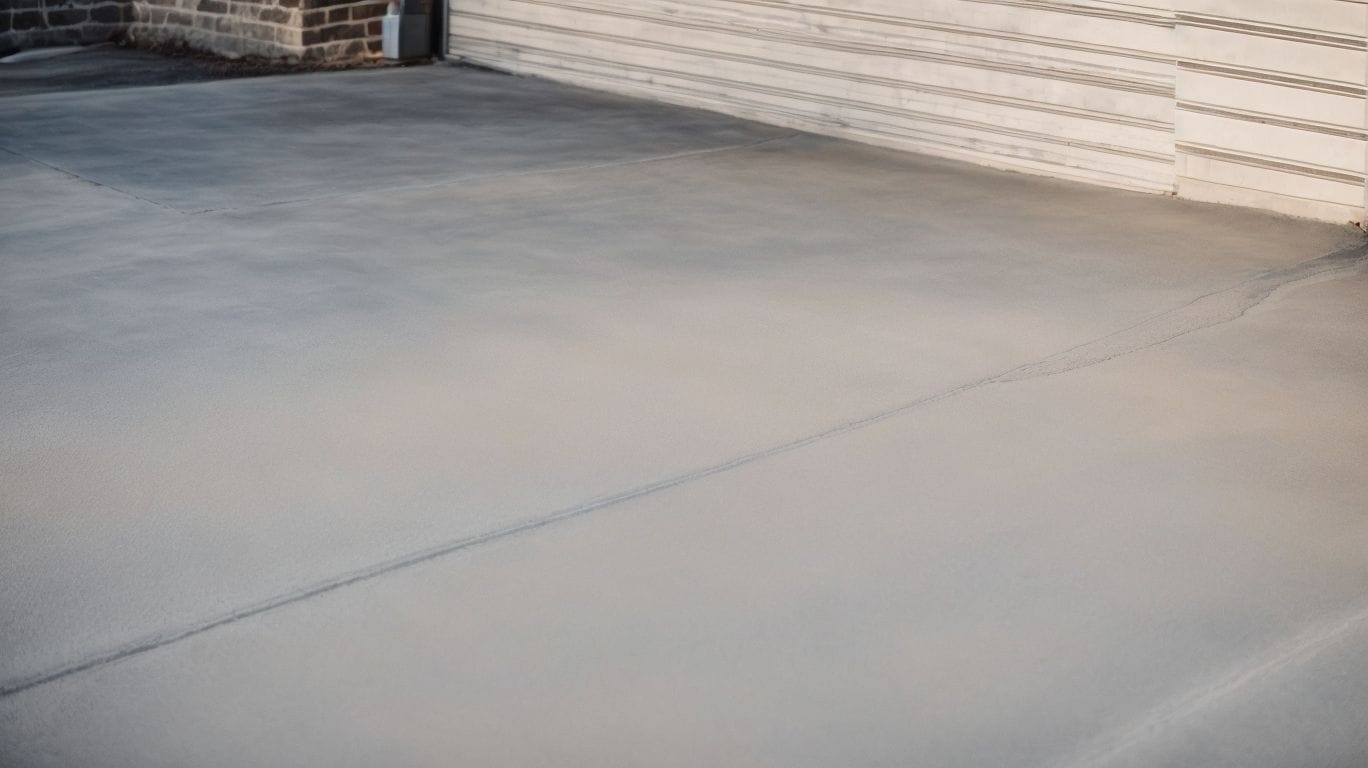
Photo Credits: Diyepoxyresin.Com by Vincent Martinez
Are you tired of looking at cracked, stained, or dull concrete surfaces? If so, then concrete resurfacing may be the solution you’ve been searching for. This process involves applying a decorative concrete overlay to existing surfaces, resulting in a fresh and revitalized look. But the benefits of concrete resurfacing go beyond just aesthetics. In this section, we’ll explore the various advantages of this cost-effective method, including increased durability, enhanced aesthetic appeal, and the ability to fix minor damage.
1. Cost-effective
- Assess the condition of the existing concrete surface to ensure it is suitable for resurfacing.
- Calculate the cost of materials needed for the resurfacing project, such as concrete mix, bonding agent, and sealant.
- Compare the cost of resurfacing with the expense of completely replacing the concrete.
- Consider the cost-effectiveness of resurfacing in the long term, taking into account durability and maintenance.
2. Increases Durability
- Use high-quality concrete mix with proper aggregate and reinforcement to enhance structural strength and increase durability.
- Apply a sealant to protect the surface from moisture, chemicals, and wear.
- Regularly maintain the resurfaced concrete by cleaning and resealing it to prolong its lifespan and improve durability.
- Consider adding additives like fibers or pozzolans to improve resistance against cracking and abrasion and increase durability.
3. Enhances Aesthetic Appeal
- Surface Preparation: Clean the concrete and repair any cracks or damage.
- Color and Design Selection: Choose from a variety of colors and patterns to enhance the aesthetic appeal of the surface.
- Application of Resurfacer: Apply the concrete resurfacer to achieve the desired aesthetic effect on the surface.
4. Fixes Minor Damage
- Assess the damage: Inspect the concrete surface for cracks, spalling, or minor chips.
- Clean the area: Remove any dirt, debris, or loose concrete particles from the damaged area.
- Apply a concrete overlay: Use a concrete resurfacer to fix any minor damage and create a smooth, uniform surface.
- Allow for proper curing: Follow the manufacturer’s instructions for curing time to ensure a durable repair.
Pro-tip: Promptly addressing minor concrete damage can prevent it from developing into more extensive issues.
What are the Steps for Concrete Resurfacing?

Photo Credits: Diyepoxyresin.Com by Vincent Martinez
Are you looking to give your old, worn-out concrete a fresh new look? Concrete resurfacing is a cost-effective and efficient way to revitalize your driveway, patio, or other concrete surfaces. But before you start the process, it’s important to understand the necessary steps for a successful resurfacing job. In this section, we’ll discuss the four main steps involved in concrete resurfacing: surface preparation, repairing any damage, applying the resurfacing material, and finishing and sealing. With a clear understanding of these steps, you’ll be well on your way to achieving a beautiful and durable concrete surface.
1. Surface Preparation
- Surface Preparation: Begin by clearing any existing coatings, adhesives, or contaminants from the concrete surface.
- Repair Cracks: Fill any visible cracks with suitable concrete repair materials to ensure a smooth and even surface.
- Clean the Surface: Thoroughly clean the concrete to remove dirt, dust, and debris, ensuring proper adhesion of the resurfacing material.
- Evaluate Moisture Levels: Check the moisture content of the concrete to prevent bonding issues with the new surface.
- Etch or Profile: Create a suitable surface profile by etching or mechanically abrading the concrete for better adhesion.
2. Repairing Any Damage
- Assess the damage: Identify any cracks, spalling, or delamination on the concrete surface.
- Repair cracks: Utilize concrete crack fillers or epoxy injections to repair any cracks.
- Address spalling: Remove the damaged concrete and resurface the area to restore its integrity.
- Fix delamination: Eliminate the delaminated concrete and apply a new overlay to the affected area.
3. Applying the Resurfacing Material
- Prepare the surface by cleaning and repairing any cracks or damage.
- Apply a bonding agent to ensure adhesion between the existing surface and the new material.
- Mix the resurfacing material according to the manufacturer’s instructions.
- Apply the first coat evenly using a trowel or squeegee.
- Allow the first coat to cure before applying the second coat for a smooth finish.
When John decided to resurface his patio, he meticulously followed each step of applying the resurfacing material. The result was a stunning, durable surface that impressed all his friends and family.
4. Finishing and Sealing
- Before applying the sealer, make sure the surface is clean and dry.
- To achieve a smooth surface, evenly apply the finishing coat.
- It is important to allow the sealer to cure completely before subjecting the surface to heavy use.
- Regularly inspect the sealed surface for any signs of wear or damage.
What Types of Concrete Surfaces Can Be Resurfaced?
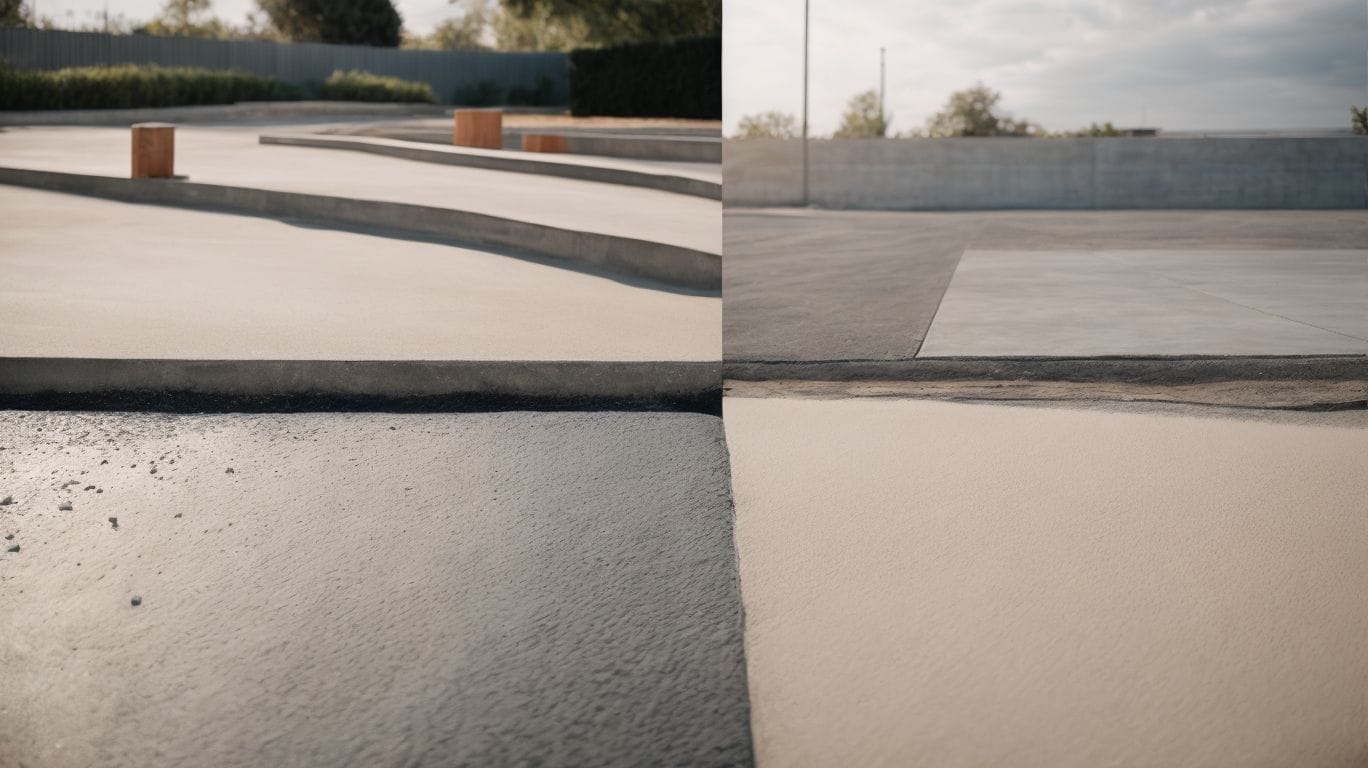
Photo Credits: Diyepoxyresin.Com by Samuel Scott
Not all concrete surfaces are created equal, and the same goes for resurfacing options. In this section, we will explore the various types of concrete surfaces that can be resurfaced. From driveways to patios to pool decks to garage floors, each surface has its unique characteristics and considerations when it comes to resurfacing. By understanding the different options available, you can make an informed decision on which type of concrete resurfacing is best for your specific needs.
1. Driveways
- Ensure a clean driveway surface by sweeping and pressure washing to remove any dirt and debris.
- Repair any cracks or damage using a concrete patching compound, ensuring a smooth and even surface.
- Enhance adhesion between the existing concrete and the new resurfacing material by applying a bonding agent.
- Follow the manufacturer’s instructions for proper thickness and coverage when mixing and applying the concrete resurfacer to the driveway.
- Allow the resurfacer to cure for the recommended amount of time before using the driveway for optimal durability and visual appeal.
To achieve a durable and visually appealing driveway, it is important to prioritize surface preparation, proper material application, and adequate curing time. For larger or more complex resurfacing projects, it may be beneficial to consult a professional.
2. Patios
- Assess the condition of the existing patio surface.
- Clean the patio surface thoroughly to remove dirt, debris, and any existing coating.
- Repair any cracks, spalling, or other damage to the patio surface.
- Apply a bonding agent to ensure proper adhesion of the new concrete overlay.
- Pour and spread the concrete resurfacer over the patio surface.
- Use a trowel or squeegee to level and smooth the resurfacer for a seamless finish.
- Allow the resurfacer to cure completely before using the patio.
For best results, consider enhancing the appearance of your patio by adding decorative elements such as stamped patterns or coloring.
3. Pool Decks
- Before starting, make sure to prepare the pool deck surface properly by thoroughly cleaning it and removing any dirt, debris, or previous coatings.
- Any cracks, holes, or uneven surfaces should be repaired using suitable concrete fillers or patching compounds.
- Once the surface is clean and repaired, evenly apply a concrete resurfacer to create a new, durable, and visually appealing pool deck.
4. Garage Floors
- Clean the garage floor thoroughly, removing any oil stains, dirt, or debris.
- Repair any cracks or damage to the garage floor surface using suitable concrete repair products.
- Etch the surface of the garage floor to create a rough texture for better adhesion of the resurfacing material.
- Apply the concrete resurfacer evenly to the garage floor, following the manufacturer’s instructions for mixing and application.
What are the Different Resurfacing Materials?
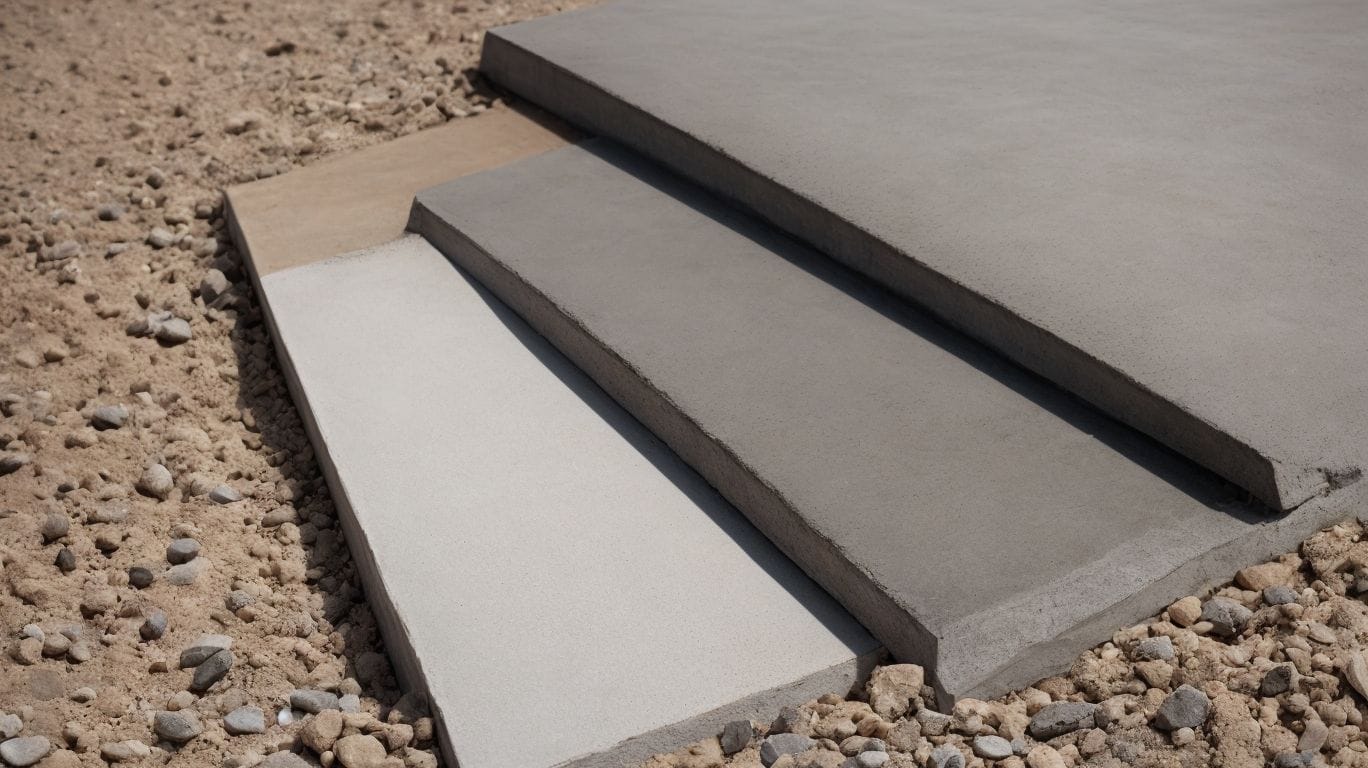
Photo Credits: Diyepoxyresin.Com by Gary Thomas
When it comes to concrete resurfacing, there are several options available for transforming your old and worn concrete surfaces into a fresh and appealing look. Each resurfacing material has its unique properties and benefits. In this section, we will discuss the various materials used for concrete resurfacing, including concrete overlay, microtopping, stamped concrete overlay, and epoxy coating. By understanding the differences between these materials, you can choose the best option for your specific needs and achieve the desired results for your concrete surfaces.
1. Concrete Overlay
- To prepare the existing concrete surface, it is important to clean it thoroughly.
- Next, apply a bonding agent to ensure proper adhesion between the old and new concrete.
- Mix the overlay material and evenly apply it over the surface.
- Use trowels and other tools to achieve the desired texture and finish.
- The overlay should be cured to strengthen and enhance its durability.
Fun Fact: By using concrete overlays, the lifespan of existing concrete surfaces can be extended by 10-15 years.
2. Microtopping
- Prepare the surface: Clean and roughen the existing concrete.
- Apply primer: Use a bonding primer to ensure adhesion.
- Apply microtopping: Spread the microtopping evenly, about 20 mils thick.
- Cure and seal: Allow the microtopping to cure, then seal it for protection.
In 1985, a groundbreaking discovery was made in the construction industry with the introduction of micro topping, transforming the way concrete resurfacing was done and setting new standards for the field.
3. Stamped Concrete Overlay
- Prepare the existing concrete surface by thoroughly cleaning it.
- Apply a bonding agent to ensure adhesion between the old and new concrete layers.
- Pour the stamped concrete overlay mixture onto the surface and spread it evenly.
- Create the stamped pattern using specialized tools before the overlay sets.
- Allow the stamped concrete overlay to cure properly before sealing it for enhanced durability.
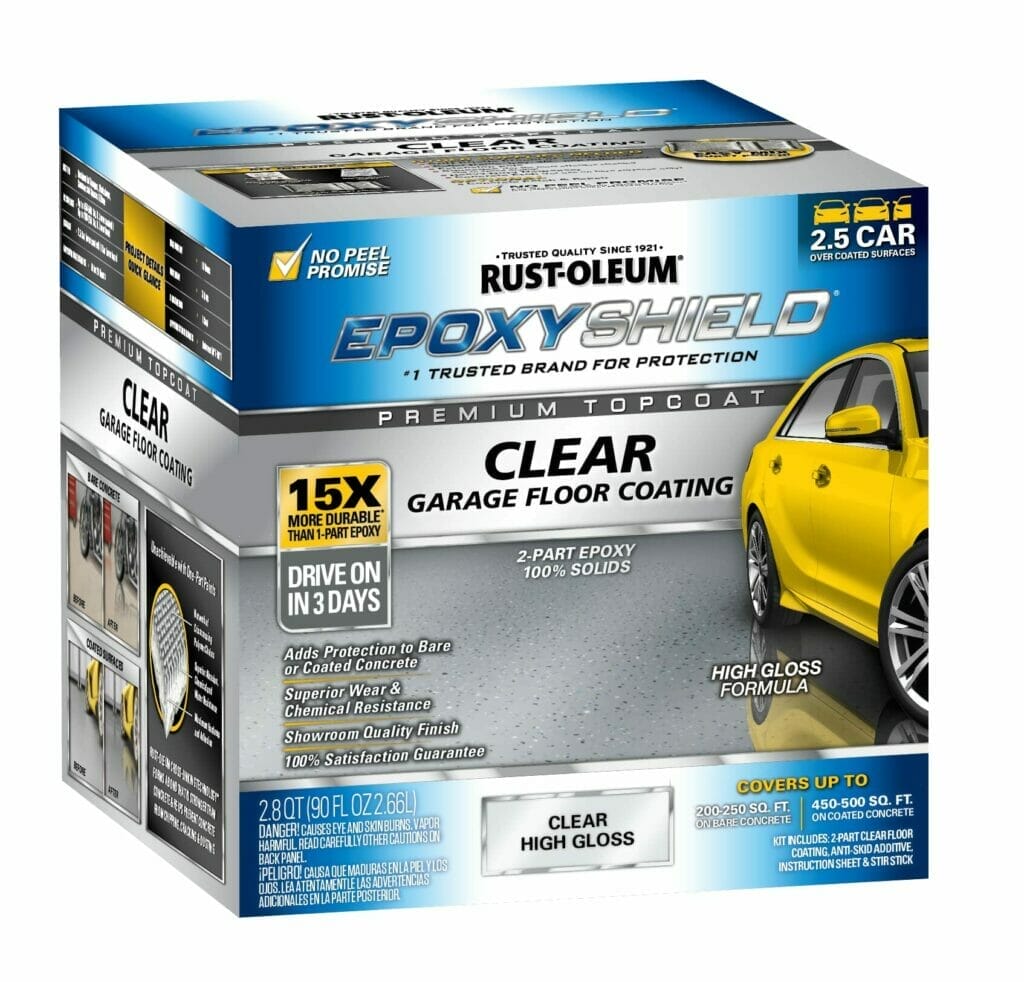
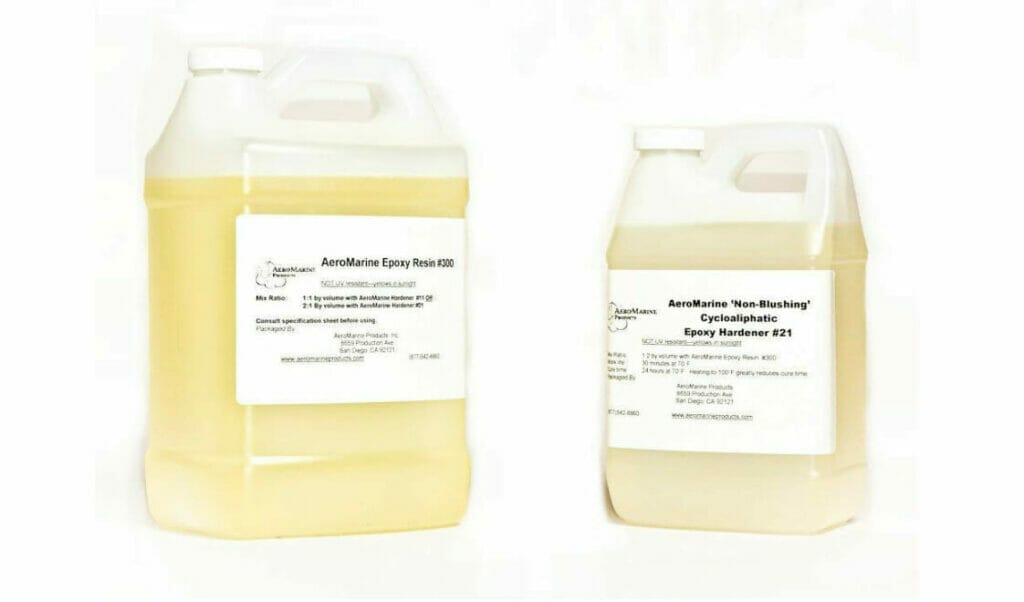
4. Epoxy Coating
- Prepare the concrete surface by cleaning and etching it to ensure proper adhesion of the epoxy coating.
- Mix the epoxy resin and hardener according to the manufacturer’s instructions.
- Apply the first coat of the Epoxy Coating using a roller or brush, ensuring even coverage.
- Allow the first coat to cure as per the recommended time before applying the second coat.
- Apply the second coat of Epoxy Coating to achieve the desired thickness and finish.
- Allow the Epoxy Coating to cure completely before subjecting it to heavy use.
How do you choose the right contractor for concrete resurfacing? (Keywords: experience and expertise, portfolio and references, pricing and warranties, customer reviews and reputation
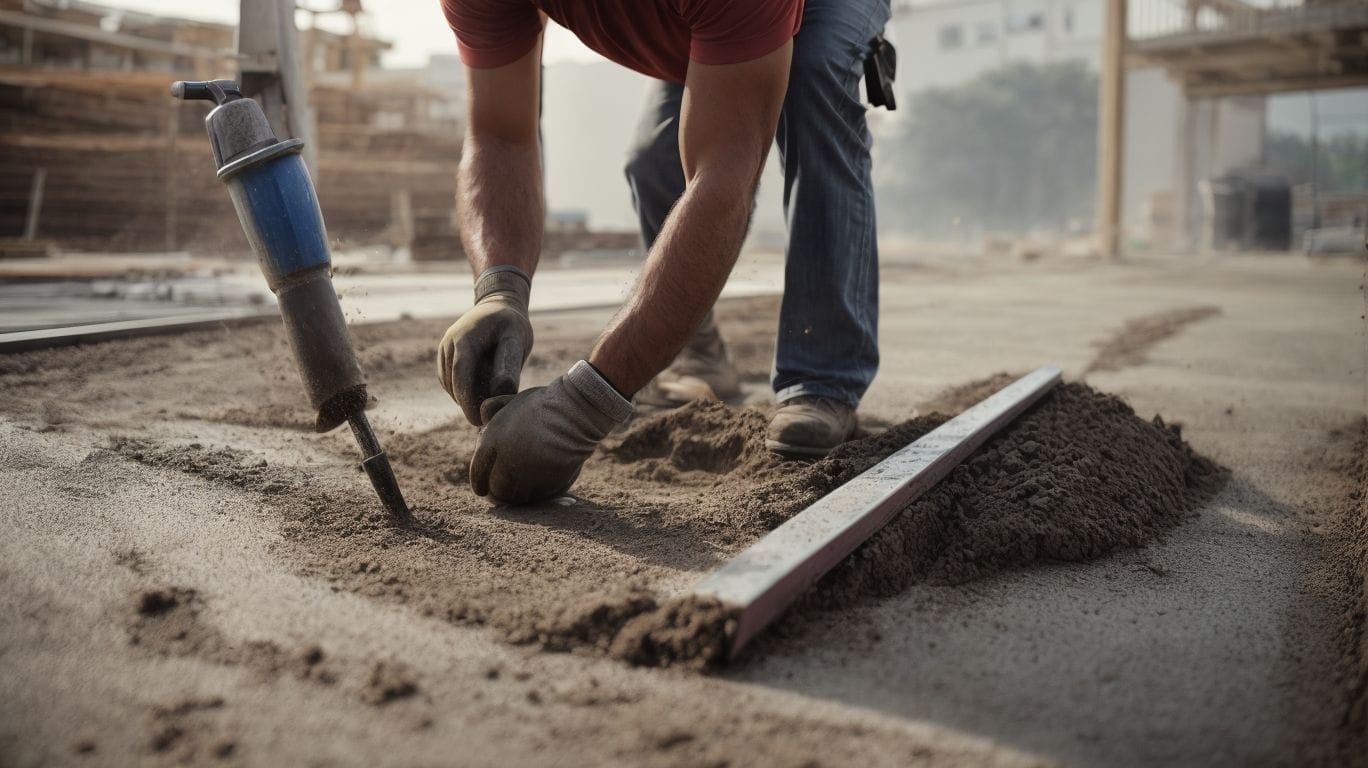
Photo Credits: Diyepoxyresin.Com by Eugene Thompson
- Experience and Expertise: Look for contractors with extensive experience and specialized expertise in concrete resurfacing.
- Portfolio and customer reviews and reputation: Make sure to research a contractor’s portfolio and read reviews from previous customers to get a sense of their reputation.