Resin is a versatile and popular material used in various crafts and art projects. It is a clear, glossy substance that hardens into a smooth and durable finish when mixed with a hardener. Encasing flowers in resin is a popular technique that allows you to preserve the beauty of delicate blooms and turn them into unique and personalized decorations. This guide will cover the basics of working with resin and provide step-by-step instructions on how to encase flowers in resin.
Before we dive into the process, let’s first understand what resin is and the different types available. Resin is a synthetic material that is made from a combination of chemicals, usually a liquid polymer and a hardening agent. The three main types of resin used in arts and crafts are epoxy, polyester, and polyurethane resin. Each type has its properties and is suitable for different applications.
There are many benefits to encasing flowers in resin. Firstly, it preserves the natural beauty of the flowers, allowing them to be admired for a longer period. Secondly, it creates unique and personalized decorations that can be used in various art projects. Lastly, it is a fun and creative way to repurpose dried or wilted flowers.
To get started, you will need a few basic materials such as resin and hardener, a silicone mold, dried flowers, mixing cups and stir sticks, and protective gear. Once you have gathered your materials, you can follow these steps to encase flowers in resin:
- Prepare your workspace by covering it with a plastic sheet or newspaper. Make sure to work in a well-ventilated area and wear protective gear such as gloves and a face mask.
- Mix the resin and hardener according to the manufacturer’s instructions. It is important to mix the two components thoroughly, as this will ensure the resin cures properly.
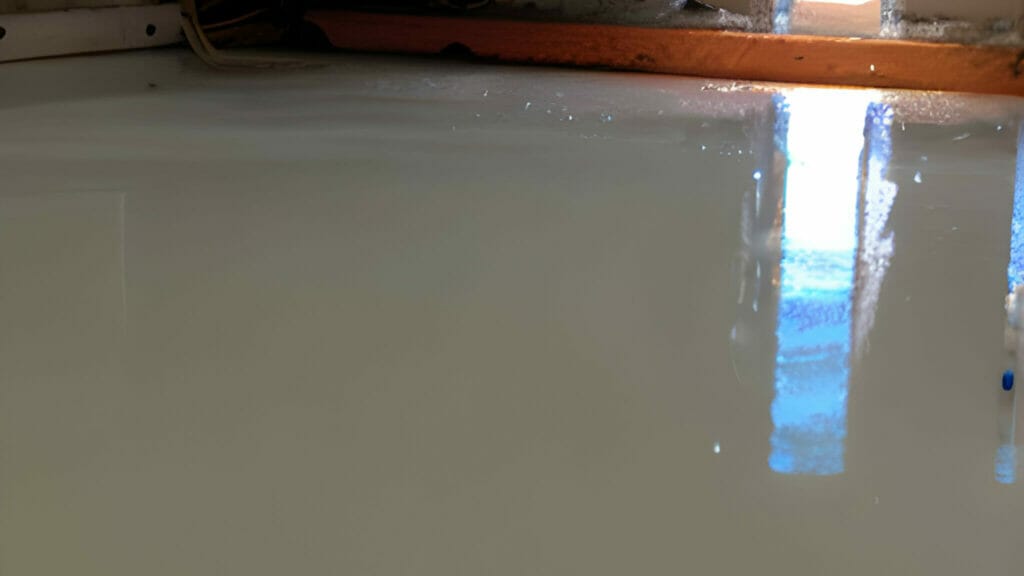
- Pour the resin into the silicone mold, filling it about halfway.
- Arrange the dried flowers in the mold, making sure they are fully submerged in the resin. You can use tweezers or toothpicks to move the flowers around and create the desired arrangement.
- Let the resin cure for at least 24 hours before removing the flowers from the mold. Once the resin is fully cured, you can pop it out of the mold and admire your beautiful flower encasement.
To care for your resin-encased flowers, it is important to avoid direct sunlight as it can cause the resin to yellow over time. Clean the surface gently with a soft cloth to remove any dust or fingerprints. It is also recommended to store the piece in a cool and dry place to prevent any damage.
In conclusion, encasing flowers in resin is a fun and creative way to preserve the beauty of flowers and turn them into unique decorations. With the right materials and techniques, you can create stunning resin-encased flowers that will last for years to come.
Key Takeaways:
- Preserve the beauty of flowers by encasing them in resin.
- Create unique and personalized decorations with resin-encased flowers.
- Encasing flowers in resin can be used in various art projects and requires basic materials such as resin, a mold, and dried flowers.
What Is Resin?
Resin is a viscous substance, either natural or synthetic, commonly used in crafts and construction. When mixed with a hardener, it hardens to a clear solid. Resin can be transparent or colored and is often used for encapsulating flowers, creating jewelry, or coating surfaces for protection and shine.
What Are the Different Types of Resin?
When it comes to encasing flowers in resin, choosing the right type of resin is crucial in achieving a successful and long-lasting result. In this section, we will discuss the different types of resin that are commonly used for this craft. From the widely popular epoxy resin to lesser-known options like polyester and polyurethane resin, we will explore the unique properties and applications of each type. By the end, you will have a better understanding of which resin is best suited for your specific project.
1. Epoxy Resin
- Prepare the work area with a protective covering.
- Measure and mix the epoxy resin and hardener according to the instructions.
- Pour the mixed resin into the mold.
- Arrange the flowers in the resin-filled mold as desired.
- Allow the resin to cure completely.
When working with epoxy resin, ensure proper ventilation and wear protective gear. Follow safety instructions to prevent skin irritation or inhalation. Experiment with different flower arrangements to create stunning resin-encased pieces.
2. Polyester Resin
- Prepare the workspace: Make sure to have good ventilation and cover surfaces with plastic or parchment paper.
- Wear protective gear: It is important to use gloves, goggles, and a mask to protect against fumes and skin irritation when working with polyester resin.
- Mix the polyester resin and catalyst: Follow the manufacturer’s recommended ratio of resin to catalyst for the best results.
- Pour the mixture into the mold: Carefully pour the resin into the mold to avoid any air bubbles.
- Allow curing time: It is essential to let the resin cure for a specified amount of time before removing it from the mold.
For optimal results, consider using a silicone mold for intricate shapes and adding dried flowers in layers to achieve a stunning 3D effect.
3. Polyurethane Resin
- Prepare the work area: Set up a clean and well-ventilated workspace with a protective covering on surfaces.
- Wear safety gear: Use gloves, protective eyewear, and a mask for safety when working with polyurethane resin.
- Mix the polyurethane resin according to the manufacturer’s instructions, ensuring thorough mixing of the resin and hardener.
- Pour the resin: Carefully pour the polyurethane resin into the mold, making sure to cover the surface evenly.
- Allow curing time: Let the flowers cast with polyurethane resin cure for the recommended duration.
What Are the Benefits of Encasing Flowers in Resin?
Have you ever come across a beautiful flower and wished you could preserve its beauty forever? Look no further than encasing flowers in resin. This technique not only captures the delicate details of the flower but also offers numerous benefits. In this section, we will explore the benefits of encasing flowers in resin, including how it preserves their beauty, creates unique decorations, and can be incorporated into various art projects.
1. Preserves the Beauty of Flowers
Preserving the beauty of flowers through resin encapsulation involves several steps:
- Select and dry the flowers to prevent moisture from interfering with the resin.
- Prepare the resin mixture, ensuring it is free of bubbles and at the right consistency for pouring.
- Arrange the flowers in the silicone mold, ensuring they are evenly spaced and submerged in the resin.
- Allow the resin to cure completely before demolding the preserved flowers.
For best results, experiment with different flower varieties and colors to create stunning resin-encased floral arrangements.
2. Creates Unique and Personalized Decorations
- Select flowers with vibrant colors and unique shapes to create visually appealing decorations.
- Experiment with various flower arrangements to craft unique and personalized designs that reflect individual styles and preferences.
- Incorporate additional elements such as glitter or small trinkets to customize the resin decorations further and make them truly one-of-a-kind.
3. Can Be Used in Various Art Projects
- 3. Can be used in various art projects by embedding small objects, creating jewelry, or making decorative paperweights.
- Experiment with different techniques such as layering, mixing colors, or adding texture to produce unique art pieces.
- Utilize resin to encapsulate memorabilia, enhance paintings, or design custom coasters and tabletops.
Resin has been a versatile medium in art for centuries, from ancient Egypt’s use in jewelry to modern resin-based sculptures and installations.
What Materials Do You Need for Encasing Flowers in Resin?
Before you begin encasing flowers in resin, it’s important to have all the necessary materials at hand. In this section, we’ll go through the essential items needed for this craft. From the main components of resin and hardener to the tools and protective gear, we’ll cover everything you need to start creating stunning resin-encased flower pieces. So, let’s dive in and find out what materials you’ll need for this unique art form.
1. Resin and Hardener
- Measure the Resin and Hardener: Follow the manufacturer’s instructions to measure the appropriate ratio of resin and hardener accurately.
- Mix Thoroughly: Combine the resin and hardener in a mixing cup and gently stir for approximately 2-3 minutes.
- Avoid Air Bubbles: Carefully stir the mixture to prevent the formation of air bubbles.
- Use Slow Pouring: Slowly pour the resin into the mold to avoid excessive air entrapment.
- Let It Rest: Allow the resin to cure for the recommended time, as stated in the product instructions.
2. Silicone Mold
A silicone mold is an essential tool for encapsulating flowers in resin. It is designed to provide flexibility and effortless removal of the cured resin artwork. When choosing a silicone mold, be sure to select one specifically made for resin crafts to avoid any negative interactions between the mold material and the resin. Opt for molds with intricate designs to achieve stunning results. Remember to properly clean the mold after each use to preserve its quality and prolong its lifespan.
3. Dried Flowers
- Make sure that the dried flowers are completely dry to prevent any moisture from affecting the resin.
- Before pouring the resin, trim and arrange the dried flowers in the mold.
- For a 3D effect, you can add a layer of resin, place the dried flowers, and then add another layer.
Dried flowers have been utilized since Ancient Egypt for both religious and decorative purposes, representing the cycle of life and death in their culture.
4. Mixing Cups and Stir Sticks
- Before starting the resin mixing process, make sure to prepare your workspace and gather all necessary materials.
- For the best results, use clean and dry mixing cups and stir sticks to ensure the quality of the resin mixture.
- Accurately measure the resin and hardener using the provided mixing cups.
- Thoroughly stir the resin and hardener, making sure to scrape the sides and bottom of the mixing cup to achieve a complete blend.
- Be sure to follow the recommended mixing ratio and time for the specific type of resin being used.
5. Protective Gear
- When working with resin, it is important to wear protective gear to keep yourself safe. This includes gloves to protect your hands from exposure to the resin.
- Another essential piece of protective gear is safety goggles to shield your eyes from any accidental splashes of resin.
- It is also recommended to wear a face mask to prevent inhaling any resin fumes during the encasement process.
- To further minimize the risk of inhaling resin, make sure to have proper ventilation in your workspace.
How to Encase Flowers in Resin?
Have you ever wanted to preserve the beauty of flowers in a unique and long-lasting way? Look no further, as encasing flowers in resin is the perfect solution. In this section, we will guide you through the step-by-step process of how to encase flowers in resin. From preparing your workspace and materials to the final curing process, you will learn all the necessary techniques to create your stunning resin flower encasement. Get ready to unleash your inner artist and preserve nature’s beauty with this fun and creative project.
1. Prepare Your Workspace and Materials
- Get your workspace ready by clearing any clutter and ensuring good ventilation.
- Gather all necessary materials, including resin, hardener, a silicone mold, dried flowers, mixing cups, and protective gear.
- For your safety, be sure to wear gloves and a mask.
- Place the silicone mold on a flat, level surface.
- Make sure that the dried flowers are clean and completely dry before using them.
A friend of mine took great care in preparing her workspace and materials to encapsulate her wedding bouquet. Now, the resin-encased flowers serve as a cherished keepsake, preserving the memory of that special day.
2. Mix the Resin and Hardener
- Ensure your workspace is well-ventilated and clean.
- Wear appropriate protective gear, including gloves and a mask.
- Measure the resin and hardener in the correct ratio as per the product instructions.
- Mix the Resin and Hardener: Use a clean mixing cup and stir the resin and hardener thoroughly but gently to minimize air bubbles.
- Follow the specified pot time to ensure the resin is ready for the next step.
3. Pour the Resin into the mold
- Prepare the resin and hardener mixture according to the product instructions.
- Slowly pour the resin into the mold to avoid air bubbles.
- Use a heat gun or torch to eliminate any remaining bubbles on the surface.
- Allow the resin to settle and cure for the specified time.
- Once the resin is completely cured, carefully remove the encased flowers from the mold.
4. Arrange the Flowers in the mold
- Clean the silicone mold thoroughly to ensure there is no debris or dust.
- Place the dried flowers into the mold, arranging them as desired to achieve the desired aesthetic.
- Ensure the flowers are evenly spaced and not touching the sides of the mold to allow the resin to encase them evenly.
- Consider adding multiple layers of flowers, pouring resin between each layer to create depth and dimension.
5. Let the Resin Cure
- Place the resin-encased flowers in a dust-free, warm area to allow them to cure.
- Let the resin cure for the recommended duration specified by the manufacturer, typically around 24 to 72 hours.
- During the curing process, avoid moving or touching the flowers to prevent any disturbances in the surface of the resin.
How to Care for Resin-Encased Flowers?
- Follow these tips to care for your resin-encased flowers properly:
- Avoid direct sunlight to prevent color fading.
- Protect from high humidity to avoid moisture damage.
- Avoid extreme temperatures to prevent the warping or melting of the resin.
- Regularly dust the surface to maintain its appearance.
- Handle with care to prevent accidental breakage.